Wooden Keepsake Easter Eggs
Today I’m sharing how to make the sweetest wooden keepsake Easter eggs. No special painting skills required. Keep reading and I’ll show you my easy shortcut for decorating eggs with cute designs of small animals, insects and flowers. 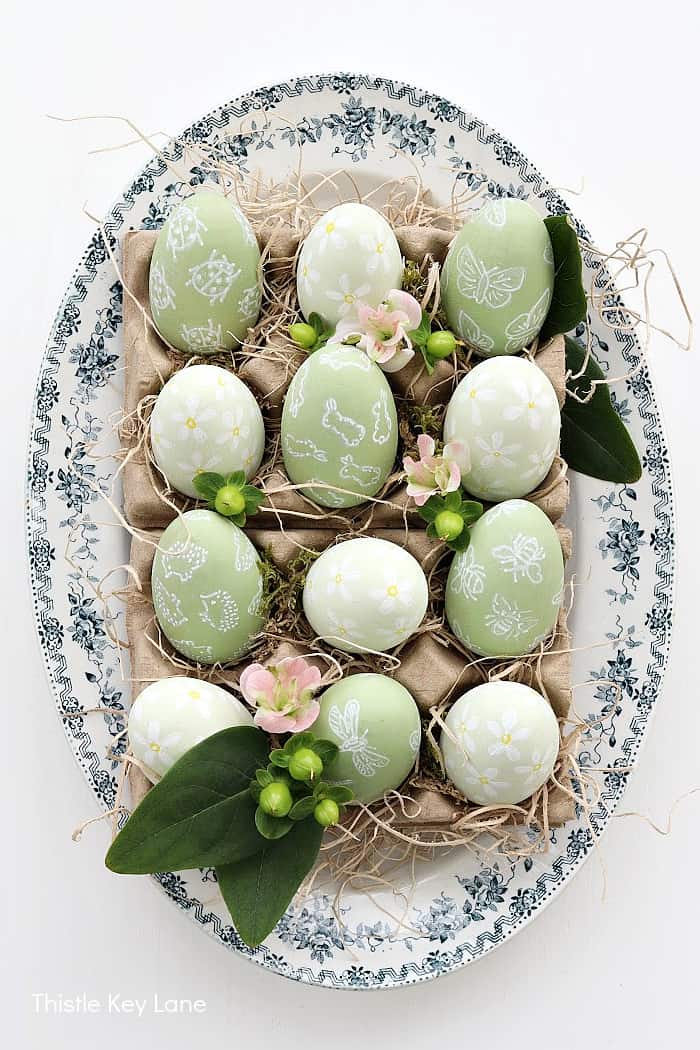 As an Amazon affiliate, I earn from qualifying purchases at no cost to you. My blog may contain other affiliate link as well for your convenience. For more information please see my disclosure page.
Handcrafted Society
It’s the first Tuesday of the month, which means it’s time for me and my Handcrafted Society friends to get together including our talented host, Wendy of WM Design House. What is the Handcrafted Society? Simply put, it’s a group of bloggers who share a love for handcrafted items.
Our challenge each month is to take an assigned medium or theme and create whatever our heart desires. We are also inviting a guest to join us each month. How fun is that?! Thank you Diane of South House Design for participating this month.
For our March challenge, each of us are assigned a specific color to go along with our theme, which as you can guess is Easter eggs.
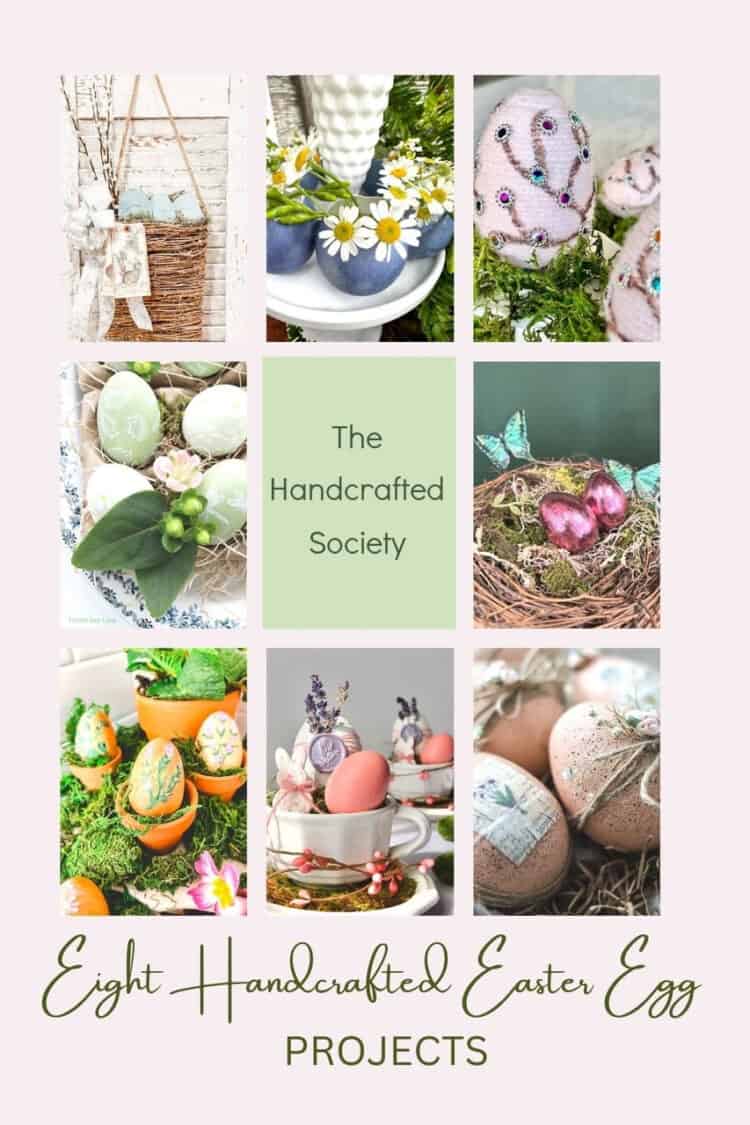
If you are hopping over from WM Design House welcome to Thistle Key Lane. I’m fascinated with Wendy’s natural dye technique, and her darling egg arrangement!
Wooden Keepsake Easter Eggs
I love the idea of keepsake Easter eggs. Don’t you? These wooden eggs are meant to be played with by little hands, and are practically indestructible. Well, I hope so anyway!
My youngest grand little is into identifying insects and animals, so I know she will love these. Of course candy filled eggs will no doubt be the most popular, so I’ll offer a prize if they find all the wooden eggs I hide for them.
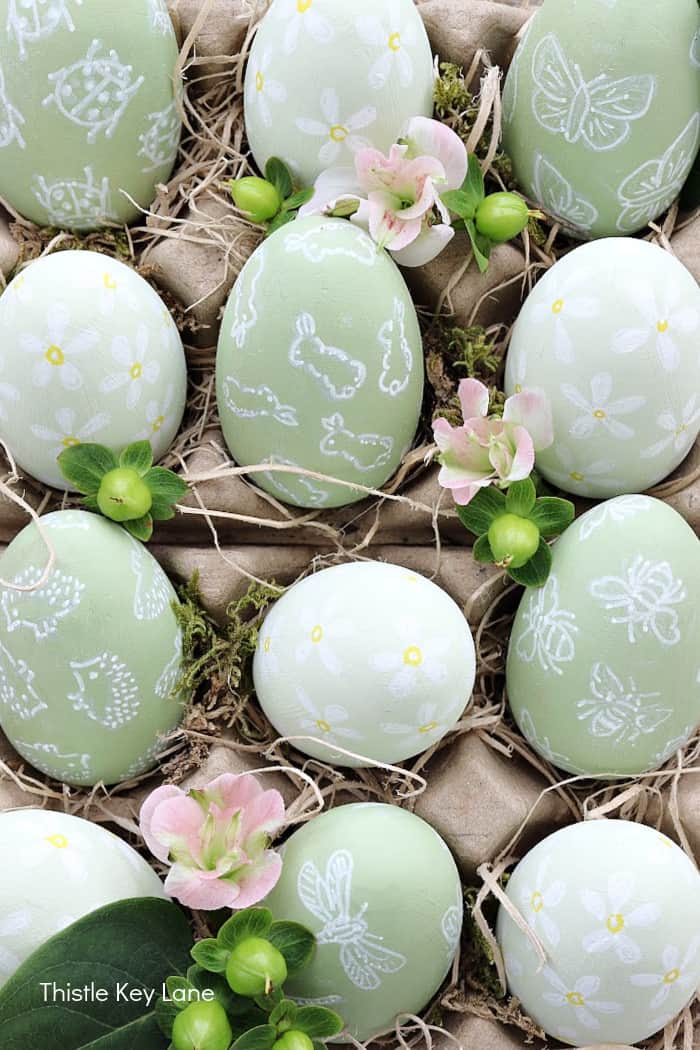
My assigned color for this Easter egg challenge is light green, and I’m sharing two ways to decorate painted eggs in coordinating colors.
The first set of eggs have stamped designs. I love the way they turned out, but would you believe this project was almost a fail? You’ll see why in a moment. The second set of eggs are even more simple than the first, with hand painted flowers.
Supplies and Shopping Links
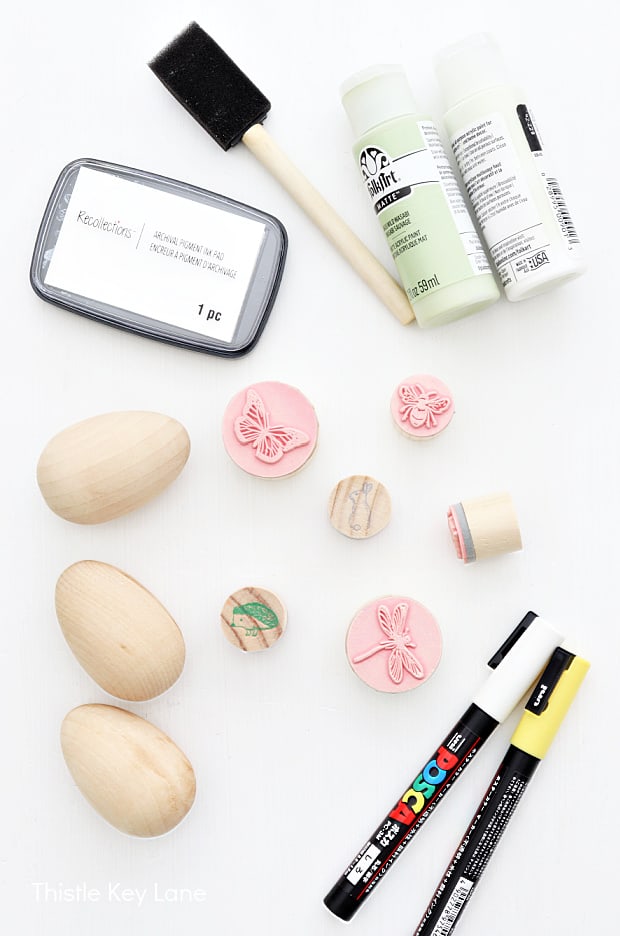
- craft paint
- foam brush
- rubber stamps
- white ink pad
- paint pen markers
- wooden eggs
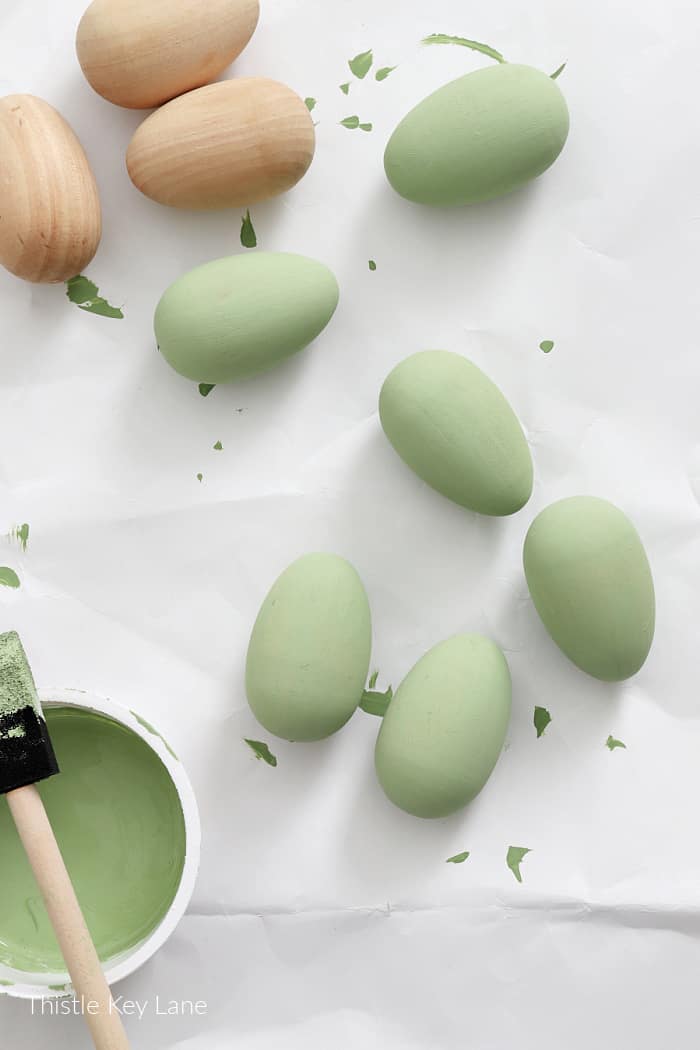
To make stamped Easter eggs, first apply one or two coats of craft paint with a sponge brush. Paint half of the eggs in a light green and half in pale green.
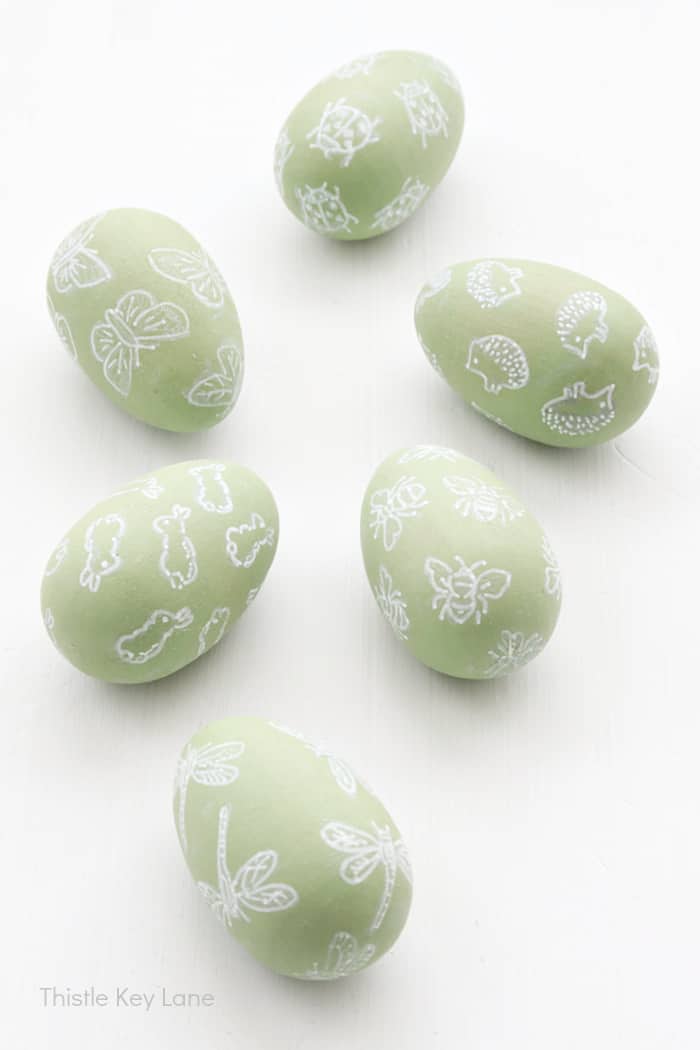
Once the paint is dry, use small rubber stamps and a white ink pad to decorate your eggs. Rotate the stamps in different directions so that your designs look random.
After stamping the first egg, I realized the ink was getting lighter as it dried, until the outlines of the designs were barely visible. I’m not sure why they turned out that way, so for now, I’ll just blame it on the ink.
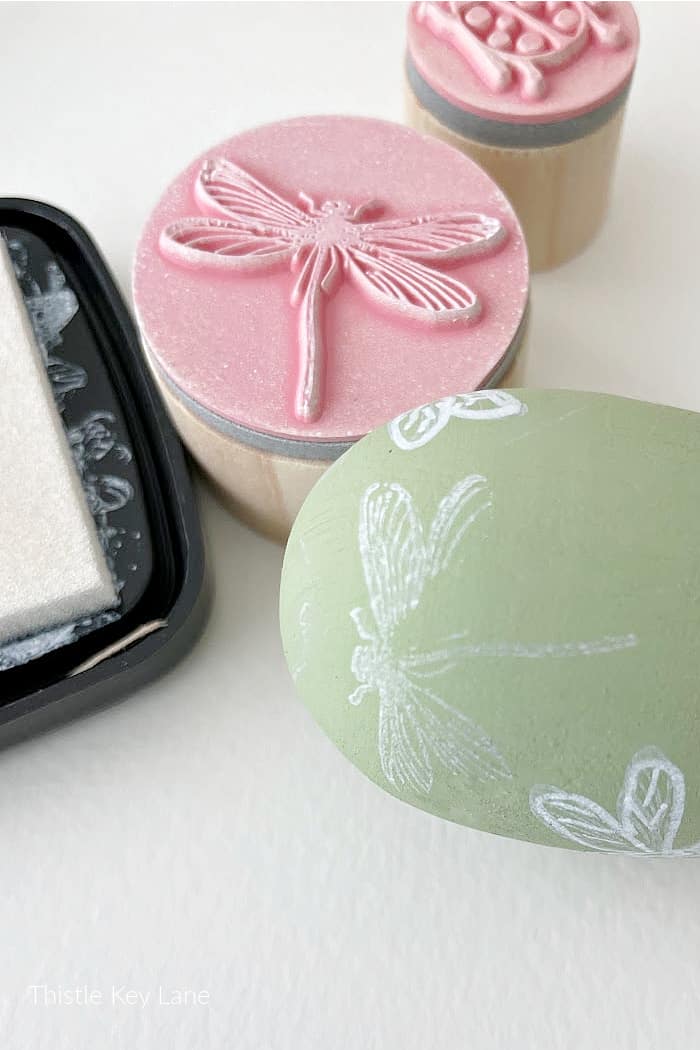
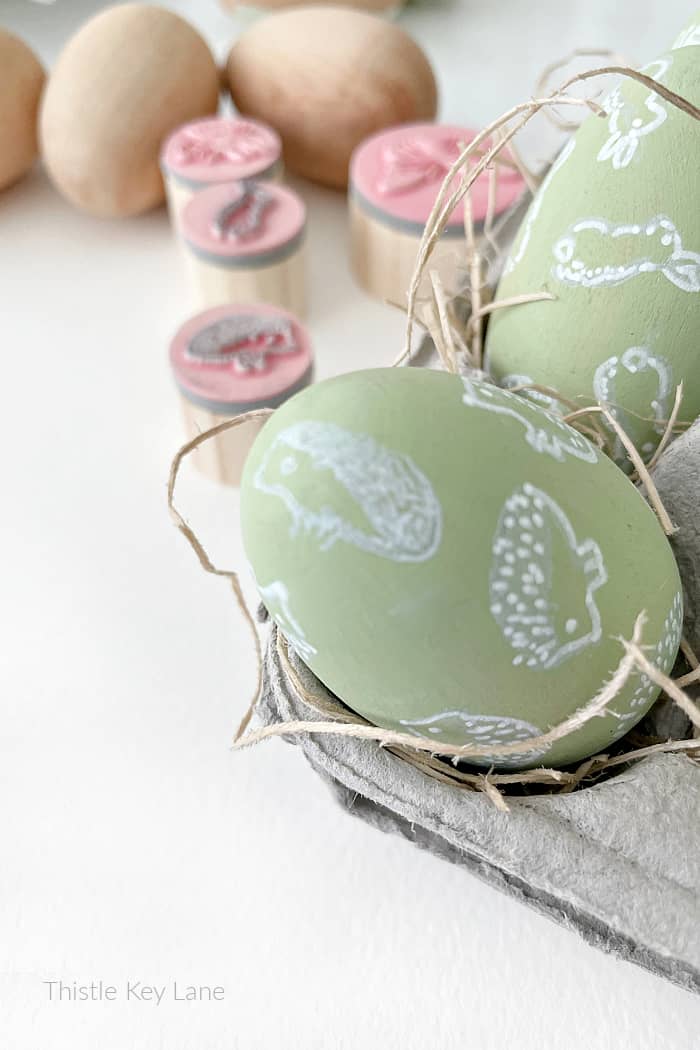
Still determined to have cute designs covering the wooden eggs, I came up with a plan B. Using the faint outlines as a guide, I went back over each one highlighting the details with a white paint pen.
Now the designs look more like they are hand drawn, and hopefully more endearing. It’s more time consuming than just stamping, but I’m calling this one a win and I’m happy with the results.
Add Simple Flowers
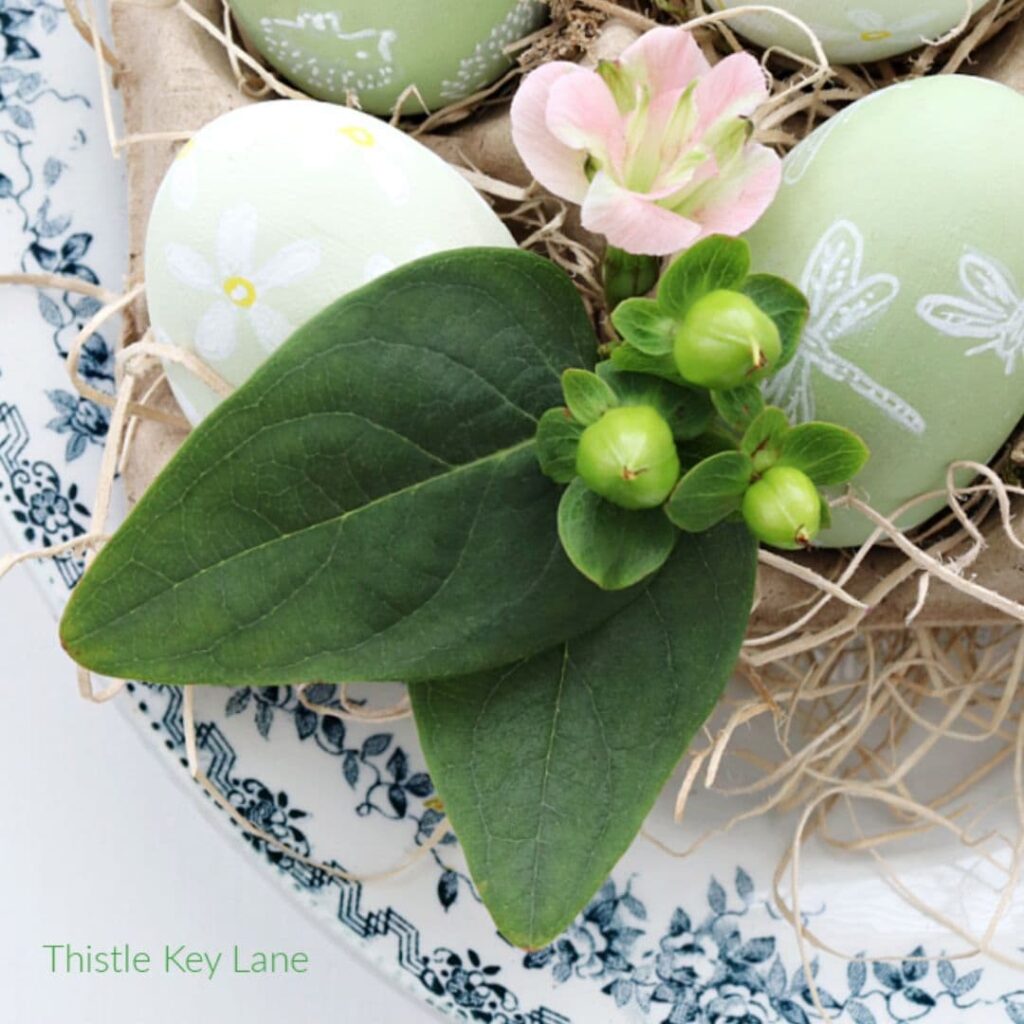
On the pale green wooden eggs draw a five petal flower with a white paint pen. Then go back, fill in the petals, and finish each flower with a yellow center. Easy peasy!
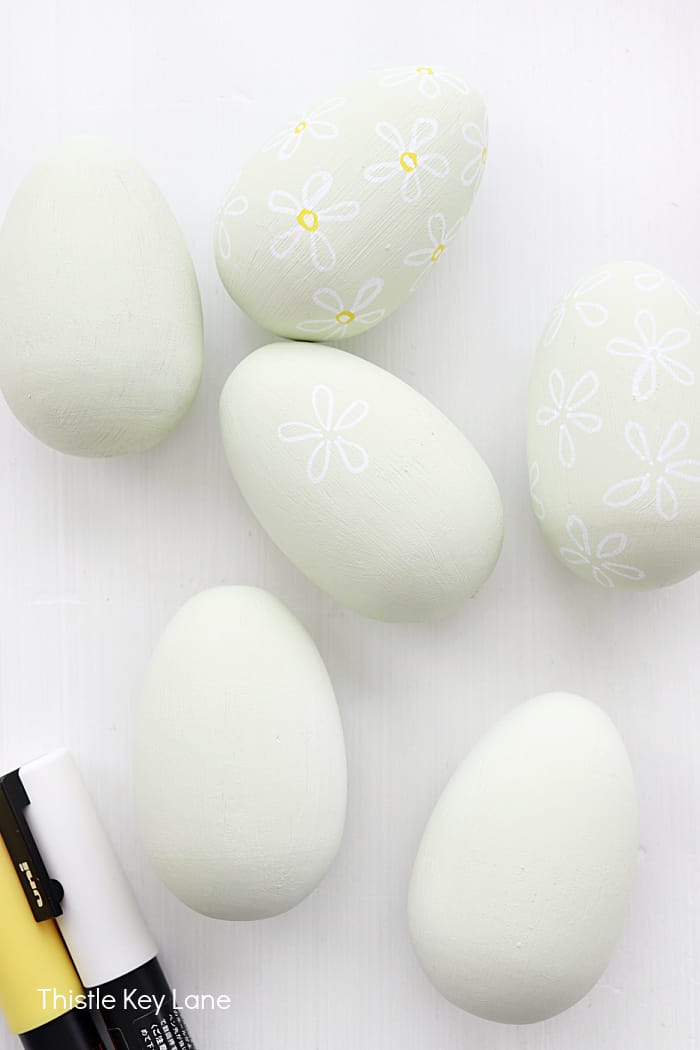
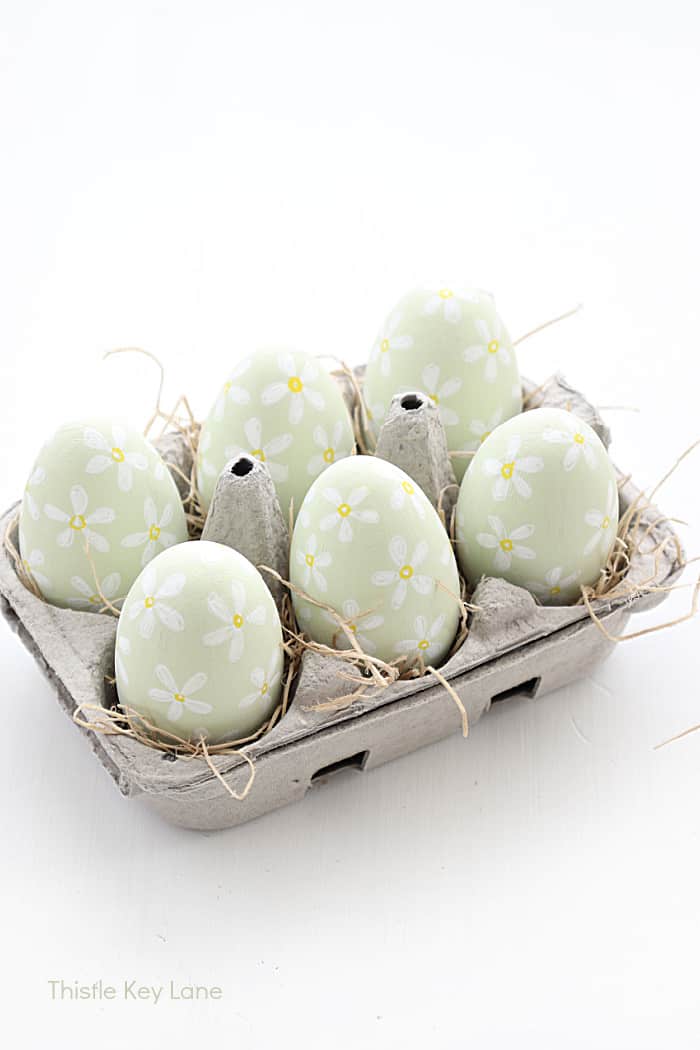
The flowers take a little more time to draw than stamping the designs, but you’ll finish before you know it. If you want to take your egg project one step further, apply a spray sealant such as Mod Podge in matte finish.
Handcrafted Note: I’m becoming a big fan of the Posca paint pen markers. The ink dries quickly, and I’ve never had them leak or glob.
Nothing will please me more than seeing these keepsake eggs year after year. However, if the grand littles request something special, I can always repaint these wooden eggs a new color and start again.
Check out another easy project by clicking on my post, Decoupage Watercolor Floral Easter Eggs.
Be sure to follow Thistle Key Lane on Pinterest, where the boards are up to date with inspiration that you can use right now!
Up next on our blog hop is Amy of Amy Sadler Designs sharing her beautiful rose gold eggs with copper wire. Be sure to check out her centerpiece.
Thank you so much for stopping by and I hope you’ll have fun creating wooden keepsake Easter eggs too. For more Handcrafted Society inspiration click through the links below.
Cheers!

Our March Handcrafted Society Blog Hop Continues….
©2023 Wooden Keepsake Easter Eggs post first appeared on Thistle Key Lane.


Such sweet eggs, Michelle! The color is so beautiful and I love the little stamped creatures and flowers. (The porcupine is my favorite!) Pinned!
Thank you Missy! You did a great job with the color selections and Easter egg theme! I had so much fun with the project!
I love the color of green you chose! These are so cute! Pinned!
Thank you Amy for pinning! I think the color is wasabi lol!
Michelle these are pretty and such a nice shade of green. Great job!
Thank you so much Cindy for stopping by!
These are just darling Michelle, I adore the color and the stamping really added a nice touch.
Thank you Wendy! I’m lucky I was assigned green for this project although blue is always my first choice! 😉
Oh my, Michelle, those eggs are so beautiful! That color of green is just stunning.
Thank you so much Diane! It was a treat having you join us this month!
Michelle, your eggs are so pretty. Love the green color…and you reminded me that I bought wood eggs last year…just need to remember where I put them!
Haha I feel your pain Jennifer! I have a habit of squirreling things away and then can’t find them later!
These eggs are SO adorable, Michelle!! I love the green color of them. What a fun idea for Spring. Thanks so much for sharing at Home Imagined this week!!
Thank you so much Rachel! Hugs!
These eggs are so cute Michelle, those paint pens are a lifesaver! I like how they look hand drawn too. This is my first visit to your site, I would like to invite you to share your Easter eggs for a chance to be featured next week.
Thank you so much for the invitation Cara! Hugs!
I absolutely love these, Michelle. The spring designs you stamped on each egg are so cute. And I love that you created these with your grand little in mind. How speical for her. I am going to share a photo and link to your DIY eggs in my weekly recap post this weekend. I think my readers will really enjoy this simple craft idea, too.
Hugs!
Everything seems to revolve around the grand littles these days! Thank you my friend for sharing in you weekly recap! Hugs!
Oh my goodness, I love the green color you used. Such beautiful eggs! Pinned 🙂
Thank you so much Jennifer! The color assignments were a fun twist this month!
so adorable Michelle, I especially LOVE the daisies. I have to try these, Pinned!
Thank you so much for pinning Debra! Hugs!
Michelle, these Easter eggs came out so sweet. I am excited to be featuring you at tomorrows Home Imagined Link party. Congrats-Meagan
Wow that is so sweet Meagan! Thank you!
Michelle, these are so sweet! I love the soft colors you used and the beautiful details you added. I am excited to feature you post at this week’s Tuesday Turn About Link Party. Thank you so much for sharing!
Thank you so much Lynne for the feature! Big hugs my friend!
Michelle, these are so beautiful. It’s a simple craft, but it’s your choice of colors and styling which makes it so special. Pinned, thank you for the inspiration.
Thank you so much Rita, for stopping by and pinning!
Hi Michelle – I love these keepsake Easter eggs. The color green you selected is stunning. The designs are charming and perfect for spring.
Thank you so much Anna!
Michelle, these eggs are so unique and pretty! I love the soft colors.
Thank you so much Cindy!
Those eggs are adorable, Michelle. I love the soft green color. So pretty. I’ll be featuring this post at Thursday Favorite Things today. 🙂
Thank you so much Pam for the feature this week! Hugs!
LOVE how you used the rubber stamps to make a repeating pattern on these Easter Eggs, Michelle!
Don’t forget to join us over at the Creatively Crafty Linky Party every Wednesday through Sunday
Pinned!
Creatively, Beth
Thank you for stopping by Beth and for pinning! Hugs!