Simple Pom-Pom Pillow DIY
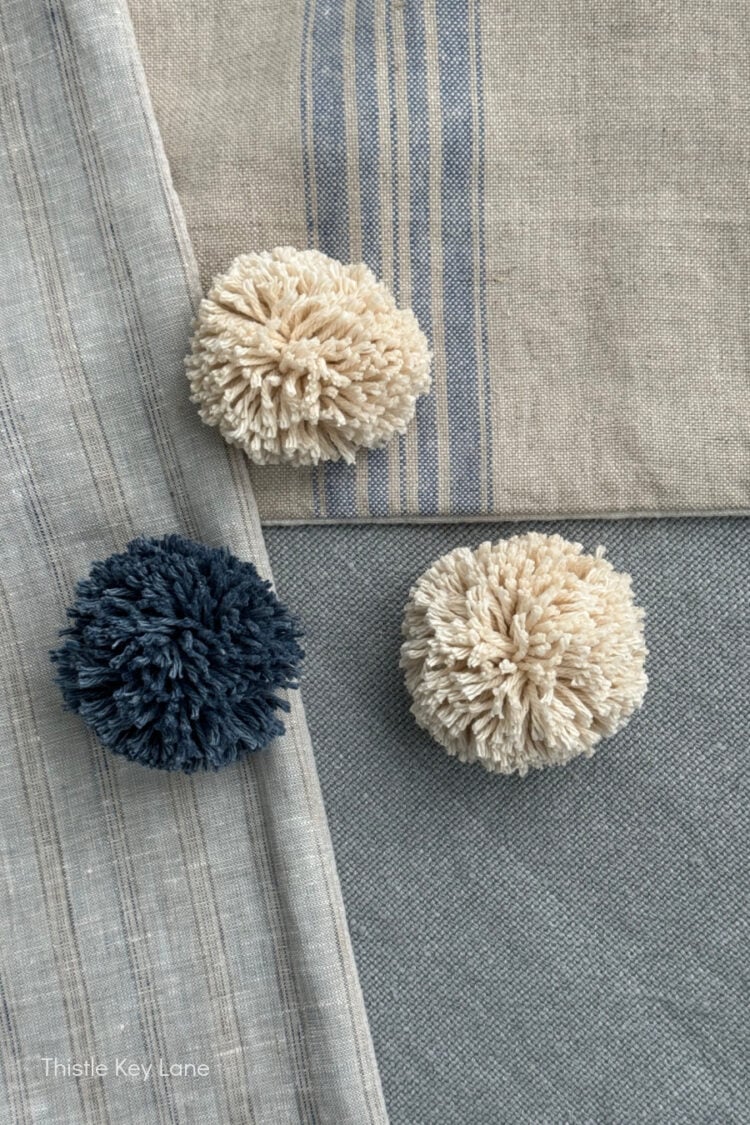
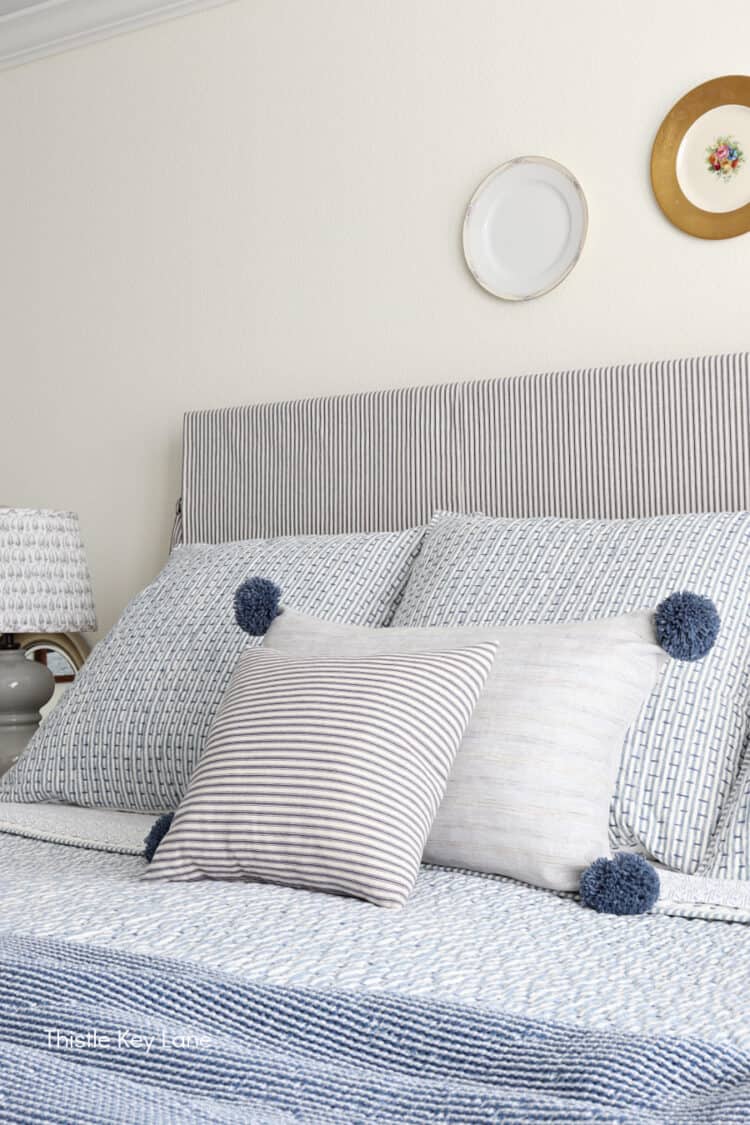
Simple Pom-Pom Pillow DIY. One of the easiest ways to update or change the look of a pillow is with pom-poms. I have three examples of pillow cover makeovers to share with you, and how I succeeded in giving them a sophisticated new look for very little expense.
As an Amazon affiliate, I earn from qualifying purchases at no cost to you. My blog may contain other affiliate links as well for your convenience. For more information please see my disclosure page.
Handcrafted Society
It’s time for our Handcrafted Society monthly get together. If you’re wondering what the Handcrafted Society is all about. Quite simply, it’s a group of bloggers who share a love for handcrafted items. We challenge ourselves each month to take an assigned medium or theme to create whatever our heart desires.
This month we have eight bloggers sharing yarn or embroidery floss projects. Be sure to check out all the links, and photos at the end of my post for everyone participating this month. There’s always something for everyone at every skill level.
To see my Handcrafted Society challenge from last April click on, Bird Trinket Dishes With Air Dry Clay.
Simple Pom-Pom Pillow DIY
I have to admit I love pretty pillow covers, and over the years have accumulated some for every season. For this spring and summer project I’m concentrating on three pillows from our bedroom and living room.
Why add pom-poms? I see it as an easy way to update a pillow by adding color, texture or more interest.
My knowledge base on yarn is embarrassingly limited. I do know that I like natural cotton and wool over polyester and acrylic, so I kept that in mind when shopping for yarn. For these three projects I’m using one white cotton skein and one blue cotton skein with a lot of yarn left over.

Here’s a list of supplies you’ll need to get started.
Supplies
- pillow cover
- yarn in a coordinating color
- pom-pom maker
- scissors
- large embroidery needle
- chalk or pencil
There are lots of ways to make pom-poms without a pom-pom maker. However, I found that by using one, the pom-poms will be a more uniform size and fullness. Click here for a link to the set I have with four sizes.
Making Pom-Poms
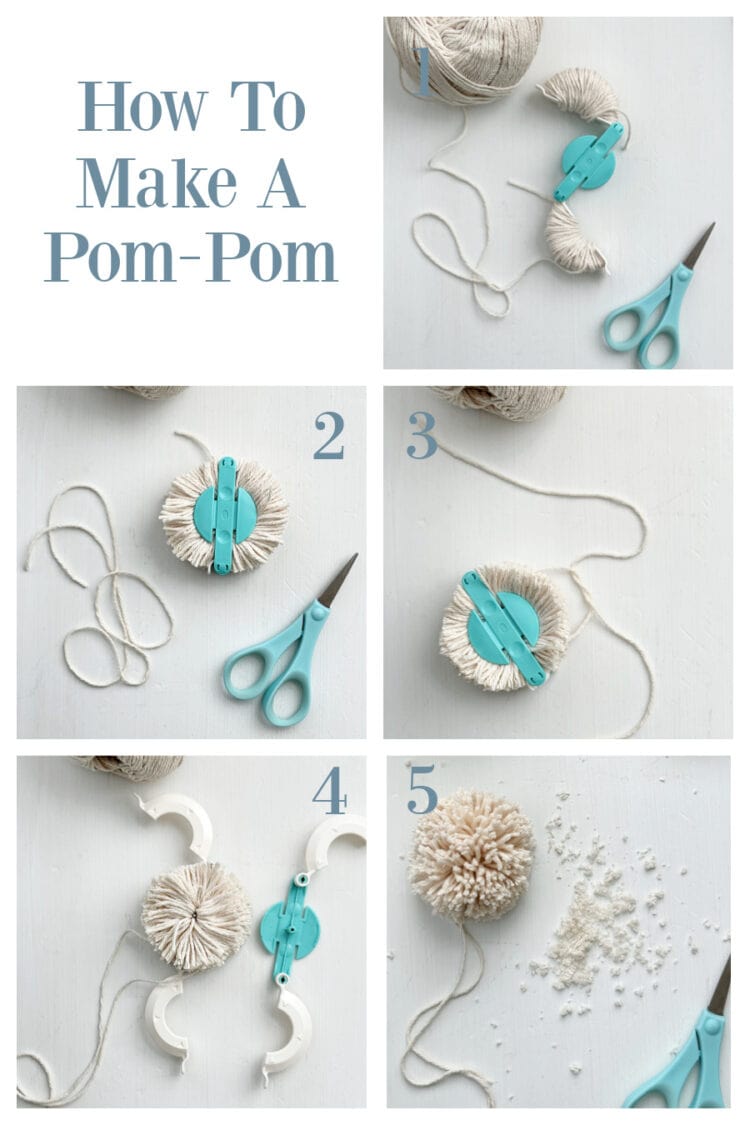
Wrap your yarn around the of the double arch sections on each side then fold the arch sections in.
Cut the yarn down the center of the arch with sharp scissors. Then tie a long piece of yarn around the center to secure the pom-pom. You’ll see in a moment why I recommend a long piece of yarn.
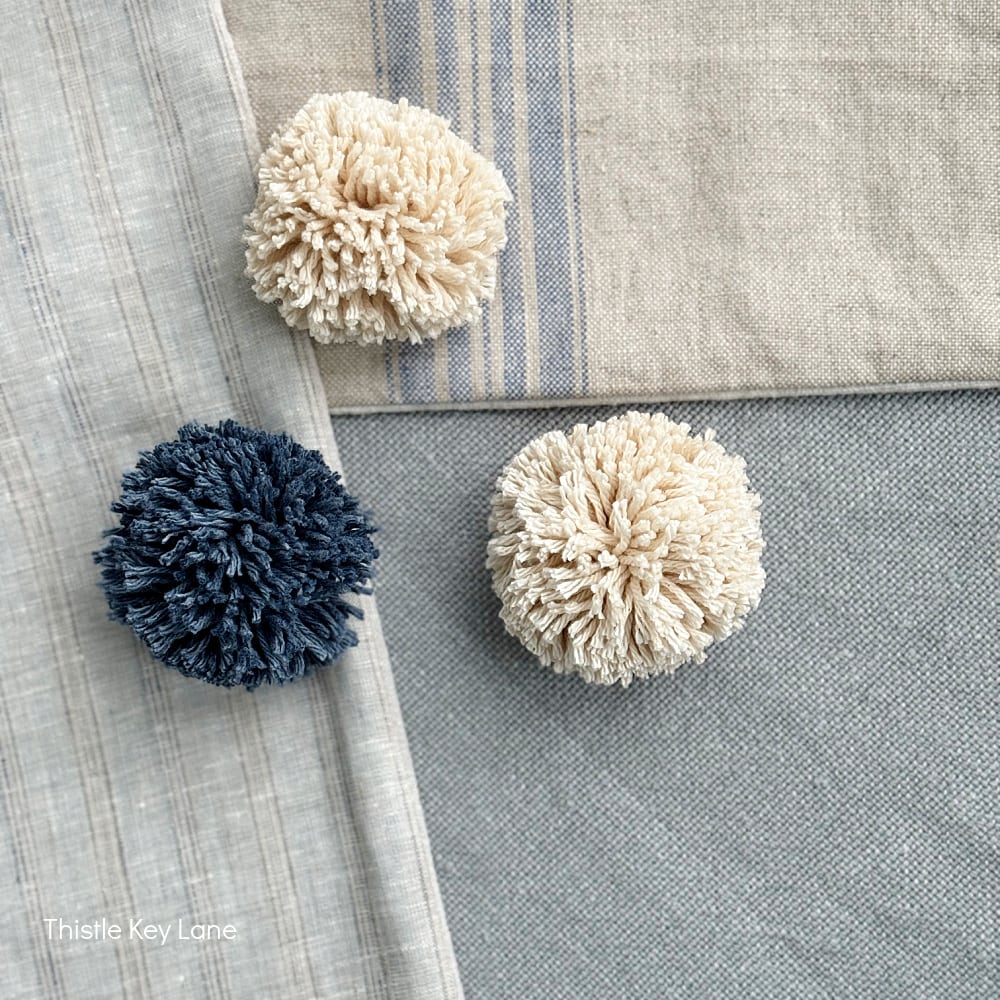
Open or lift each arch section up, and pull the two halves apart. Fluff the pom-pom, and use your scissors to trim off the longer pieces of yarn until you have a round shape.
The cotton yarn results in a more shaggy looking pom-poms. So if you want a fuller or fuzzy look, you may want to use acrylic or wool yarn.
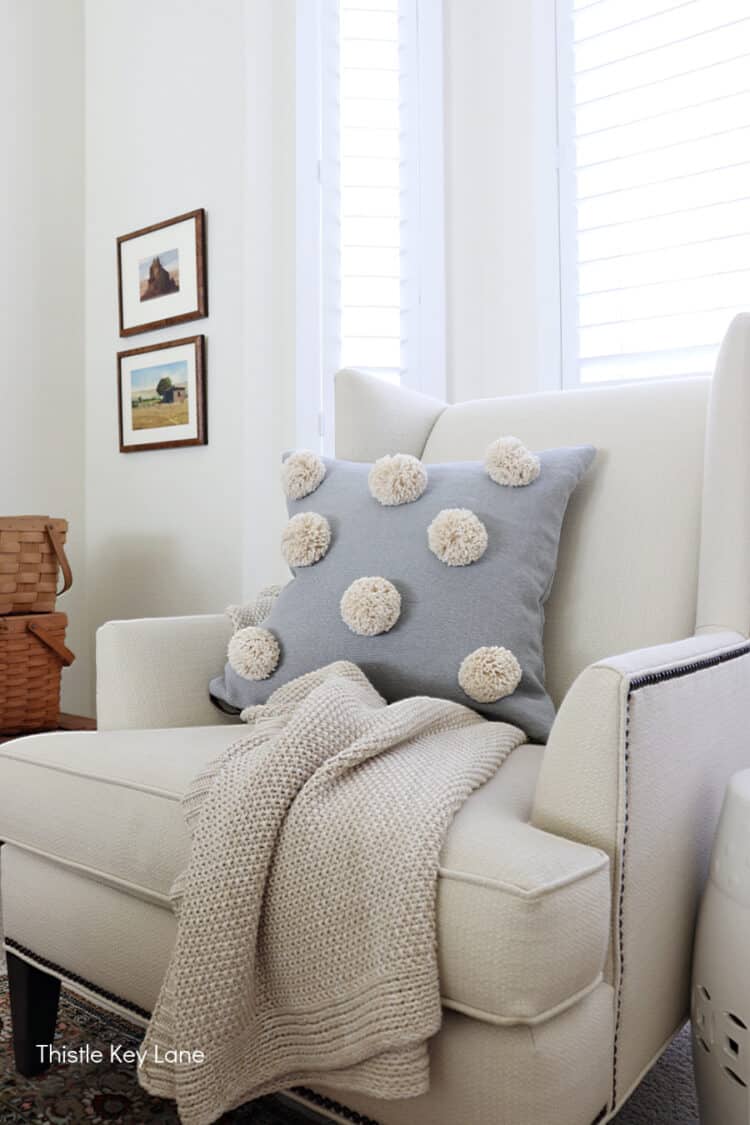
Attaching Pom-Poms To Pillow Covers
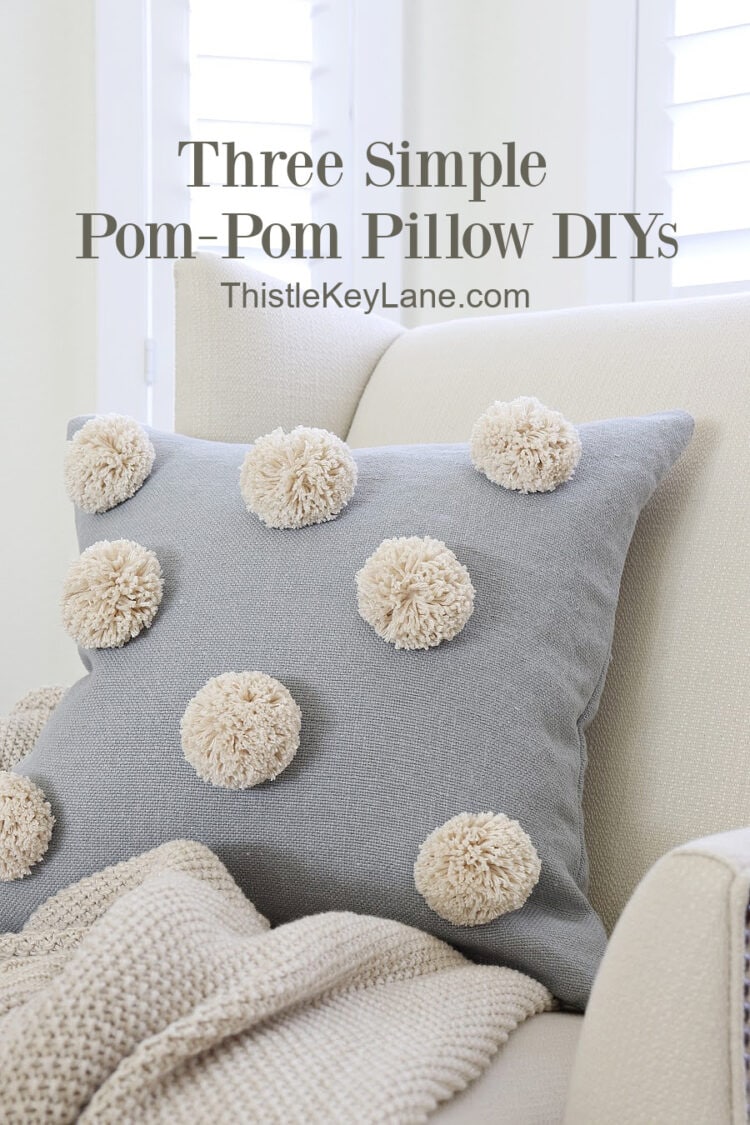
The first pillow cover I’m sharing is from Pottery Barn, which is an everyday linen weave in the color cornflower. For this pillow I’m adding eight cotton pom-poms in a soft off white or ecru. You’ll want to measure out where you want to attach each pom-pom, marking each spot with a piece of chalk, pencil or pen.
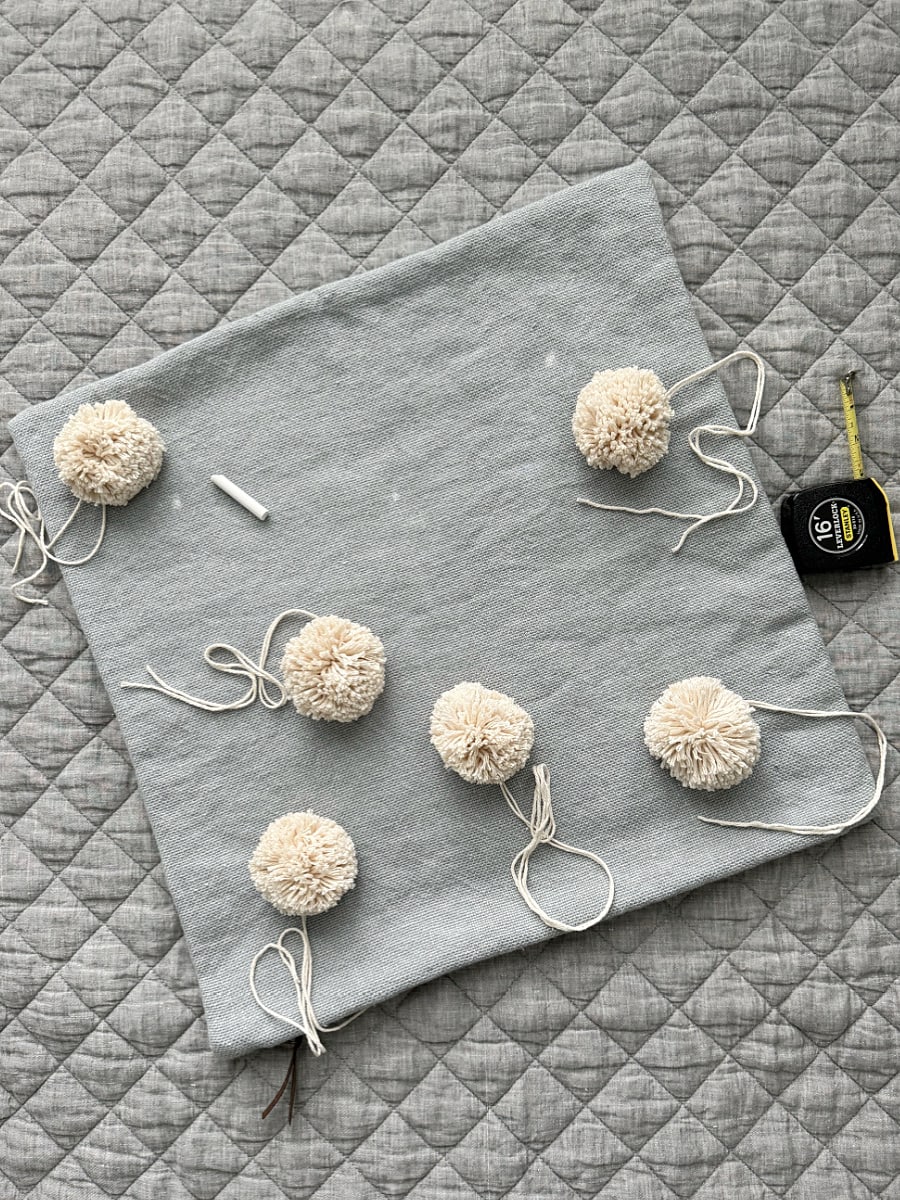
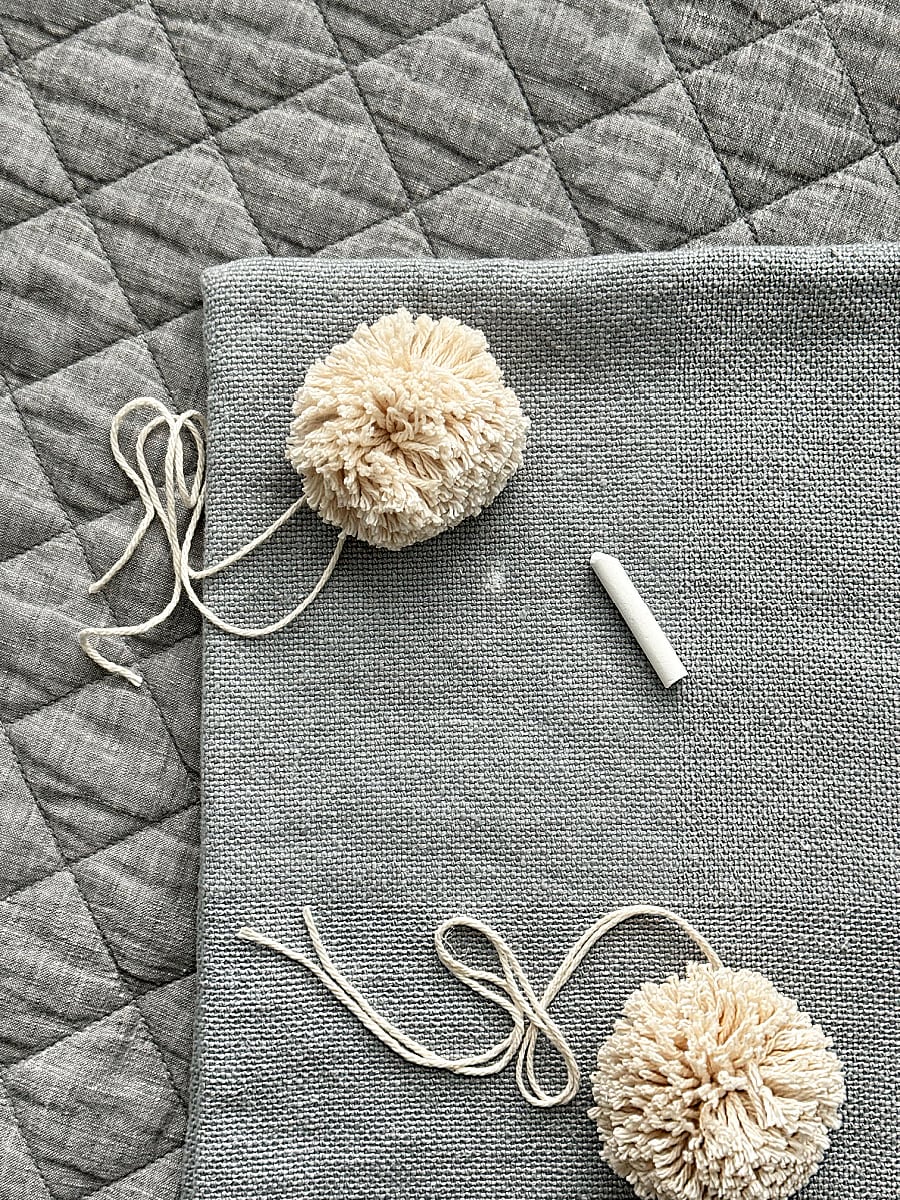
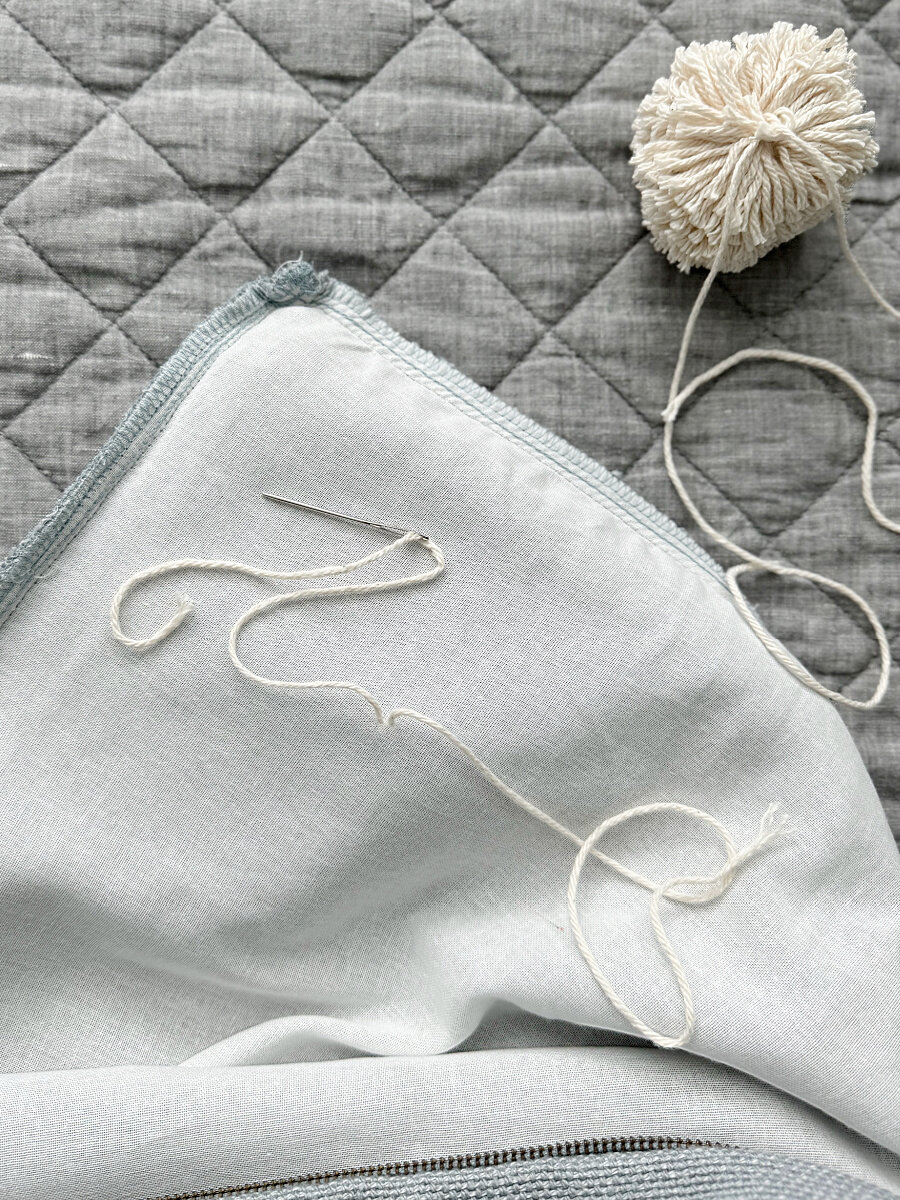
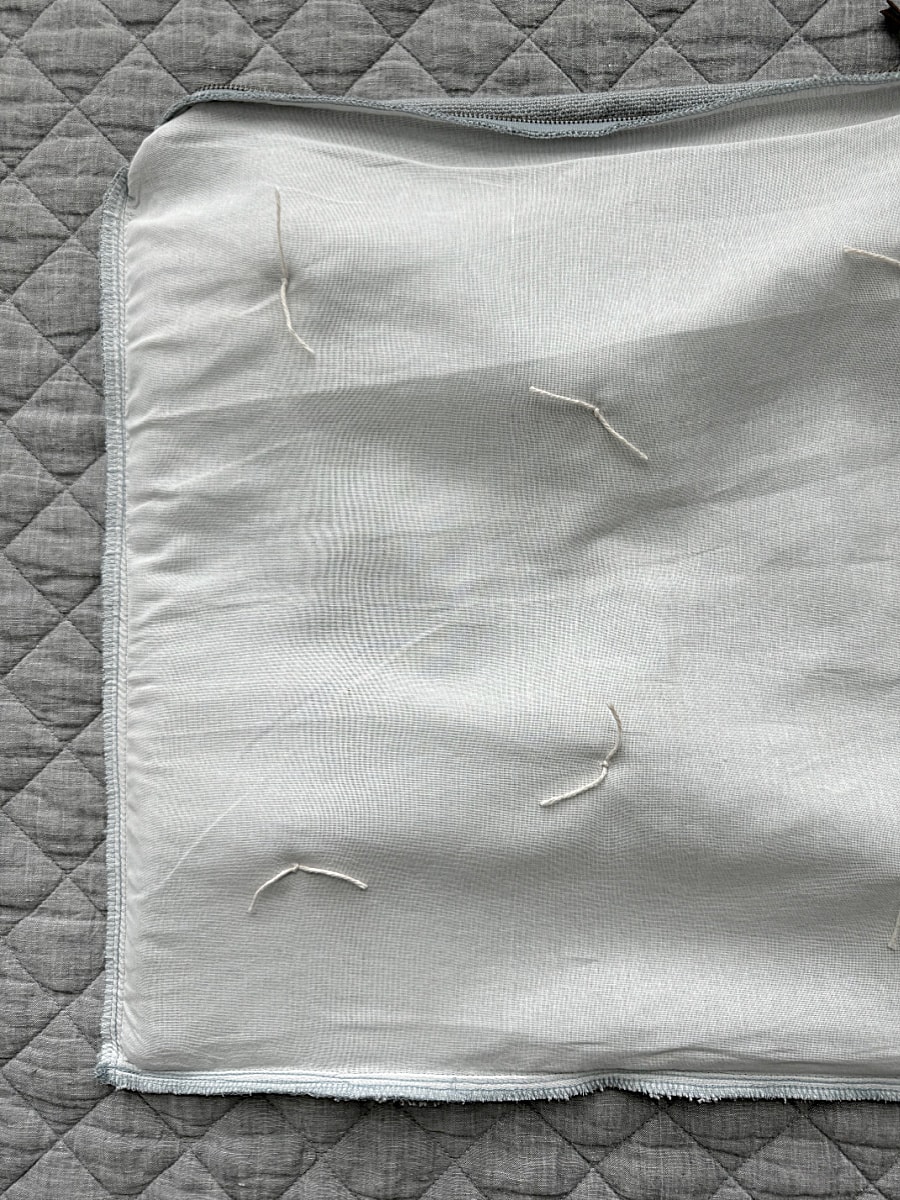
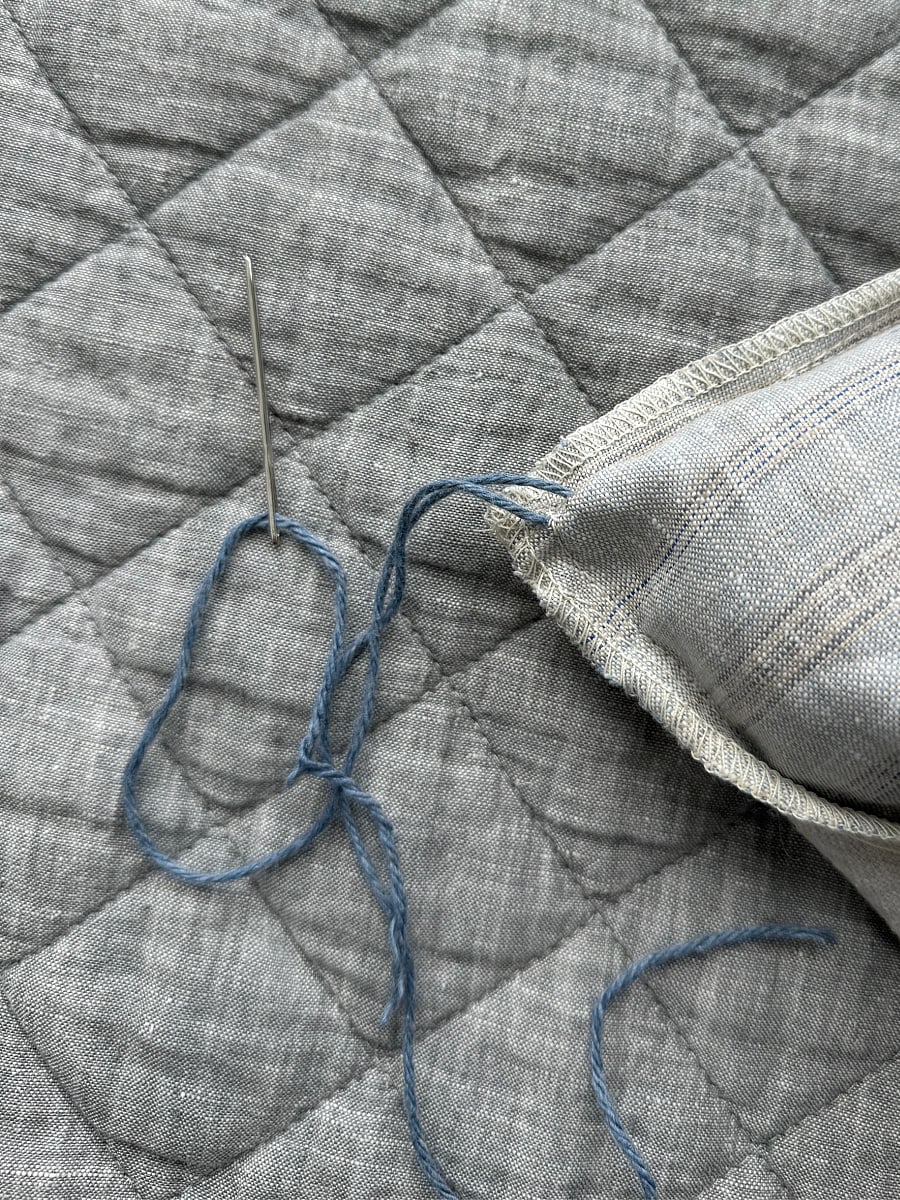
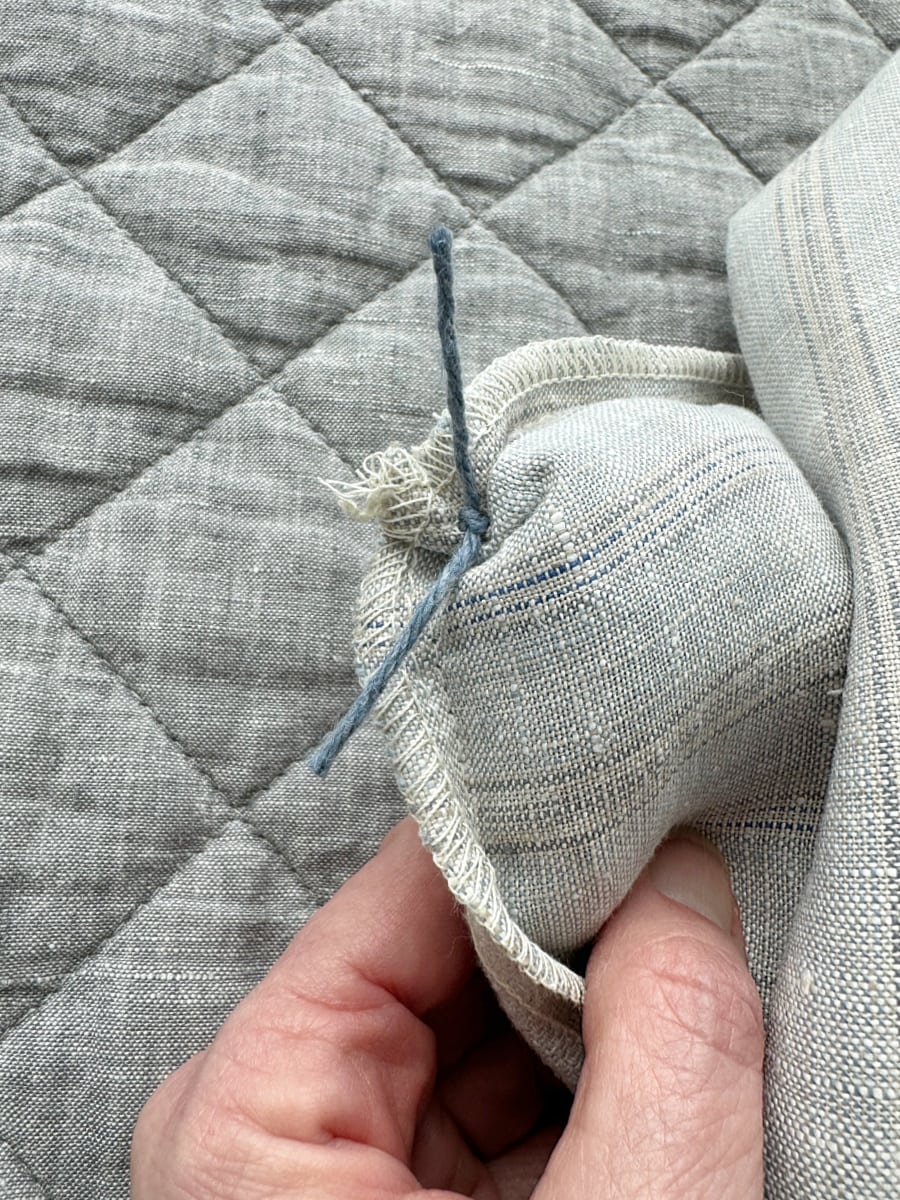
Using a large embroidery needle, insert one yarn piece at a time, allowing about a 1/4 inch between the two, at the marked spot. Then turn your pillow cover inside out and double knot your yarn. Trim off the extra yarn with scissors. Repeat until all the pom-poms are attached.
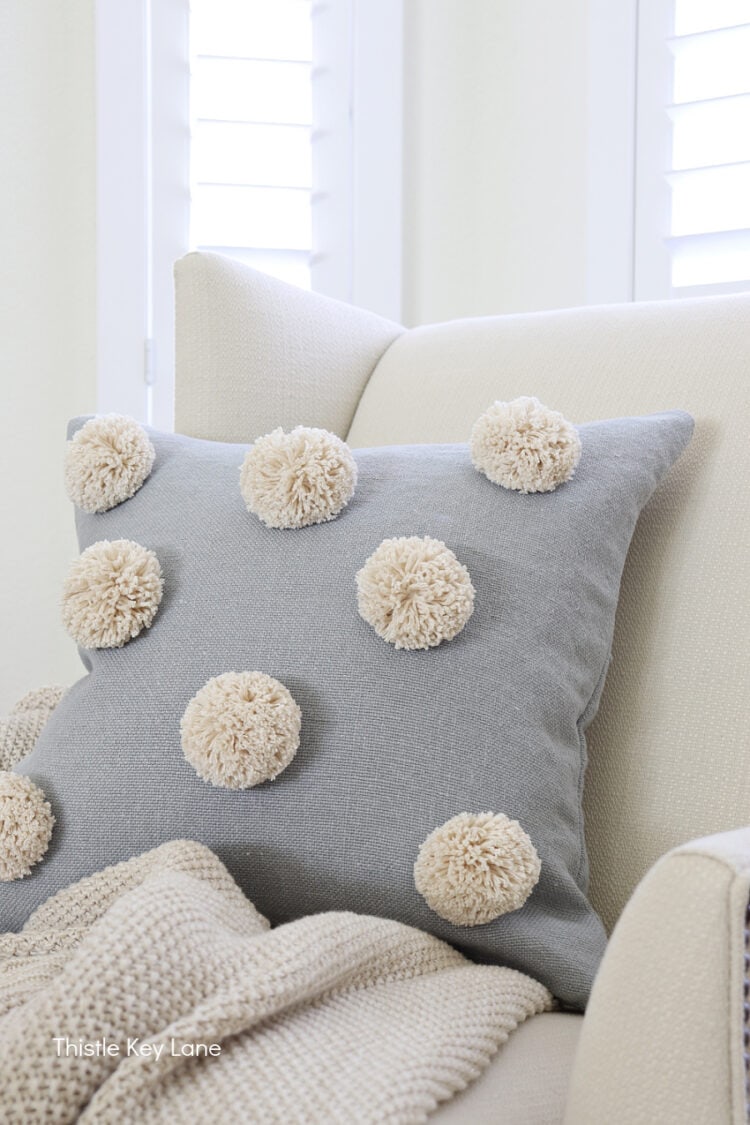
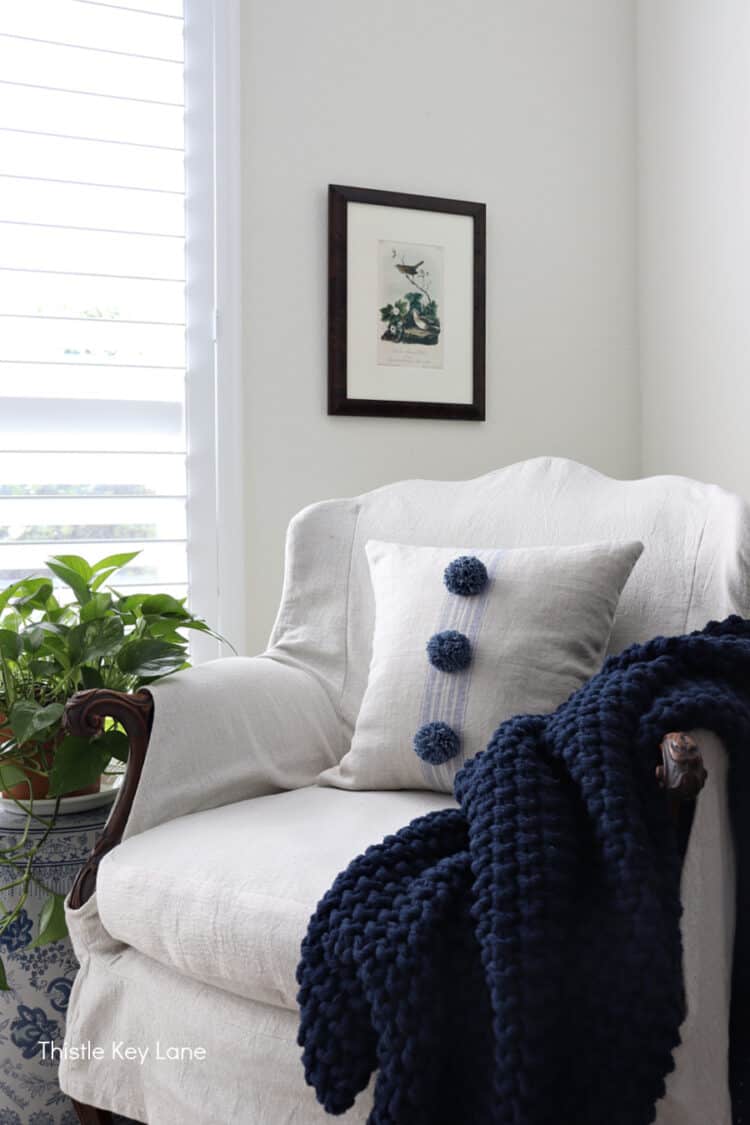
The second pillow cover is made from a vintage square piece of grain sack fabric. I’m updating this one with three smaller blue pom-poms to highlight that cute stripe.
I’m following the same process to attach each pom-pom, as with the first pillow cover.
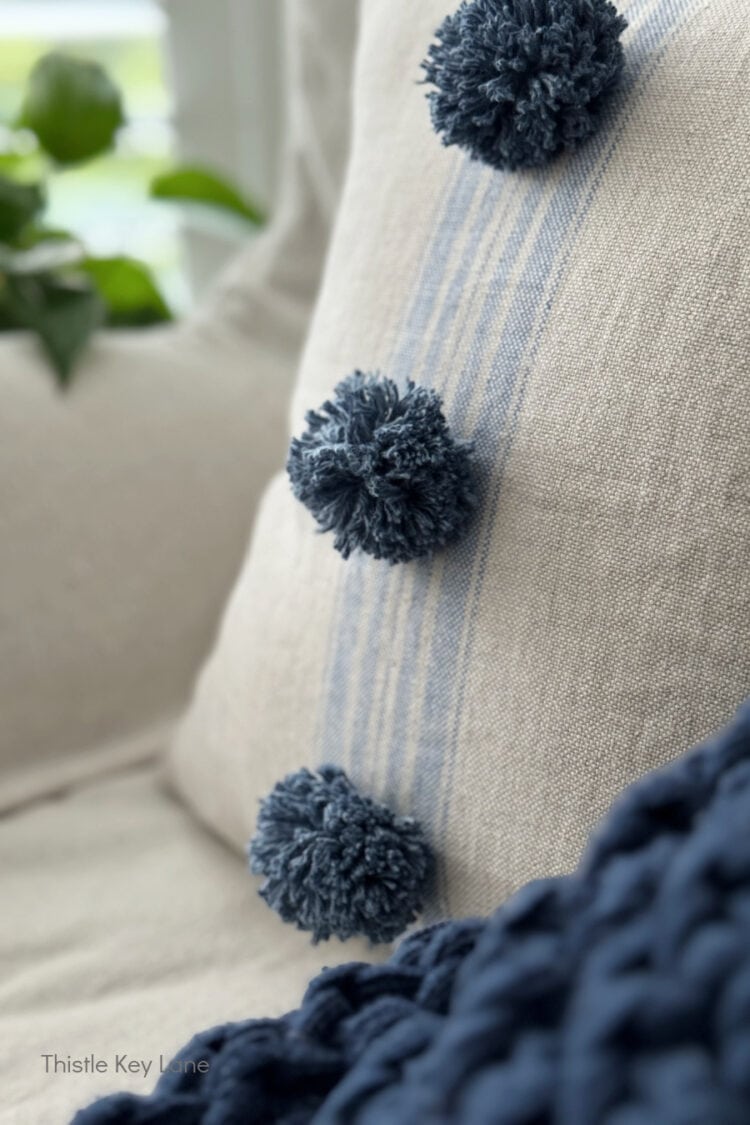
You may be wondering why I don’t just hot glue the pom-poms onto the pillow cover. Well I figure I may want to remove or change the pom-poms in the future, and I don’t want to damage the fabric with glue.
Now when I want a change, I can turn the pillow cover inside out, and snip the yarn to easily remove each pom-pom. That’s also the reason why I’m using chalk instead of pencil or pen.
The exception would be a pillow that does not have a removable cover. If that’s the case, I would hot glue the pom-poms on.
Adding Pom-Poms To The Corners
The third pillow is a lumbar pillow in a subtle blue linen stripe. I want to give it a little more presence, so I’m adding a pom-pom to each corner.
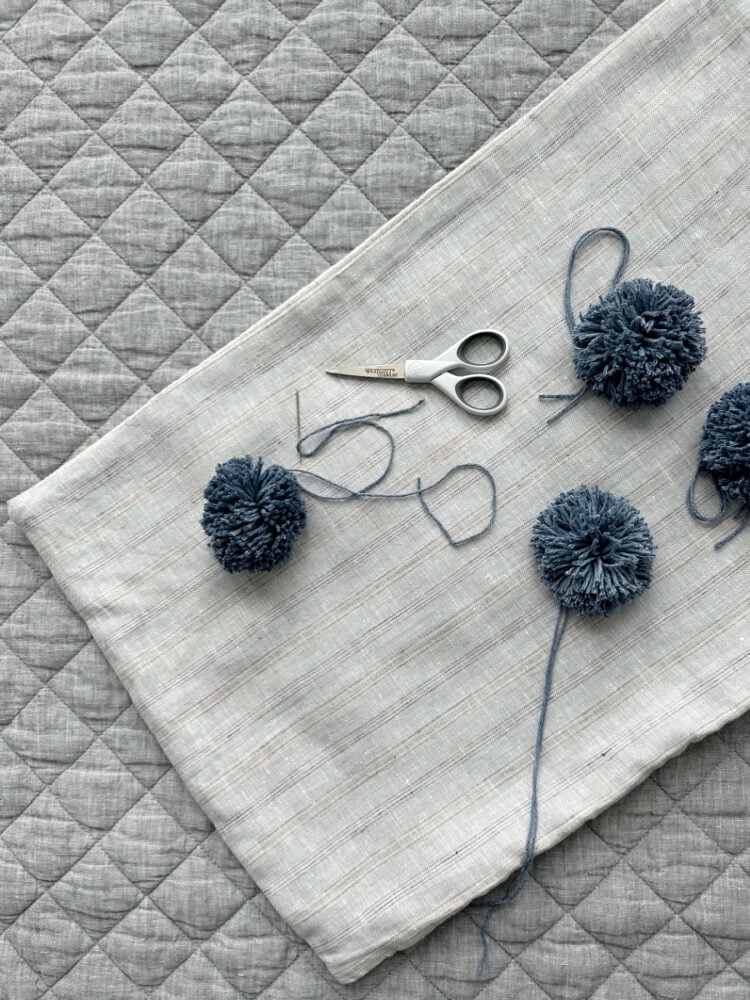
Again I’m following the same process as the first two pillow covers, except I’m attaching a pom-pom at each corner.
Don’t you love these pillow cover makeovers? I think all three look much more sophisticated than before, and the process is so easy.
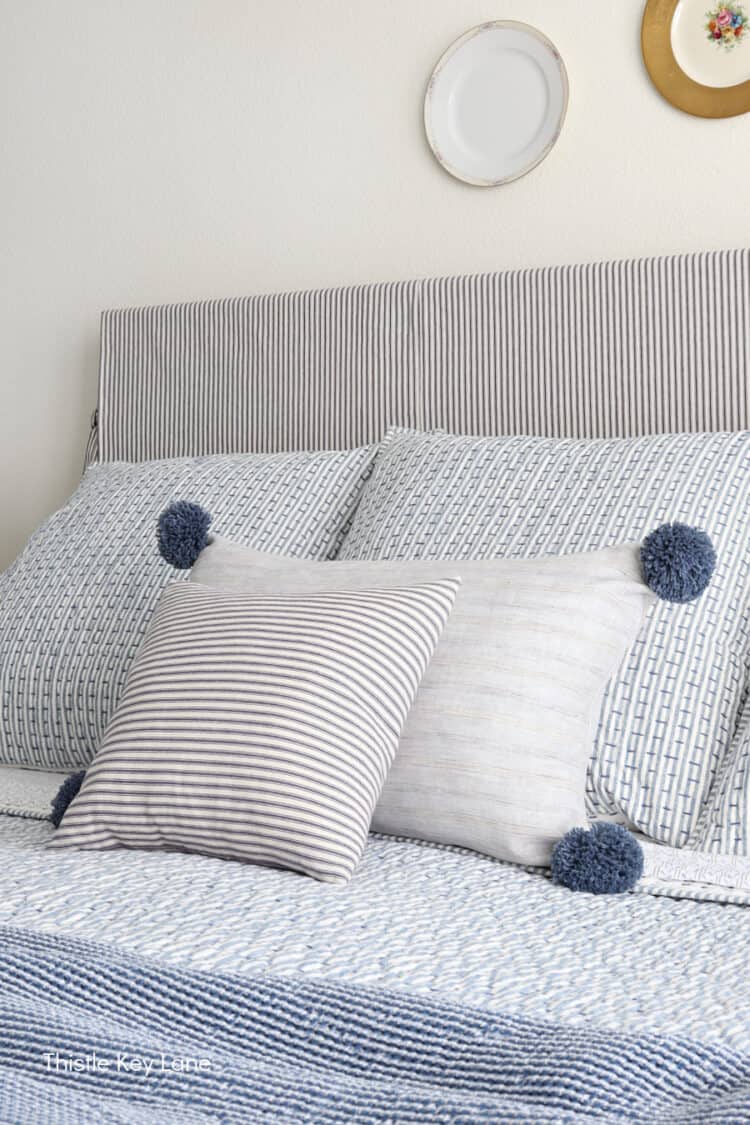
For slipcover ideas like the headboard and chair in this post click on DIY Slipcovers And Why I Like Making Them.
Be sure to follow Thistle Key Lane on Pinterest, where the boards are up to date with inspiration that you can use right now!
Thank you so much for visiting today for my simple pom-pom pillow DIY project. Keep scrolling to see what my Handcrafted Society friends are sharing today. All you have to do is click on the image or blog name to view their full post.
Cheers!


Michelle, those pillow covers are great! What a difference a bit of texture brings!!! I’m crazy about that dark denim looking yarn. Such a great choice!
I’ve always wondered about those little pom pom making tools. Now I think I need one.
Thanks so much Diane! Without the pom-pom makers, I would still be trying them to the same size lol!
Such a fun idea, Michelle! I love the added layer of texture these pom poms give all the pillows you made and how you can use them throughout the year too. I definitely need to get me one of those pom pom tools. Talk about a time saver! Sending you tons of hugs sweet friend, CoCo
Yes the pom-pom maker is a huge time saver for me! I so happy you like the pillows! Big hugs back at ya CoCo!
There is something so fun about pom poms on pillows! Such amazing whimsical texture. I love them all but I think my favorite is the stripe pillow with the three poms on the front. Great post, Michelle! Pinned!
Thank you Missy! The stripe one is my favorite too! 😊
Michelle, I adore your pillows and will be trying this for sure. I adore your creativity. I have had those pom pom makers for years and never tried them—shame on me. You have inspired me today.
Thank you so much Wendy for picking a fun challenge for us this month!
Aren’t those pom pom makers the best?!? One of my best crafting purchases to-date. I love how you used the pom poms on the pillow. It’s a perfect DIY and adds a little extra to any pillow. All three look great.
Thank you Kelly! I’m hooked on those pom-pom makers. I’m all thumbs without them lol!
What a great project, Michelle. I love the pom-poms on the pillows.
Thank you Tammy! I’m so happy with how they turned out!
Hi Michelle! Your pillow covers look fabulous! I adore pom poms and have the same set of makers as you do! They work so well! I think it’s so fun and therapeutic to make them! Thanks for sharing such a creative project!
Your right Donna, they are fun to make and like so many crafts, definitely therapeutic!
Michelle,
I love your pom pom pillows. Great idea. Congratulations, you are being featured on TFT. I hope you stop by. https://www.eclecticredbarn.com/2024/04/how-to-projects-n-tft.html
Hugs,
Bev
I’m so excited Bev! Thank you so much for the feature!