If you’re a flower lover like I am, then I hope you’ll enjoy my post on how to create art with pressed flowers. I’m sharing ideas on making one of a kind pieces of art that are frame worthy and make beautiful gifts.
As an Amazon affiliate, I earn from qualifying purchases at no cost to you. My blog may contain other affiliate links as well for your convenience. For more information please see my disclosure page.
May Handcrafted Society
It’s the first Tuesday of the month, which means it’s time for our Handcrafted Society get together hosted by Wendy of WM Design House. What is the Handcrafted Society? Simply put, it’s a group of bloggers who share a love for handcrafted items.
Our challenge each month is to take an assigned medium or theme and create whatever our heart desires. We are also inviting a guest to join us each month. How fun is that?! I happy to have Rachel of The Ponds Farmhouse join us today.

For our May challenge, we’re creating projects with flowers. If you’re coming over from Saved From Salvage welcome, I’m so happy you’re here. Don’t you love Regina’s clever ideas for repurposing containers for patio flowers?
To see last month’s HS post click on Bird Trinket Dishes With Air Dry Clay.
How To Create Art With Pressed Flowers
There’s something about preserving the beauty of flowers that I just love. Their colors and structures are simply fascinating to me, and they are so interesting to study too.
There’s lots of methods for creating pressed flowers such as using the microwave, ironing (which I haven’t tried), in books or a simple flower press. I’m not sure if there’s really a right or wrong way to press flowers, so I say do what works best for you.

The flowers for the projects I’m sharing, are created using a flower press or between the pages of heavy books. I also bought a few packages of pressed flowers. This city girl only has so many options for collecting flowers, so if you’re like me ordering them online is a good choice.

Supplies
- flower press or heavy books
- small delicate flowers and greenery such as ferns
- tweezers
- white craft glue
- cotton swabs
- craft paper or scrapbook paper
- frame with a mat
Creating Pressed Flowers
The flower press I’m using has seven layers of paper and cardboard, so I can add to it as I wish. I just loosen with wing nuts, take off the wood top and add a layer of booms between the thick papers.
When creating pressed flowers think about looking for small and delicate varieties. Then pick flowers that are easy to flatten. I had good success drying individual hydrangea booms, daisies, Queen Ann’s lace, baby’s breath, solidago and dianthus. Next time you buy or receive a bouquet of flowers, snip some of the small blooms and add them to your flower press.

If you have ferns in your home or yard, clip some of the smaller fronds to press. I have three varieties of ferns that I’m mixing with the my flowers.
Once you start collecting pressed flowers, you may want to find a container to store and separate by color, size or type. I’m using a plastic container with dividers that I already had on hand. It’s fine, but I’m thinking one that is not so deep will work better.
Creating Art With Pressed Flowers
Once you have your pressed flowers, then you can create a piece of art to frame and display. I have several examples to show you, and I promise they are all very easy to make. Hopefully my process will help you start one of your own.
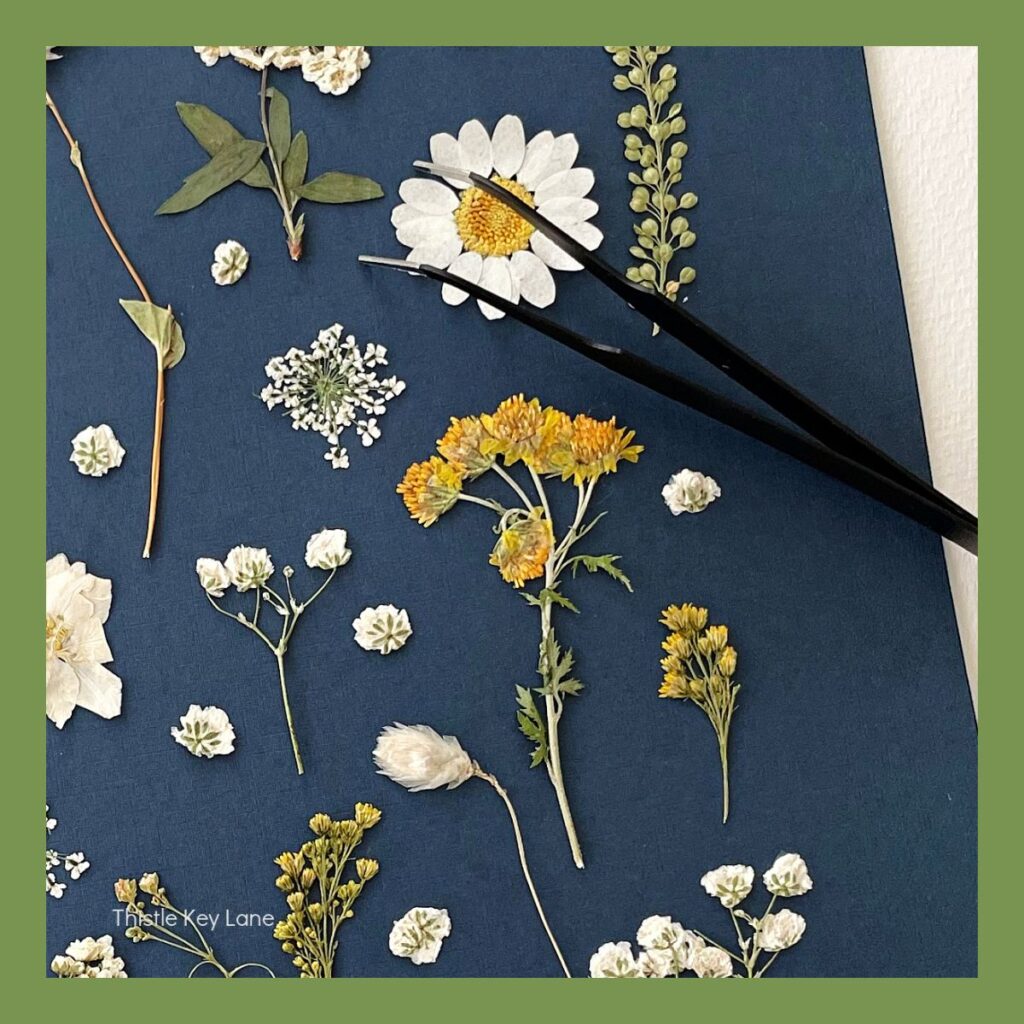
One thing to remember is that pressed flowers are very light and delicate. Using tweezers will help when picking them up and prevent damage to the fragile petals.

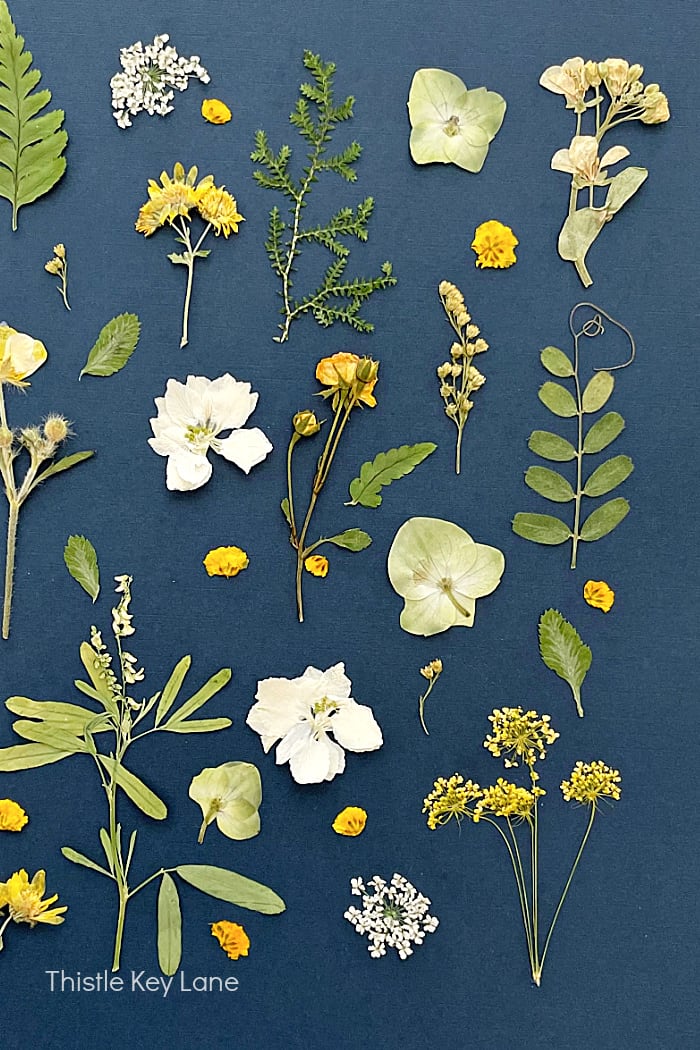
I’m using a 8″x10″ navy scrapbook paper for the first pressed flower examples. Navy is a color that goes well in my decor, and I love how well the flowers and greenery show up on a dark background.
Start by laying out your flowers one by one, until you’re happy with the distribution of size and color. Then go back and add greenery and smaller flowers to fill in open spaces.
A helpful hint is to take a photo with your cell phone to get an overall view of your project.
While laying out your flowers, you can also decide on which side of the flowers you like best. Sometimes the back of flowers have interesting details and colors that you may want to highlight.

When you’re finally happy with the layout, then you can start gluing each flower and leaf into place. I’m using regular craft glue and a cotton swab with the end broken off. You can apply a few dots of glue to your paper or apply glue to the back of the flower. Do whichever is easiest for you.
Have Fun Creating Different Layouts
The look I’m going for in my botanical arrangements is a little bit more contemporary. I love the randomness of the yellow and white flowers on the navy background. However placing each one vertically gives them a sense of order, as if they are a collection ready to be studied.

I love how the miniature pink daisy like flowers turned out. It’s very happy and playful and will look so cute in a little girls room.
This one is the most simple to make by first gluing the four pink daisies, first then three tiny blooms, and last the Queen Ann’s lace stems.

The third example of pressed flower art is colorful mix of flowers with a variety of ferns. First layout your pressed flowers then go back and add the fern leaves to fill in the empty spaces. I’m thinking this one will make a fun gift!


Framing Pressed Flower Art
While shopping for frames keep in mind that you may not want your flowers mashed up against the glass. Look for frames that have a thick mat so you will have some space between the glass and your flowers or a shallow shadow box will work.
You can also consider having them professionally framed, so that your pressed flower artwork looks like it is floating.


Shop Supplies
- small flower press
- blotting paper for flower press
- bulk dried flowers for crafts
- plastic divided organizer for dried flowers
Be sure to follow Thistle Key Lane on Pinterest, where the boards are up to date with my favorite seasonal inspiration!

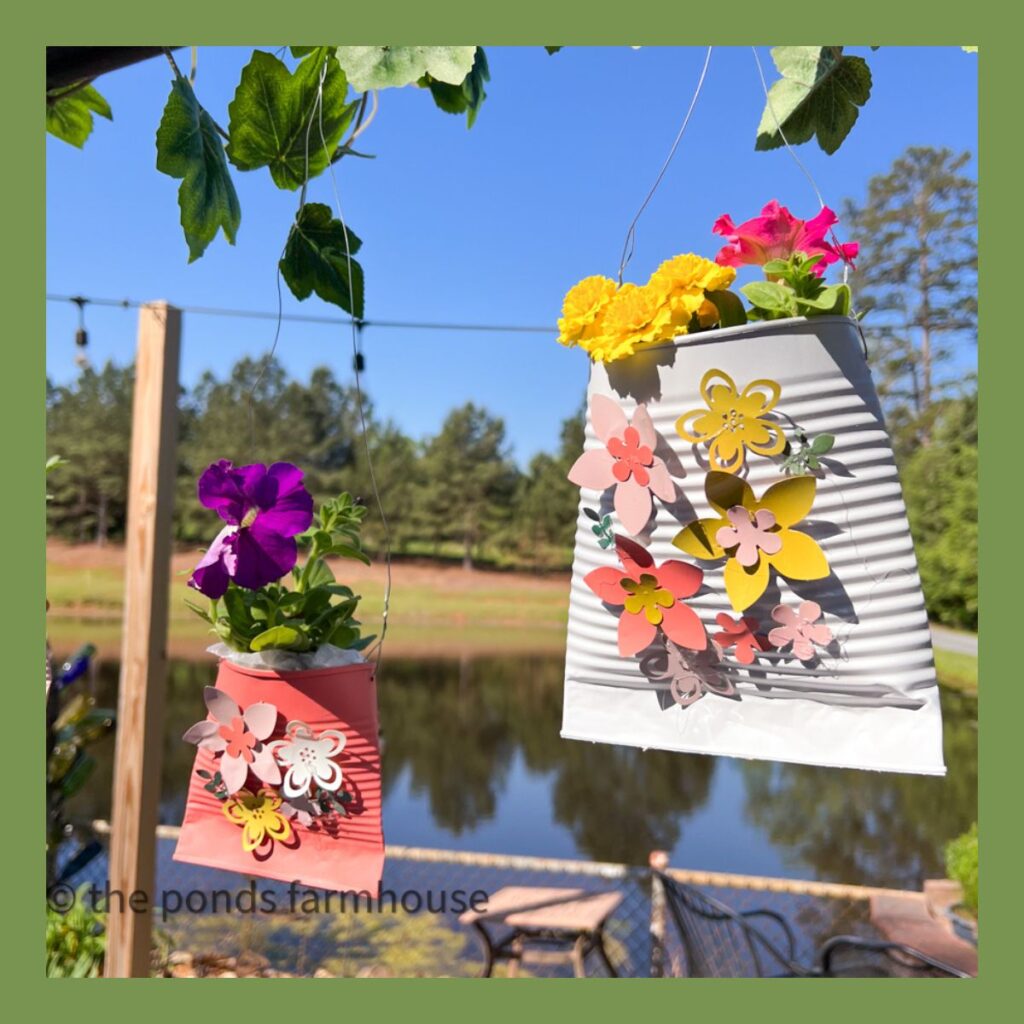
Up next is Rachel of The Ponds Farmhouse. I know you don’t want to miss her colorful plant pots with recycled aluminum flowers. Such a cute way to decorate a patio!
Thanks so much for stopping by today, and I hope you will enjoy creating art with pressed flowers. Be sure to check out these other fun flower projects and crafts in the links below.
Cheers! 
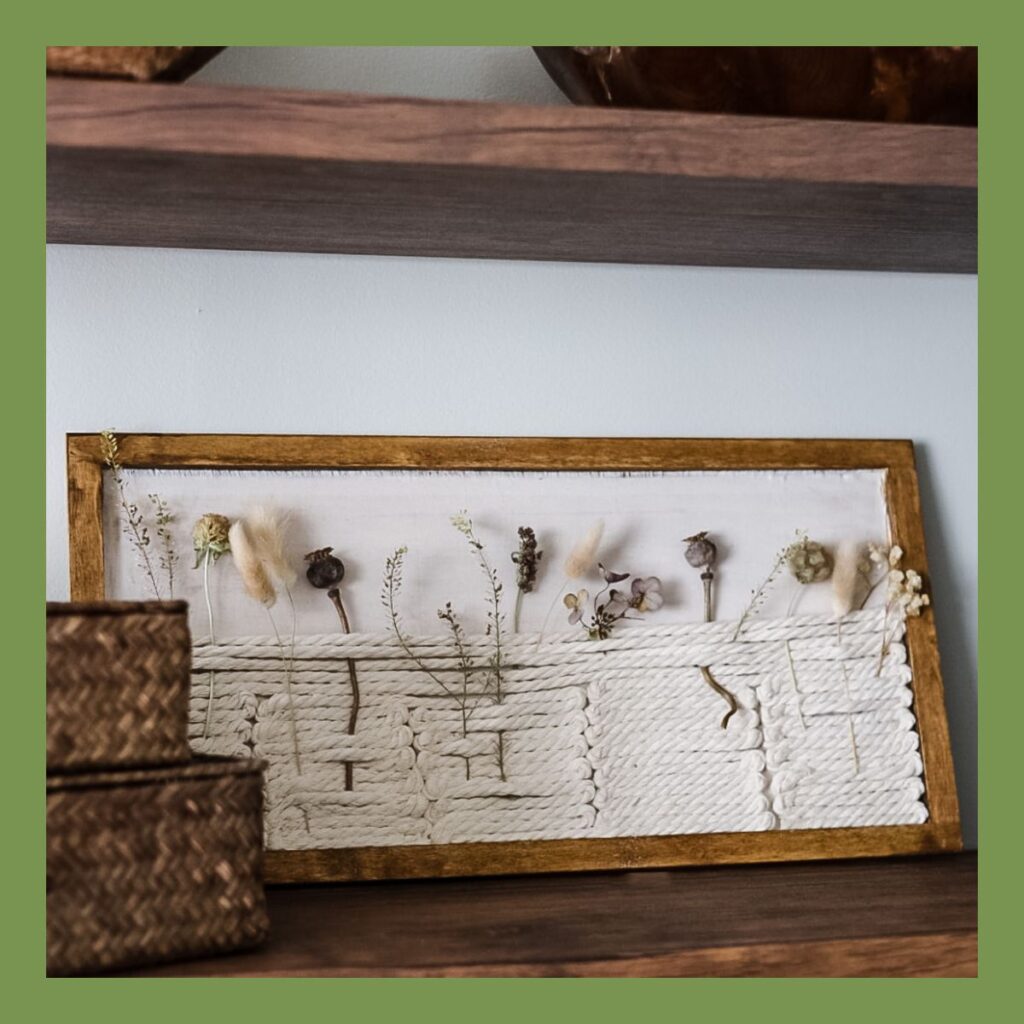
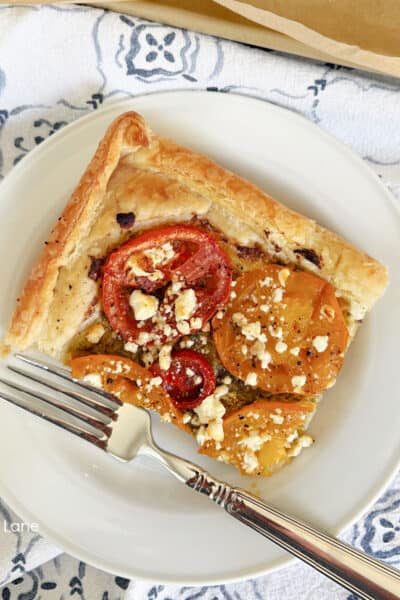
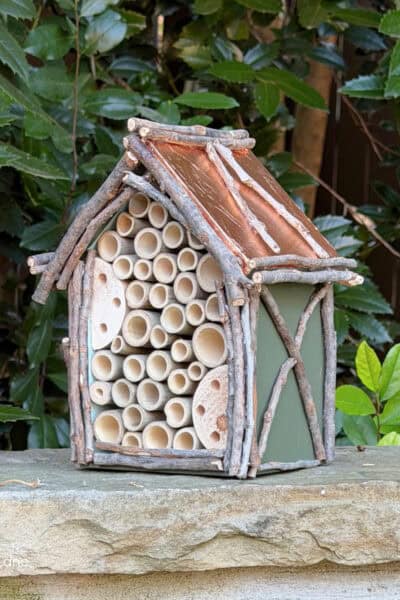
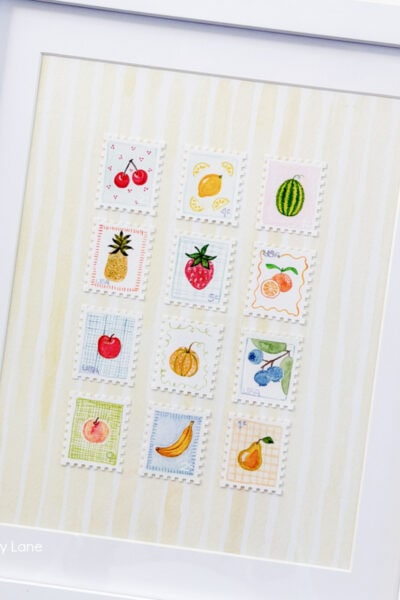
more flower projects and crafts from the Handcrafted Society…

Love your beautiful wall art Michelle! you certainly inspired me to create some of my own artwork. Thank you for leading us this month, you did such a wonderful job.
Wendy, you should have plenty of flowers to use in projects this year! Thanks so much for the sweet comments!
Michelle,
I’ve wanted to create some pressed flower art for some time now. I’ve used herbs and they turned out cute so this is on my bucket list. Thanks for the inspiration. Also thanks for inviting me to participate this month.
I’m so happy you could joined us Rachel! Your cans and aluminum flowers are just darling!
This is awesome!! It came out so beautiful! Love it Michelle.
Thank you Jennifer! Botanical projects are always fun to play around with.
Beautiful artwork, Michelle! I particularly love the pressed flowers with the navy blue background. So striking! And, I love how you organize the flowers! Genius! Thank you so much for organizing us this month! I always love our Handcrafted post shares!
Thank you Missy! I look forward to our Handcrafted posts every month! This is such a fun group!
Oh wow, this is so gorgeous, love it.
I visited you via Tuesday Turn About #200 Party Celebration
If you are not already part of SSPS, this is a personal invite to hop over and come and share your posts with us at Senior Salon Pit Stop, every Monday to Saturday.
See my entries: 124+125 and then navigate to the bottom of my page for the Senior Salon Pit Stop linkup, we hope to meet you there virtually.
Thank you so much for visiting! I’ll be sure to stop by!
Thanks hope to see you there weekly
Michelle – So simple and so elegant. I love them framed. They look amazing on the navy background. You have a great eye for arranging them. Thanks for picking flowers this month!
Thanks Regina! I can’t wait to try this on different color backgrounds or maybe homemade paper.
Michelle, these are so stunning. I really love the navy blue background and the lovely way you arranged the flowers. I’ll be featuring this today at Thursday Favorite Things. 🙂
Thank you so much Pam for the feature! Big hugs to you!
Elegant and Stunning
Thank you so much for stopping by!