
How To Make An Air Dry Clay Garland
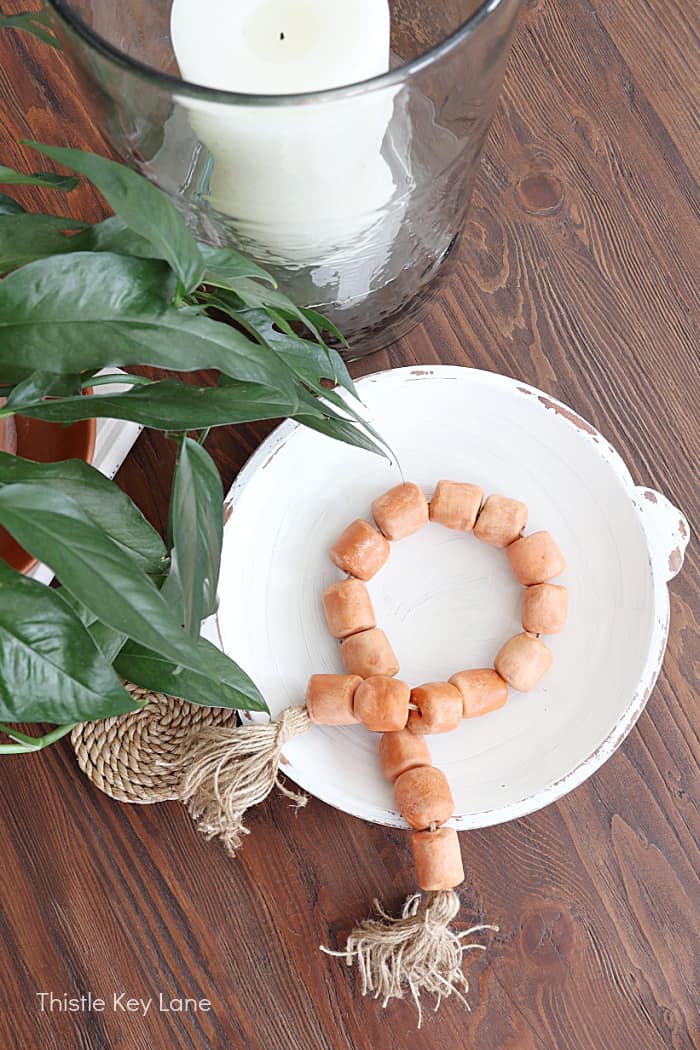
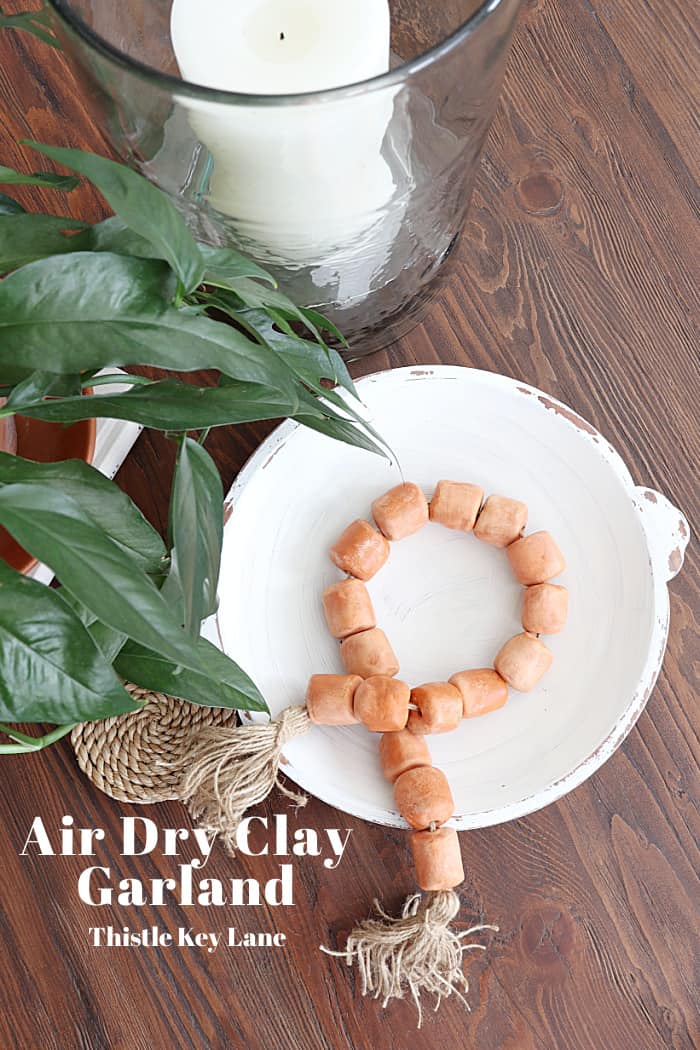
If you’re looking for an easy project to start this weekend, I’m sharing how to make an air dry clay garland. I’ve been admiring clay garlands for the longest time, and finally took the plunge to make one for myself. I’m still quite the novice when it comes to working with clay, but with each project I’m learning a bit more.
As an Amazon affiliate, I earn from qualifying purchases at no cost to you. My blog may contain other affiliate link as well for your convenience. For more information please see my disclosure page.
How To Make An Air Dry Clay Garland
Bead garlands are certainly not new in home decor, but like I said I’ve been admiring them for what seems like forever. Don’t you love their rustic colors and the casual way they drape across a book, or in a bowl? They are also pretty all by themselves coiled on a table or shelf.
I especially love the ones that look handmade and imperfect. If you feel the same way, then you’ll really love mine, because they are as imperfect as you can imagine!
So are you ready to get your hands dirty? If so, you may appreciate this little tip. Working with terra cotta clay means you’re going to have orange hands, so before starting, cover your cell phone with plastic wrap. You’ll thank me later. 😉
Supplies
- terra cotta air dry clay
- clay cutting tool or knife
- pointed wooden sculpting tool
- bowl of water
- paper towels
- jute string
- scissors
- clear spray sealant (optional)
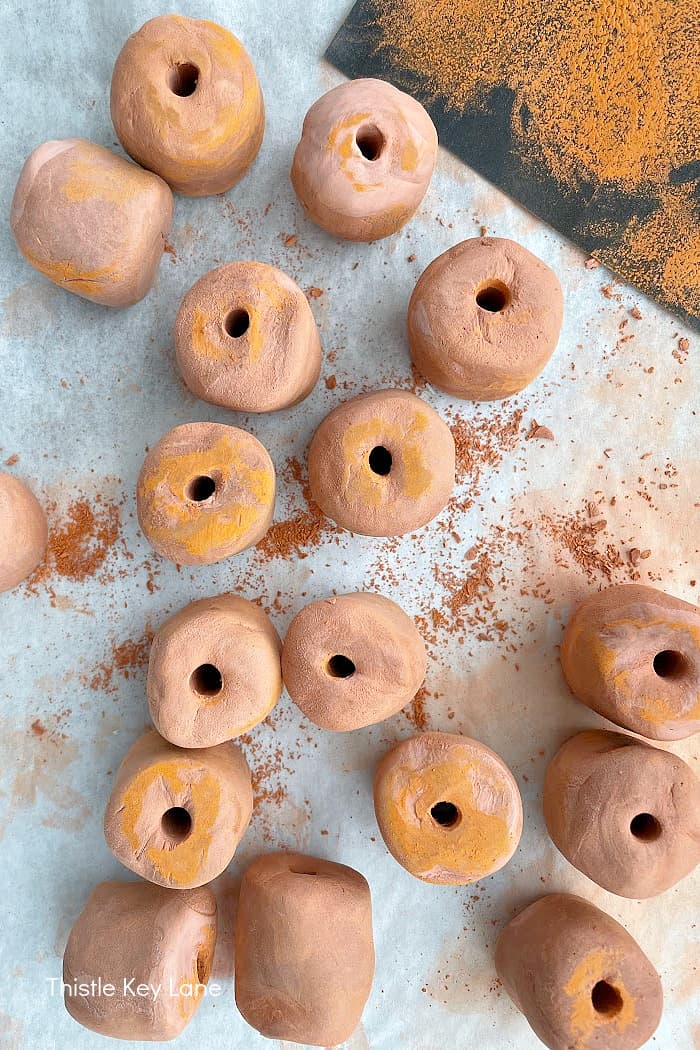
- First prepare your work surface. I’m using two layers of parchment paper to work on.
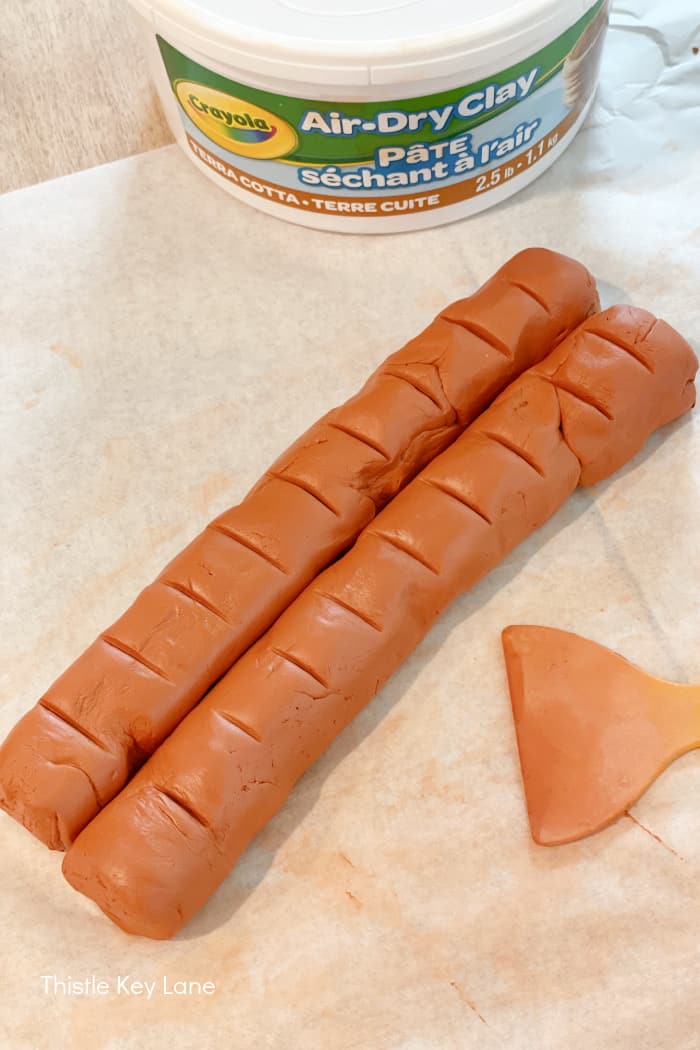
- Start with large piece of the terracotta clay forming it into logs. Click here for the air dry terra cotta clay I’m using.
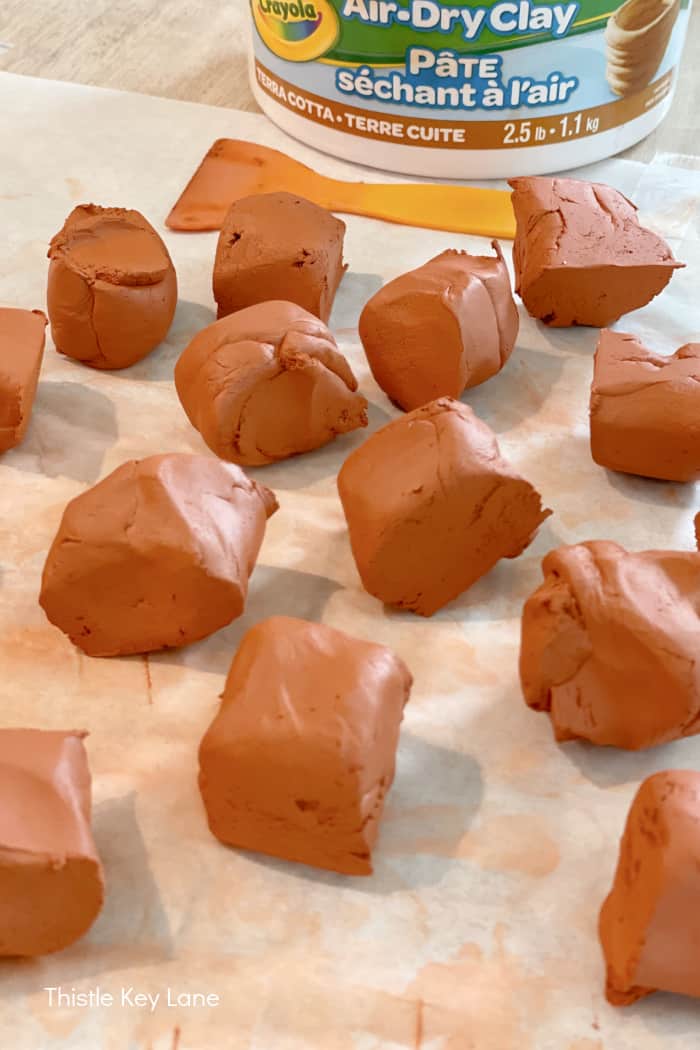
- Make marks on the clay logs an equal distance apart and cut into sections.
- Form each clay section into whatever shape you like. Mine have a shape a bit like a marshmallow which is cylindrical with slightly flattened ends.
- As you work with the clay wet your fingers in water. This helps when you need to smooth the clay.
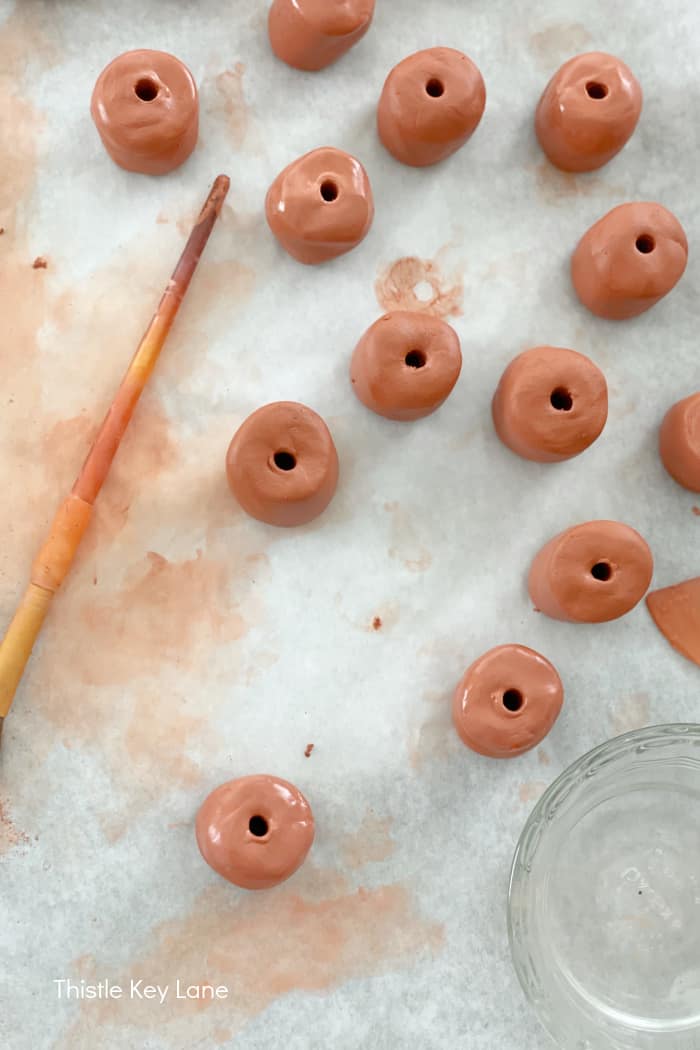
- Create a hole through each clay bead with a pointed wooden sculpting tool. I wanted larger holes, so I used the handle of one of my craft brushes and it worked fine.
- Once you finish creating your clay shapes, move them to a board or old baking pan. That way you can set them aside to dry. By the way I’m drying my clay pieces on the same piece of parchment paper with a sheet pan underneath.
- Turn pieces each day to help them dry evenly. You’ll notice some areas of clay will become lighter than others during the drying process. This is a characteristic of terracotta clay. Allow the clay to dry for three or four days.
- After the clay is dry, smooth out any rough areas with a piece of fine grain sand paper.
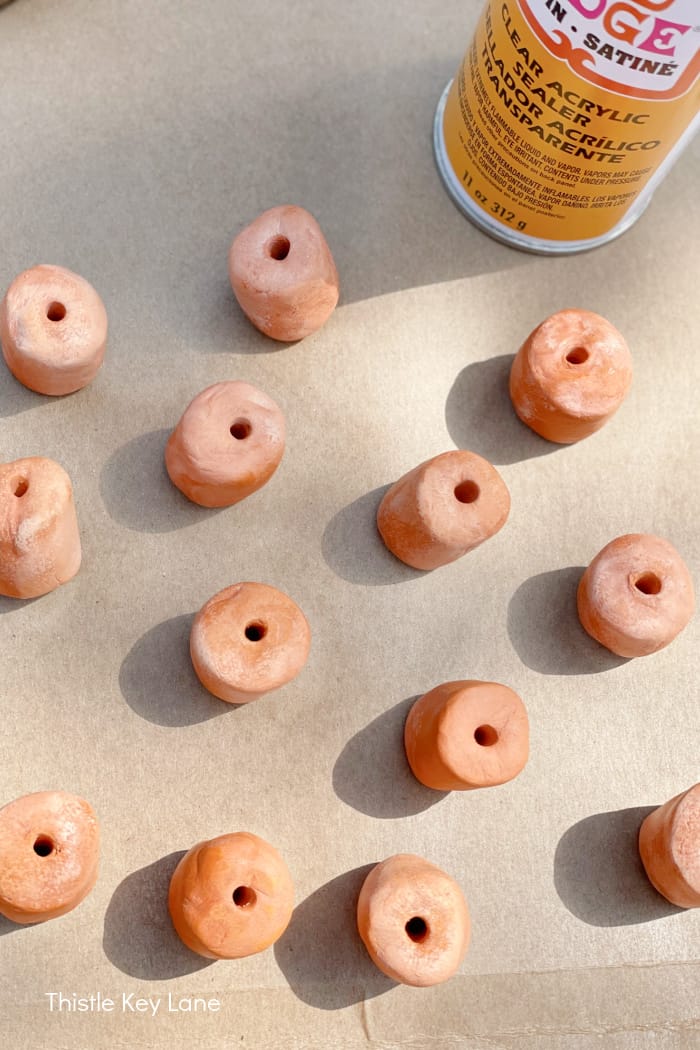
- Spray clay beads with a clear sealer, such as Mod Podge satin which you find here or leave them looking natural. It’s up to you.
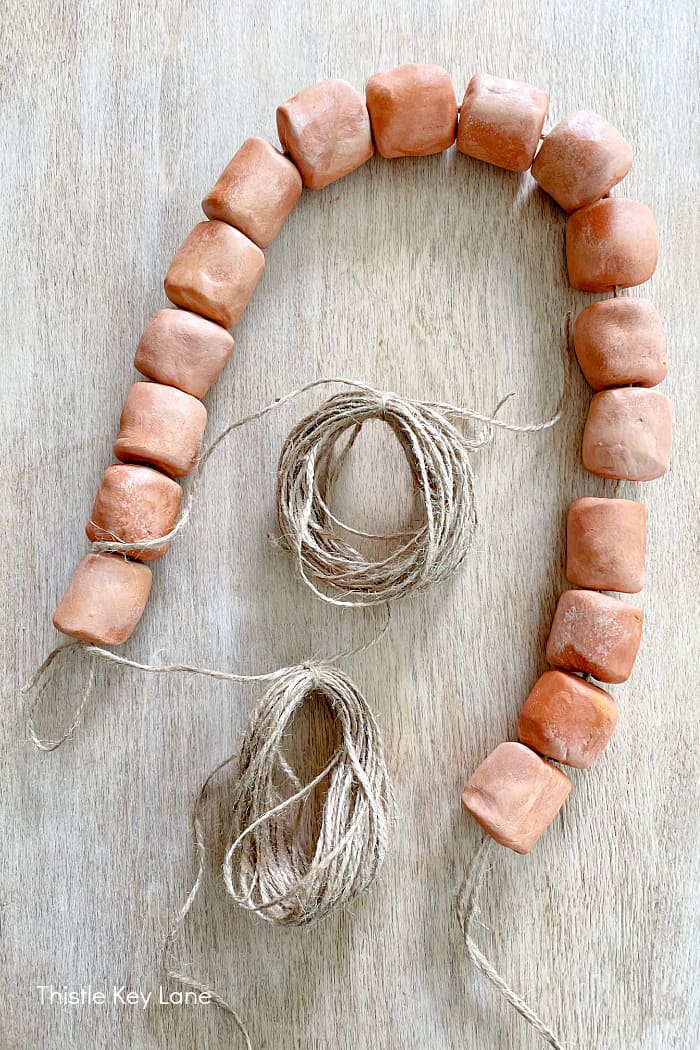
- Thread jute string through the clay beads to create your garland, then tie a tassel on each end.
Supplies And Shopping links
- terra cotta air dry clay
- white air dry clay
- sculpting clay tool kit
- jute twine
- acrylic sealer satin finish
There’s no rule that says how many beads your garland should have, so you can make it however long you want. This one is a little on the short side, but I can always add more sections with leftover clay.
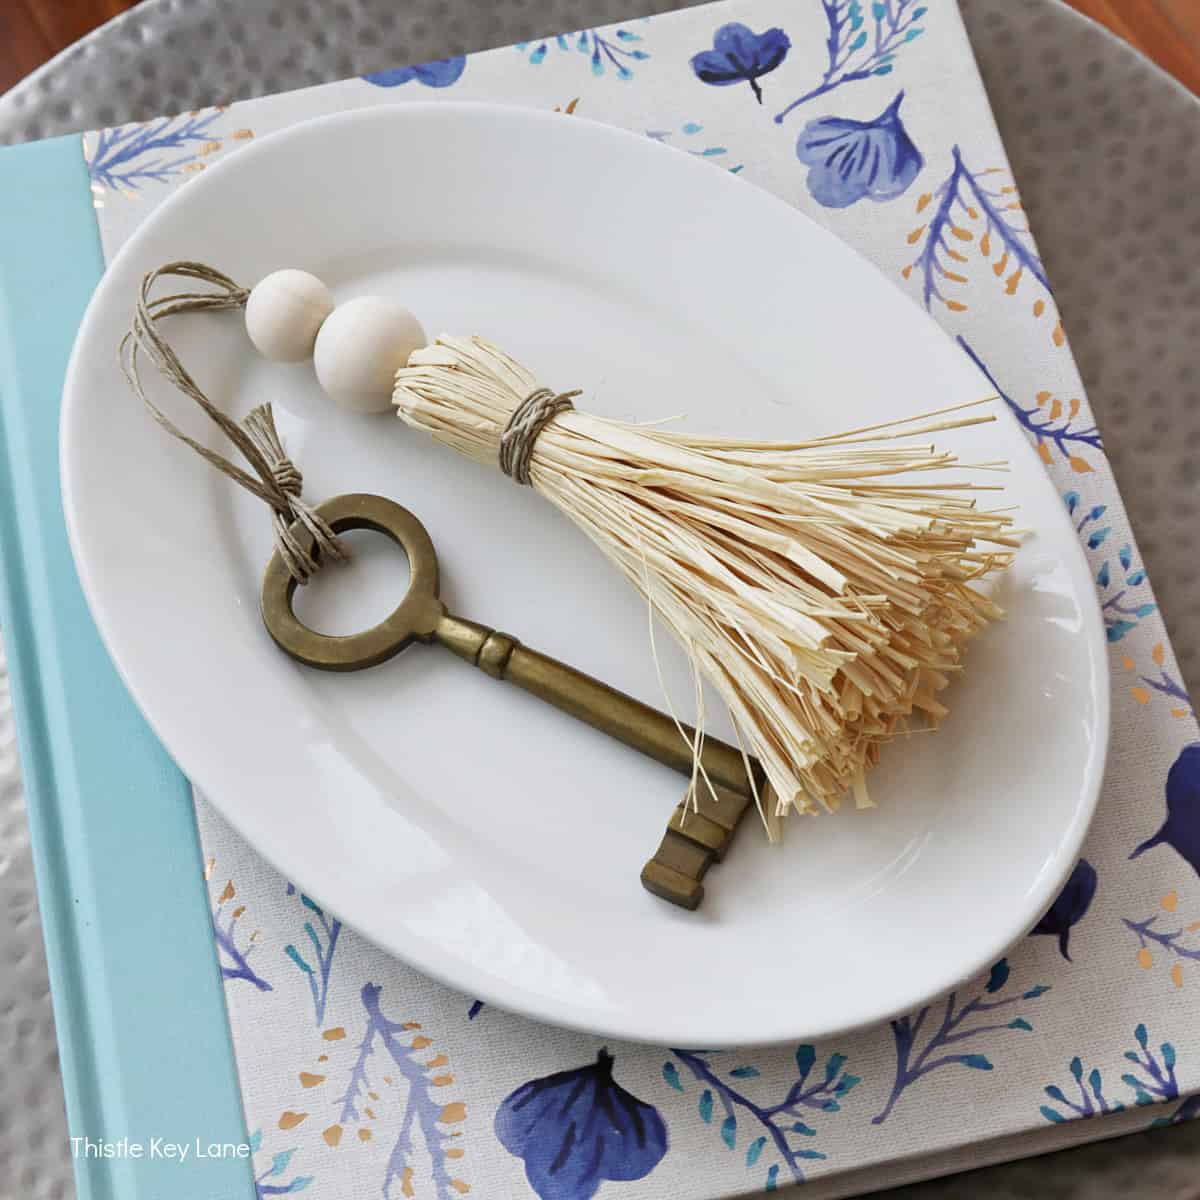
You can also change up the tassels using different types of string or twine. Think of this project as your opportunity to be creative, and more importantly just have fun with it.
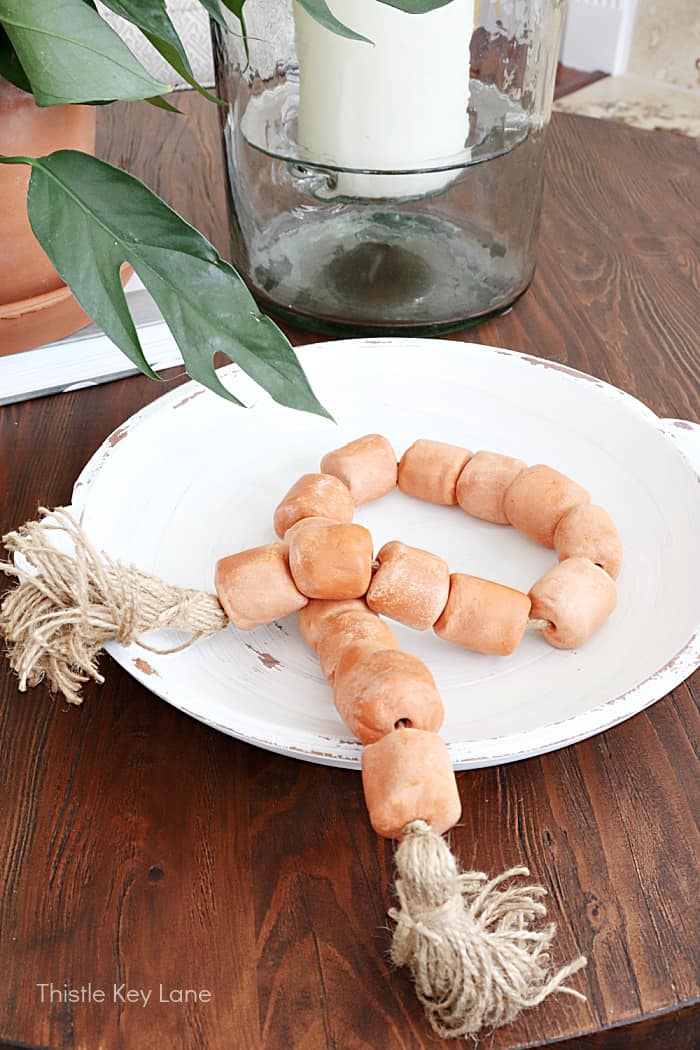
If you’re a novice like me this is a good project to practice on. To see another one of my easy terra cotta projects click on Air Dry Clay Carrots.
Be sure to follow Thistle Key Lane on Pinterest, where the boards are up to date with inspiration that you can use right now!
Thank you so much for checking out my post, how to make an air dry clay garland. Have a wonderful weekend my friend!
Cheers!
©2023 How To Make An Air Dry Clay Garland post first appeared on Thistle Key Lane.


What a fun project!!! These are like SO expensive at stores like Pottery Barn. You can make your own for SO much cheaper and they look just as good!! Super neat.Thanks so much for sharing at Home Imagined today. Pinned!
Thank you Rachel! You’re so right about how expensive clay garlands are to buy! I keep telling the Mister how much I’m saving. 😉