
How To Repot Orchids
My post today, how to repot orchids, came about when I was looking for an easy arrangement to create. So I thought I would share a few simple tips on repotting orchids, so you can make an arrangement too.
As an Amazon affiliate, I earn from qualifying purchases at no cost to you. My blog may contain other affiliate link as well for your convenience. For more information please see my disclosure page.
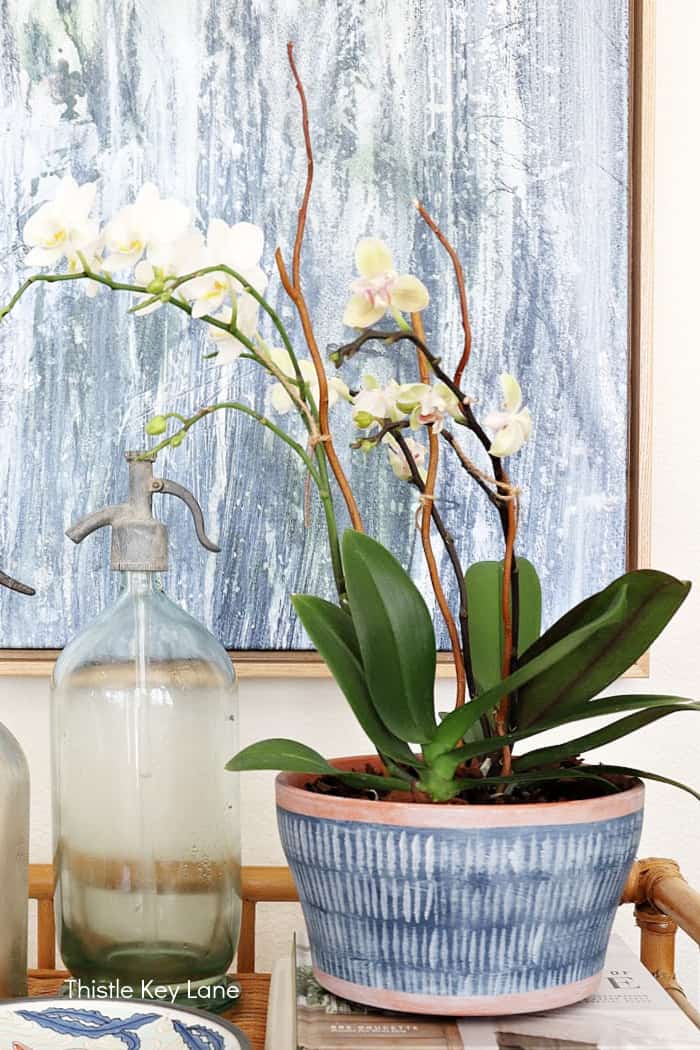
How To Repot Orchids
There’s nothing to be afraid of when it comes to taking care of and repotting orchids. They mostly just like to be ignored, but repotting them is a good way to keep them happy. Just think of it as plant maintenance.
If you have been following me for a while you probably already know how much I love plants. I wouldn’t exactly call myself a plant lady, but I do have pretty good luck with them. In fact there are a few around the house, that have been with me for years.
Orchids can be hit or miss with me, but I did have one for almost three years. Now I’m ready to give it a go again to see how long my new orchids will hang with me.
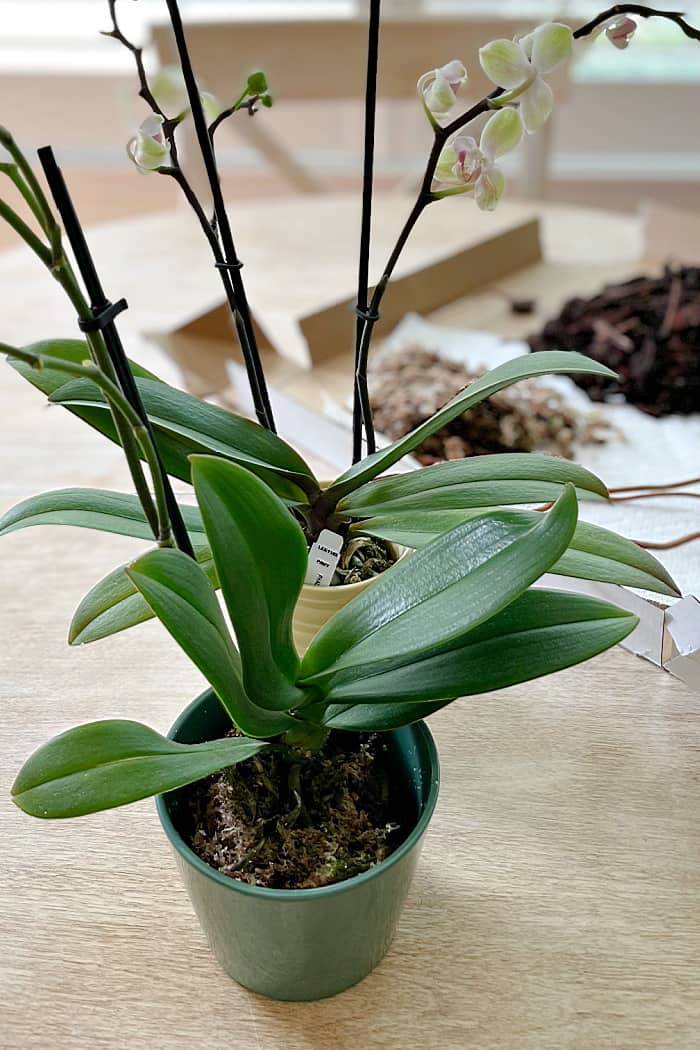
Supplies For Repotting
- flower pot with drainage hole
- garden pruners or scissors
- orchid potting bark
- sphagnum moss medium
Getting Started
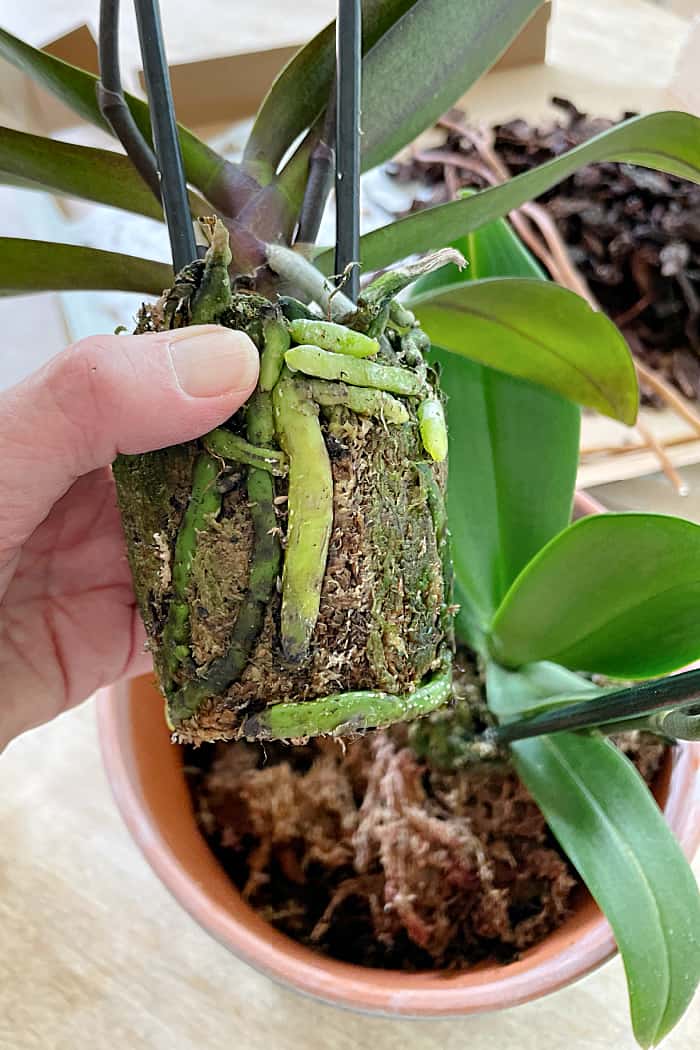
Carefully remove the orchid from its container by holding the base between the leaves and roots and pull gently.
Then remove the old plant medium around the roots and inspect their condition.
Remove any damaged, dried or shriveled roots by trimming them with clean gardening scissors. (I’ve read many times that it’s really important to keep garden pruners and clippers clean, so that you can avoid spreading potential diseases to another plant.) These indoor shears will be my next purchase.
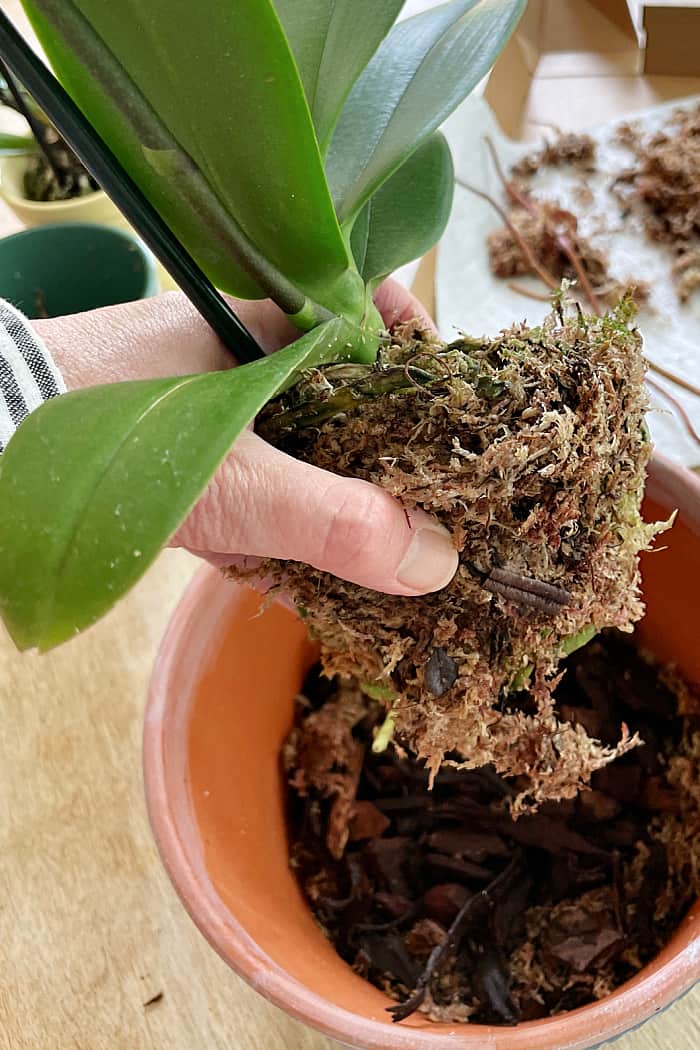
I’m replacing some of the sphagnum moss around the roots as I’m placing the orchids in the pot. To keep the orchid stable in the pot and to create air flow I’m surrounding them with fresh orchid potting bark. As you’re doing this, make sure the plant is secure enough to not fall over and that the roots are covered.
You can find sphagnum moss here and potting bark here.
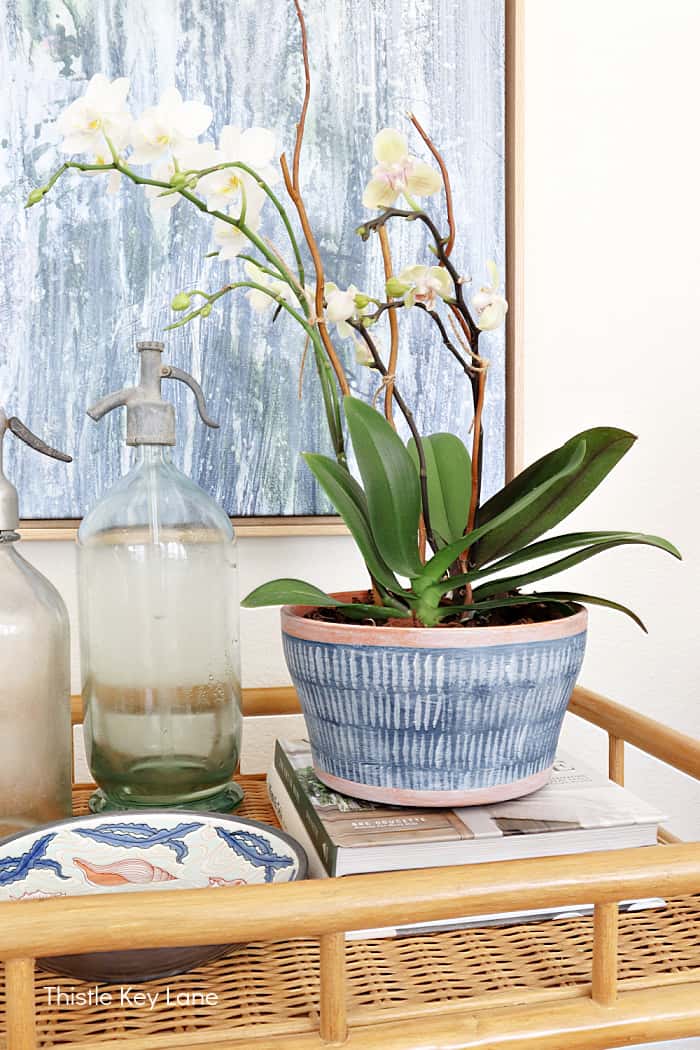
I’m planting two orchids to create an arrangement. The two I picked have healthy looking leaves and a few buds that I hope will be opening soon.
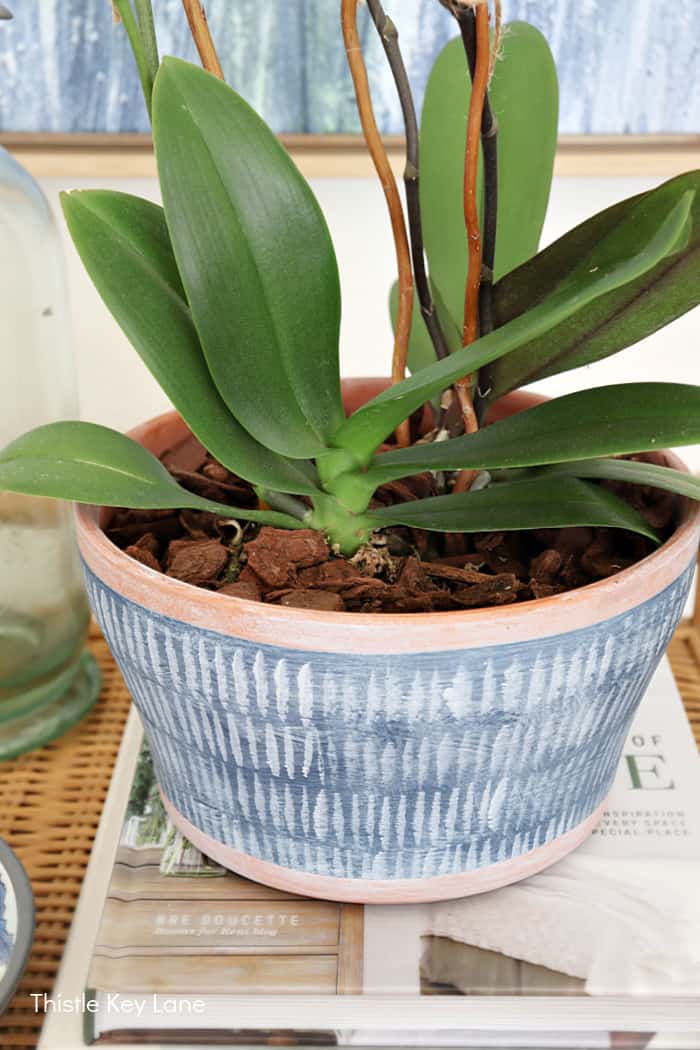
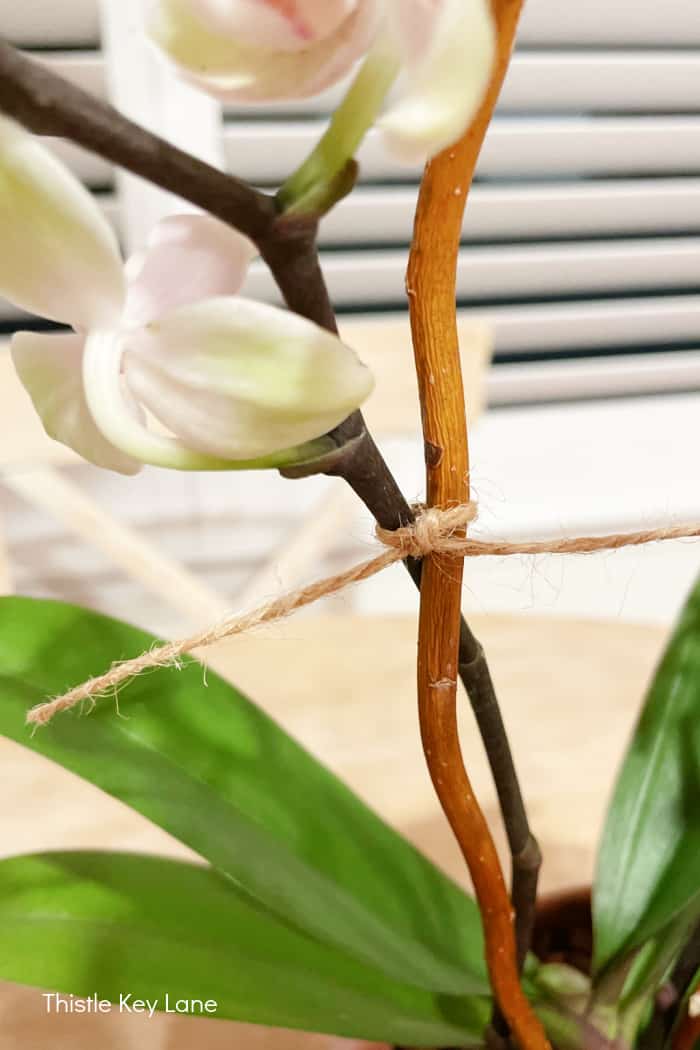
Instead of using the plastic supports that come with the orchids I using some curly willow branches. I think they look so much better, and instead of the plastic clips I’m using jute string. The overall look is a little more natural, don’t you think?
As far as watering goes I prefer the ice cube method. Once a week I place three ice cubes for each orchid on the potting bark and allow it to melt. If you want to try this method, do not let the ice cubes touch the leaves.
Be sure to follow Thistle Key Lane on Pinterest, where the boards are up to date with my favorite seasonal inspiration!
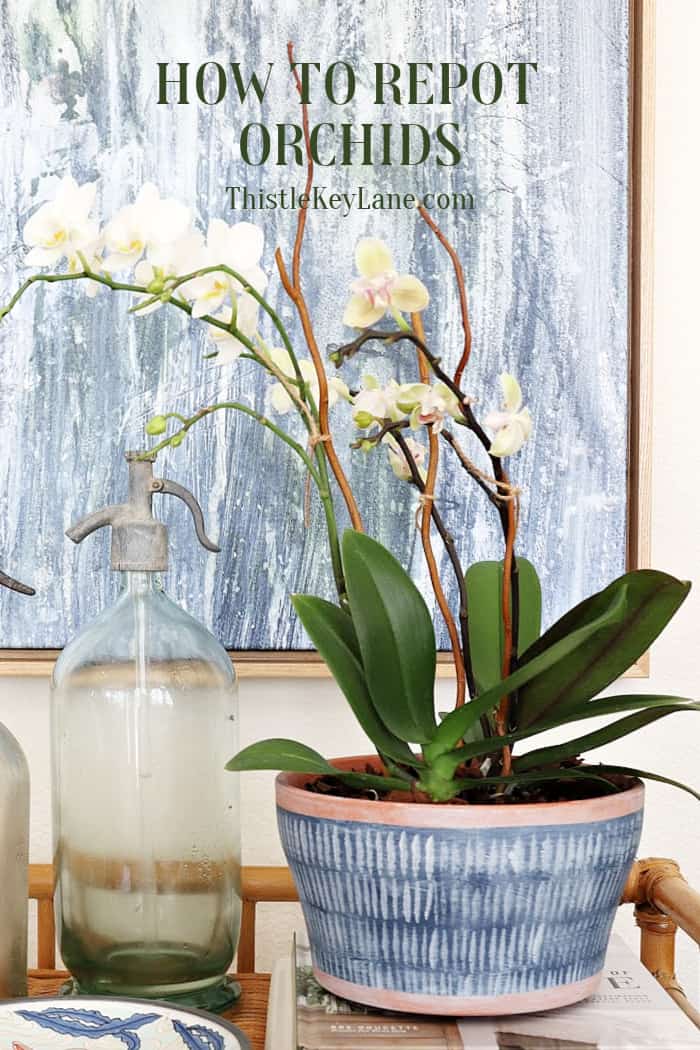
So far I’ve used my orchid arrangement on the kitchen table and coffee table, but I’m really loving how it looks on the bamboo bar cart. I think the white blooms looks so pretty with the artwork and my vintage seltzer bottles.
Thanks for stopping by and I hope my tips on how to repot orchids will of help to you. Happy repotting!
Cheers!
© 2023 How To Repot Orchids post first appeared on Thistle Key Lane.




Love the look of the curly willow and jute twine. such a pretty arrangement!
Thank you Debra! Wish me luck keeping these orchids happy! 😊
I am so jealous of your beautiful orchids! I have always wanted to have some in my home, your fantastic tutorial has given me a little boost to finally get some! Thank you for sharing at the Home Imagined Link Party!
Thank you so much Melanie for visiting! Good luck with your orchids, I’m excited you’re going to get some!