
How To Make A Bunny Topiary
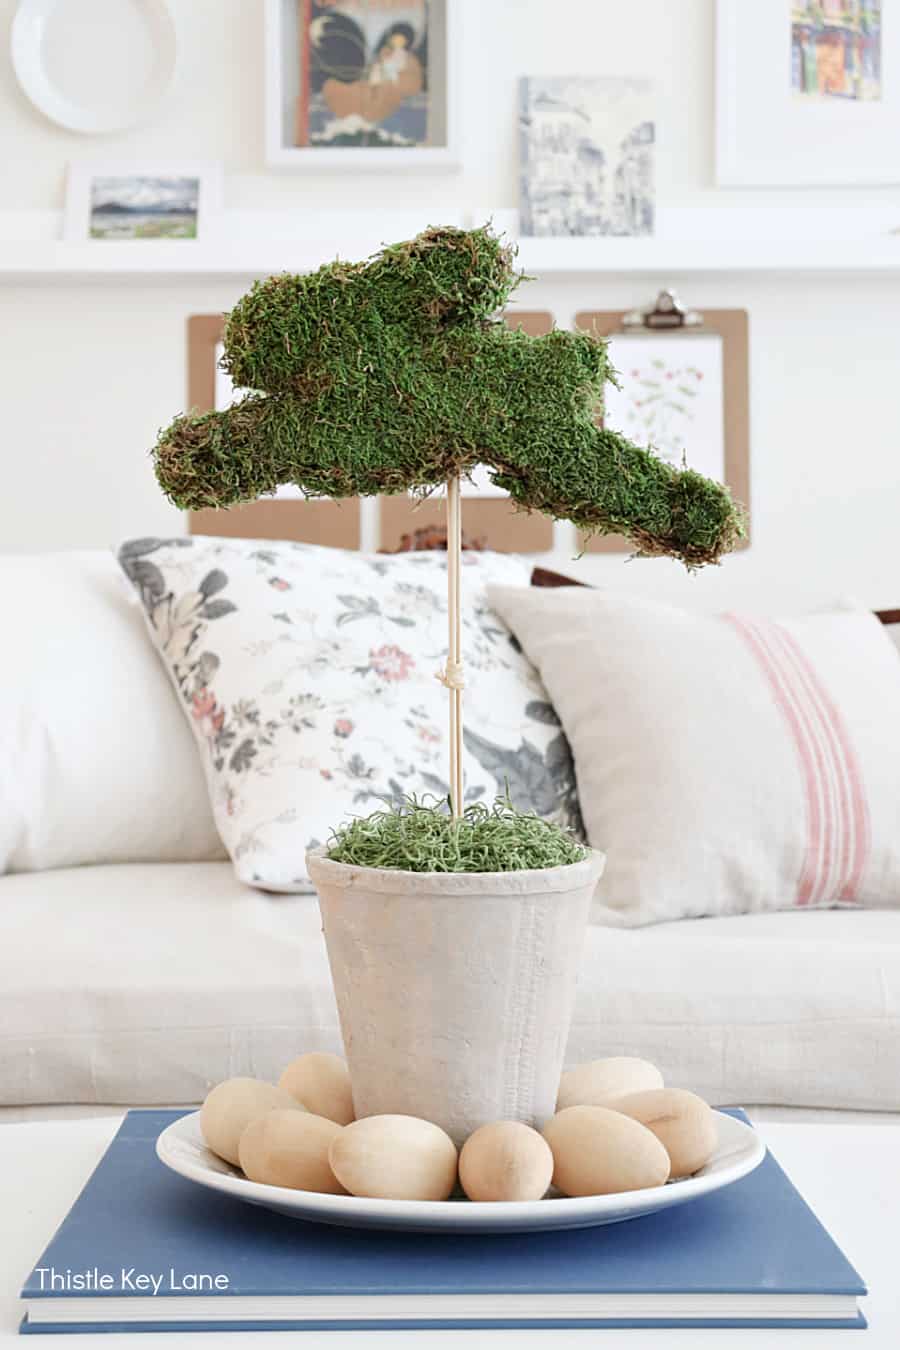
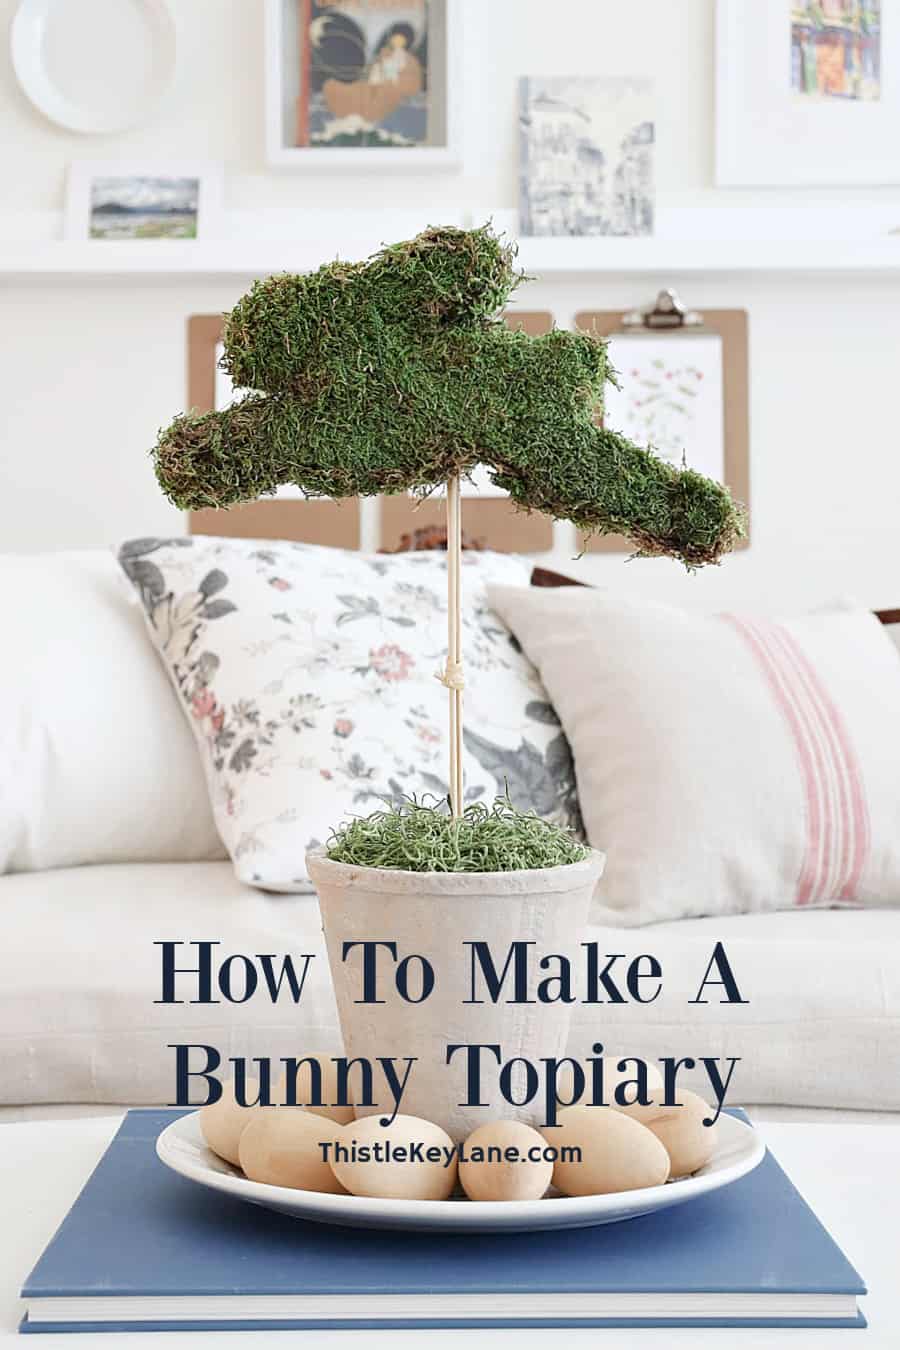
Today I have a fun tutorial on how to make a bunny topiary. Not all projects turn out as good as I envision, but every once in a while I have one that turns out better. That’s why I’m so excited about this moss covered bunny that is so cute, I just can’t stand it!
Keep reading for a short tutorial on how you can make one too. Then you’ll have a cute bunny topiary to add to your spring decor or vignette.
Are you making any fun plans for spring? Our spring season is very short, so we try to enjoy every spring day as much as possible before our temps soar into the 90s.
How To Make A Bunny Topiary
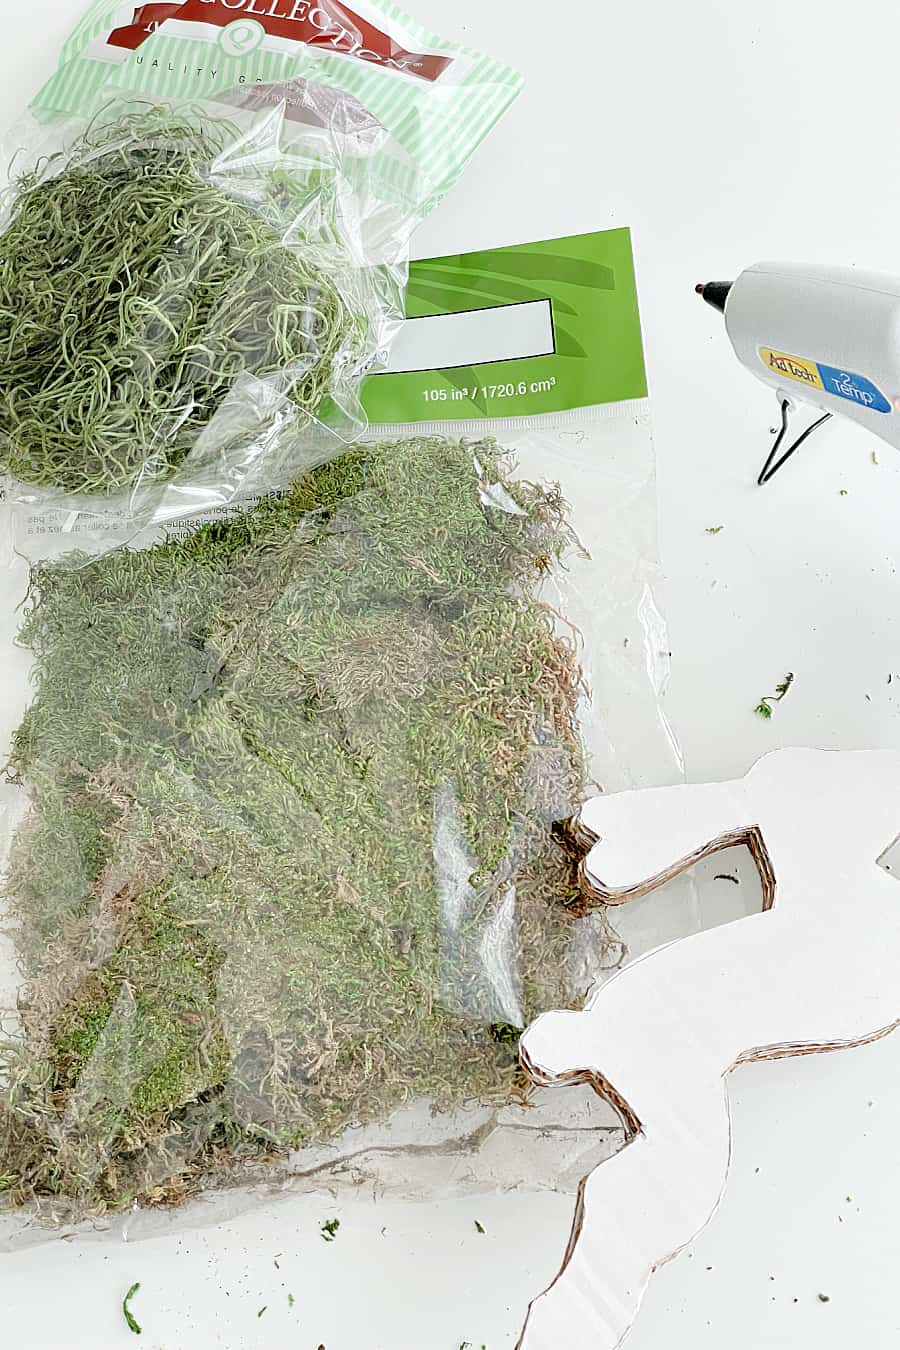
Here’s a list of supplies and I’m guessing that you probably have most of what’s on the list.
- scrap cardboard
- pen or pencil
- utility knife
- scissors
- glue gun and glue sticks
- preserved sheet moss
- terracotta pot or other container
- stick, dowel or screwers
- styrofoam
- green spanish moss (optional)
- green thread (optional)
Step by Step Instructions
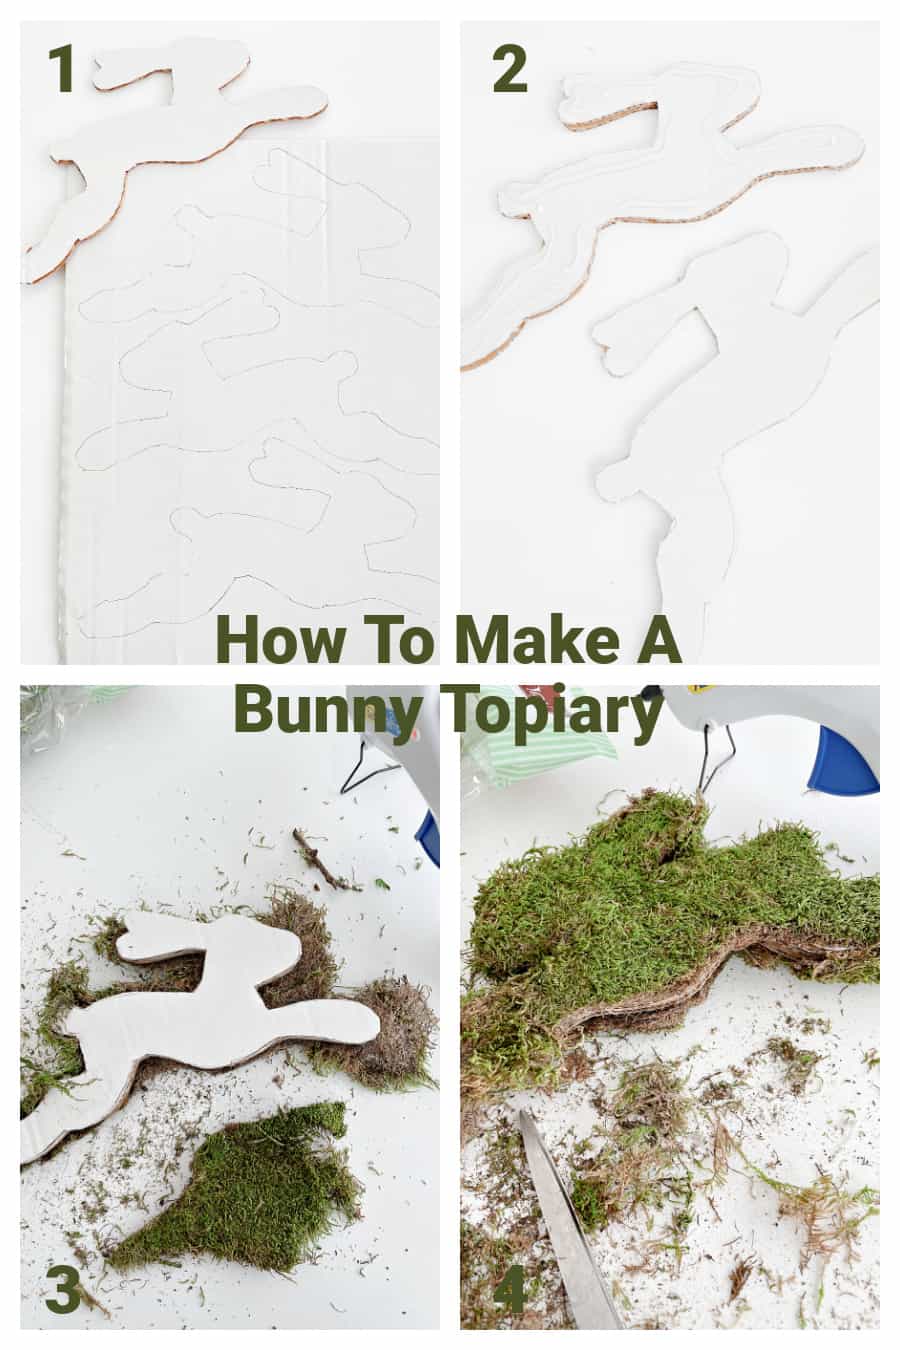
- On a piece of scrap cardboard, draw your leaping bunny shape with a pen or pencil. Then cut out the bunny using a utility knife or scissors. I started off using scissors, then switched to a utility knife with a snap off blade. For this project I’m using six card board bunny cut outs to achieve enough thickness.
- Glue carb board bunnies together using a glue gun stacking one on top of another.
- Now it’s time to start covering your cardboard bunny with preserved sheet moss, which I think is the best part of the project. Start by gluing your biggest pieces of sheet moss first, then go back and fill in where needed.
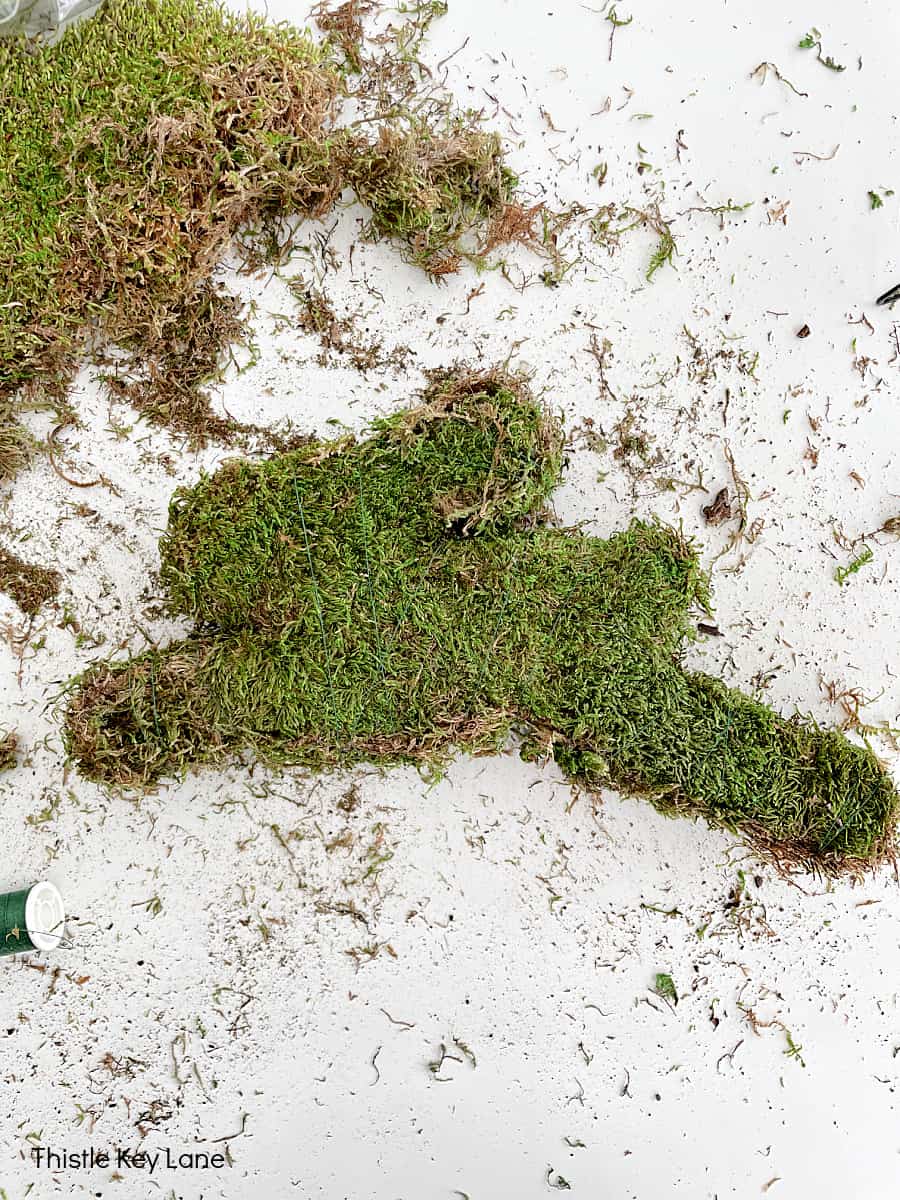
- Keep filling in with moss to cover all the surfaces. You can cut the moss or just pull it apart around the edges. I did a little of both, but I think it looks better to pull the moss apart.
- Once the bunny is covered with moss you may want to loosely wrap green thread around the bunny to insure the moss stays in place. The green thread I’m using doesn’t match very well, but because it is so thin it’s not that noticeable. If you use enough glue to secure the moss in place this step may be optional.
- For the topiary stem you can forage for a stick, use a dowel or get creative. I ended up tying three bamboo screwers together with raffia. You may need to make a hole with a pencil in the base of the cardboard bunny before inserting the stem. Be sure to secure stem with hot glue.
- I’m using a terracotta pot with a styrofoam insert to hold the topiary stem. You can cover the styrofoam with green spanish moss or sheet moss if you have enough left over.
dimensions
Here are the dimensions of the moss covered bunny, so you can decide on what size to make yours. The moss bunny is 4-1/2″ tall, 10″ long, and about 1″ wide. The outside measurements of the terracotta pot are 5-3/4″ tall by 5-1/2″ wide.
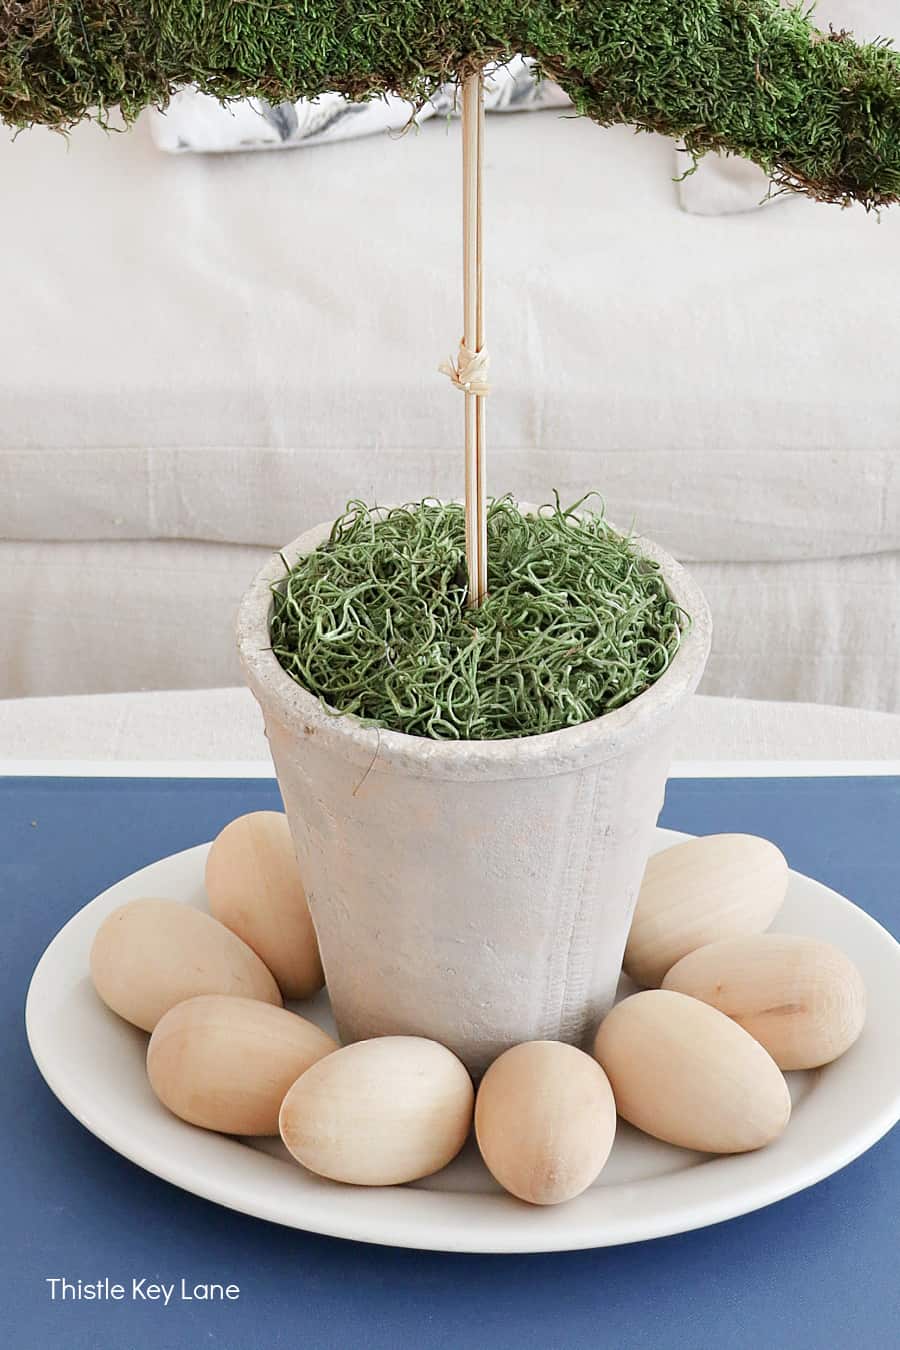
Displaying A Bunny Topiary
This little vignette is upstair in my studio. Well, it’s actually my long neglected studio, but hopefully that will change since I plan on being home more in the coming months.
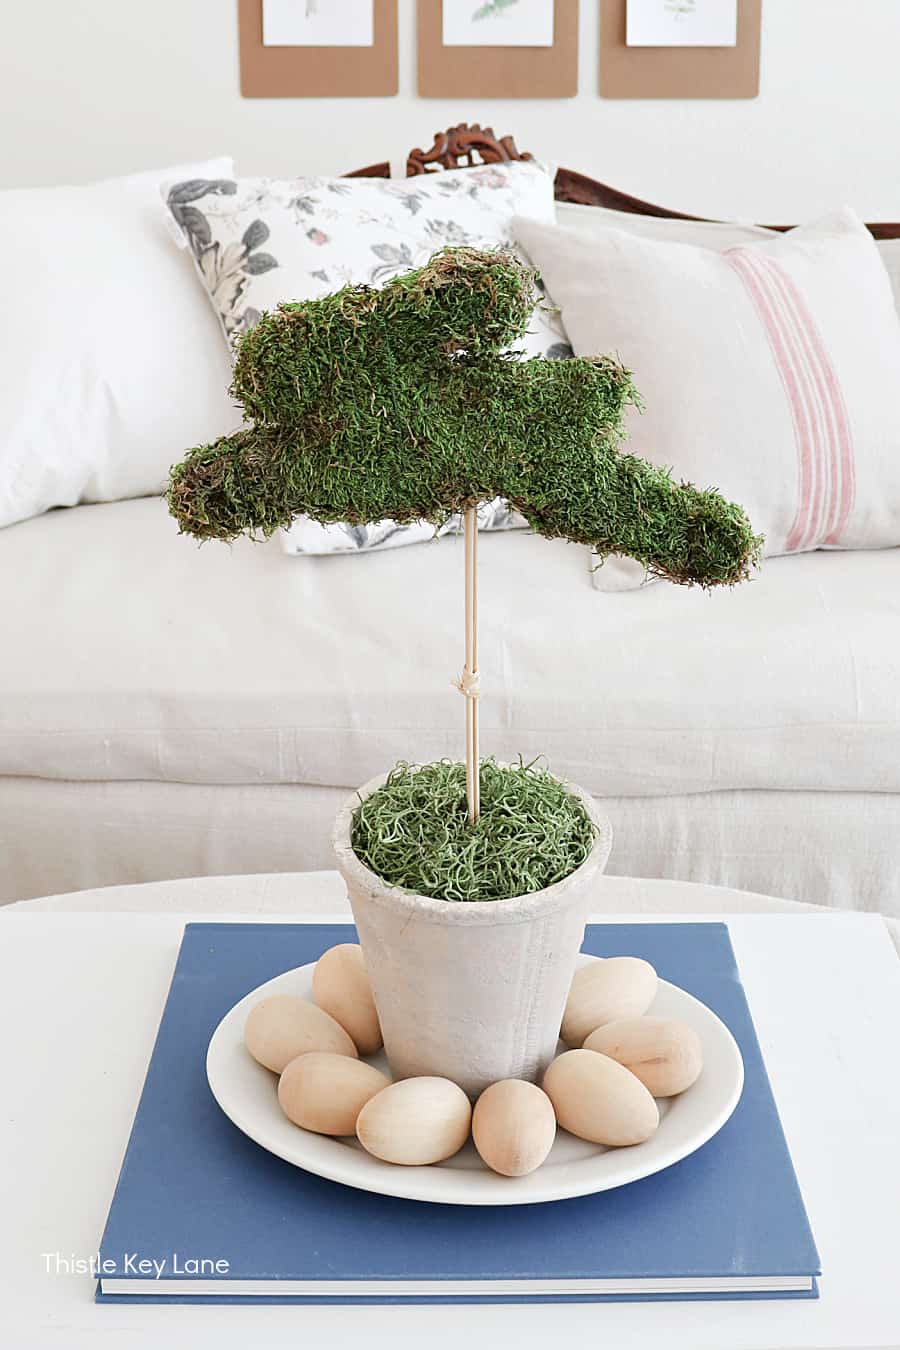
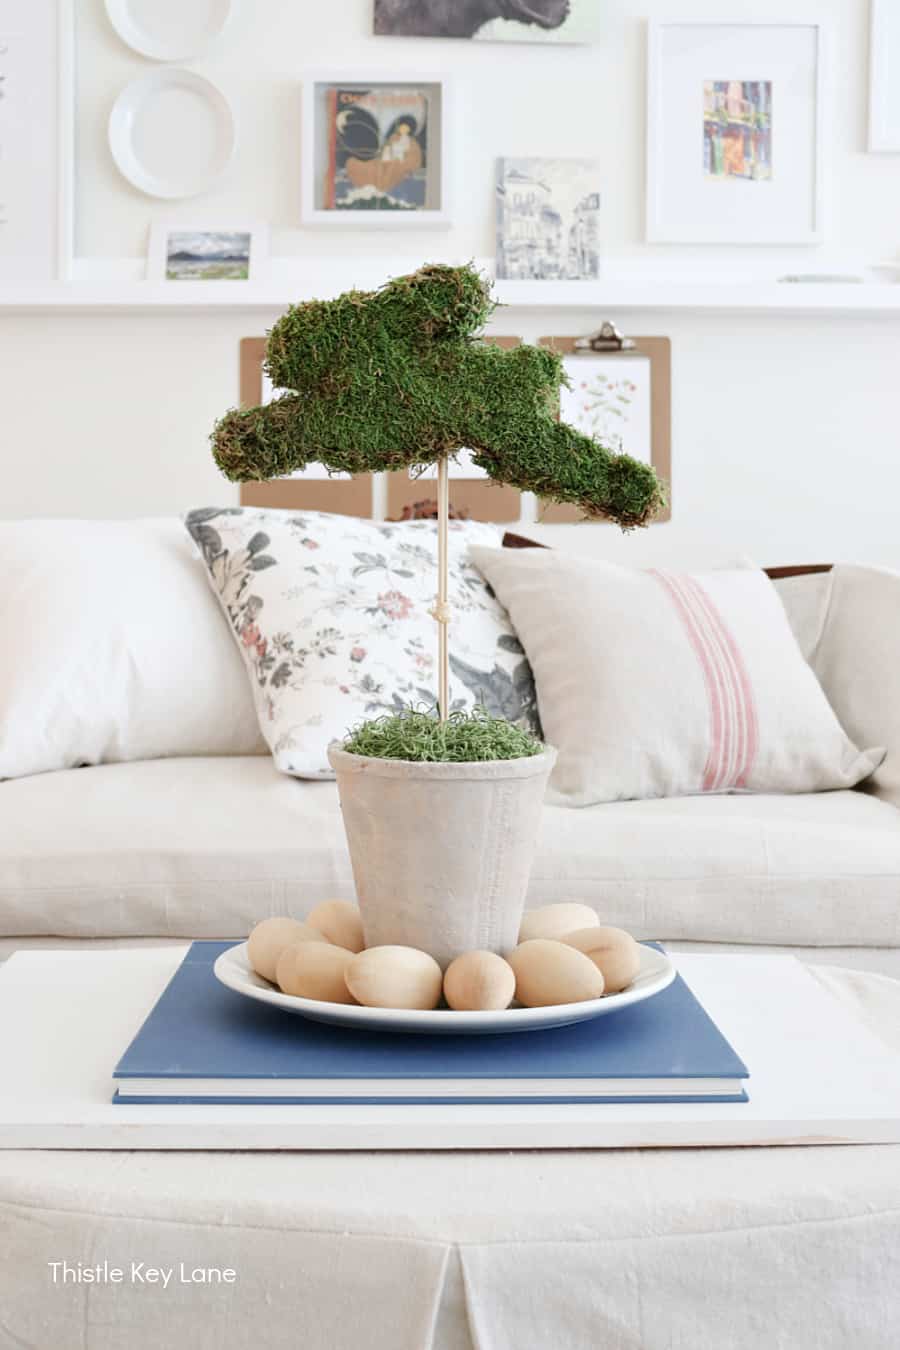
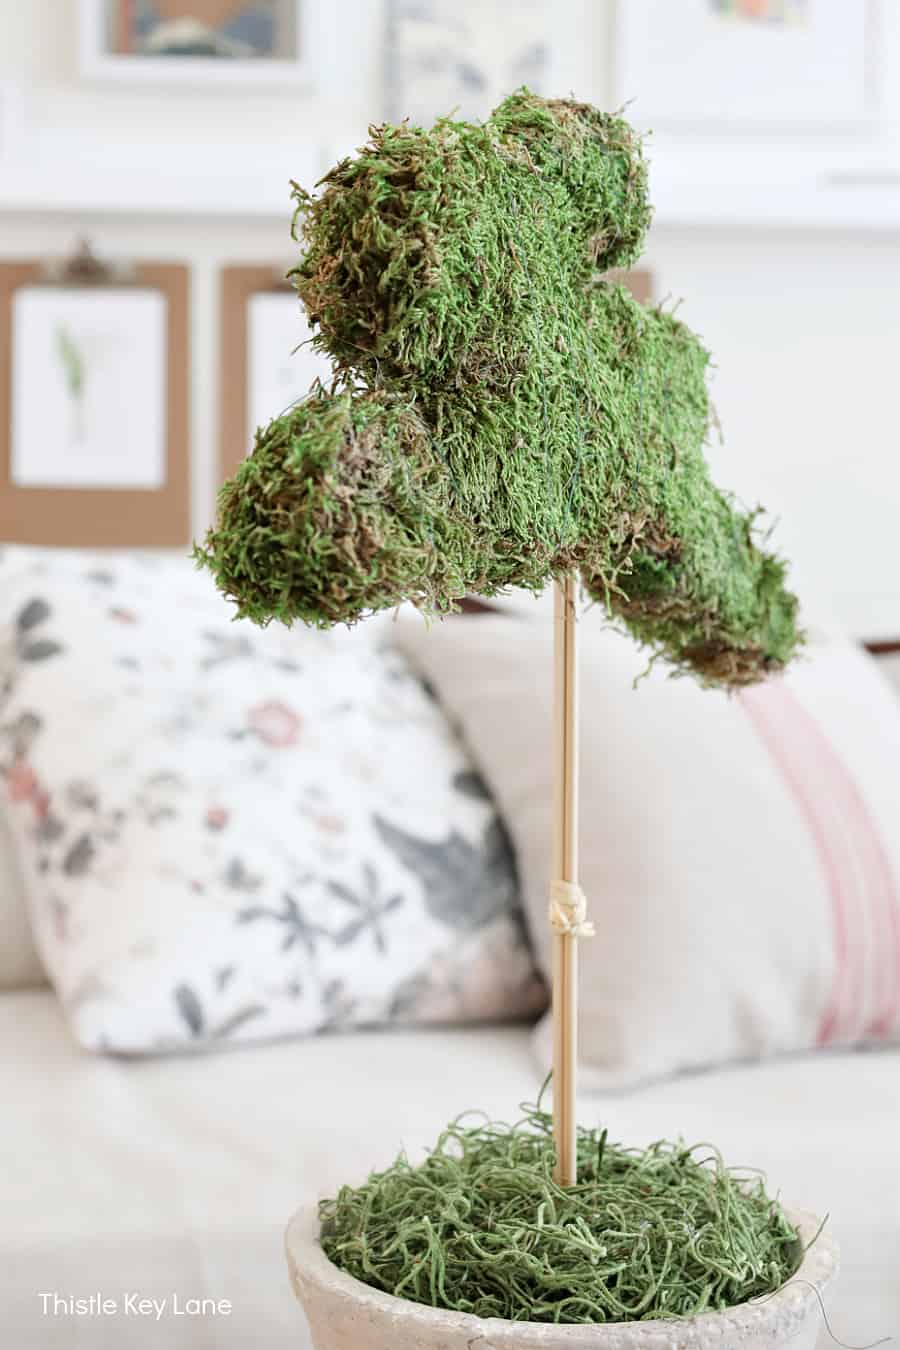
The bunny topiary is sitting on an oval ironstone platter surrounded by plain wooden eggs. It’s a simple arrangement that takes up minimal space, but it won’t be here for long. I’ll be using it in another spring display very soon. Click here to see how it looks in an Easter Centerpiece.
Not sure where to use a bunny topiary? Well here are some ideas for you to consider.
- open shelves
- coffee table tray
- mantel
- entry table
- hutch with dishes
- kitchen island tray
- create a grouping with other topiaries
For more ideas see my posts How To Create A Faux Topiary and DIY Aging Terracotta Pots.
Be sure to follow Thistle Key Lane on Pinterest, where the boards are up to date with inspiration that you can use right now!
I’m currently finishing up a watercolor project that I hope to share this week. Thank you for letting me share how to make a bunny topiary with you.
Cheers!
© 2022 How To Make A Bunny Topiary post first appeared on Thistle Key Lane.
so adorable, Michelle. Thanks for sharing the diy. looks easy. Pinned! We’d love you to come by this evening for All About Home Linky party. have a great week!
Thank you Debra! I’ll be by to link up this evening! 😊
Cute idea, Michelle! Thanks for sharing the details.
Thank you Sarah for stopping by!
Adorable!!! It’s so cute…how pretty for spring and Easter time!! What a creative project!
Thank you for the sweet comments and for stopping by! 😊
I LOVE this! and such a smart way to create a bunny topiary! Pinned!
Awe thank you Julie, and I always appreciate the pin too!
That is the cutest bunny!! Come on spring!! Pinned 😊
Thank you Cindy! Come on spring is right, we’re down in the 20s this morning LOL!
This is darling! My family loves bunnies. I’m all for a craft that uses up cardboard. Pinned!
Thanks Marie! I know what you mean about cardboard LOL! Gotta recycle or maybe this is upcycle! 😉
I appreciate that so much Cindy! You’re the sweetest!
Michelle, I love this bunny so much I am sharing it in my All Things Vintage round-up this weekend!
Thank you so much for the mention Cindy! Big hugs!!
This is adorable!!!
Thank you so much Kristin!
I love this adorable bunny topiary and am so excited to feature your post at Tuesday Turn About! Thank you so much for sharing! xo
You are just the sweetest Lynne! Thank you!
Michelle,
This is just the cutest. I’d love to share a link on my Sunday Dirt Road adventures!
You are just the sweetest Rachel, and thank you for the mention in your Sunday Dirt Road Adventures!