
How To Create A Faux Topiary
If you’re like me and love the look of topiaries, but don’t have time to cultivate your own, then my post on how to create a faux topiary post is for you. It goes without saying, that I prefer the real deal, and one day I’ll test my green thumb at growing them again. Until then, I’m having fun experimenting with creating faux topiaries.
As an Amazon affiliate, I earn from qualifying purchases at no cost to you. My blog may contain other affiliate link as well for your convenience. For more information please see my disclosure page.
How To Create A Faux Topiary
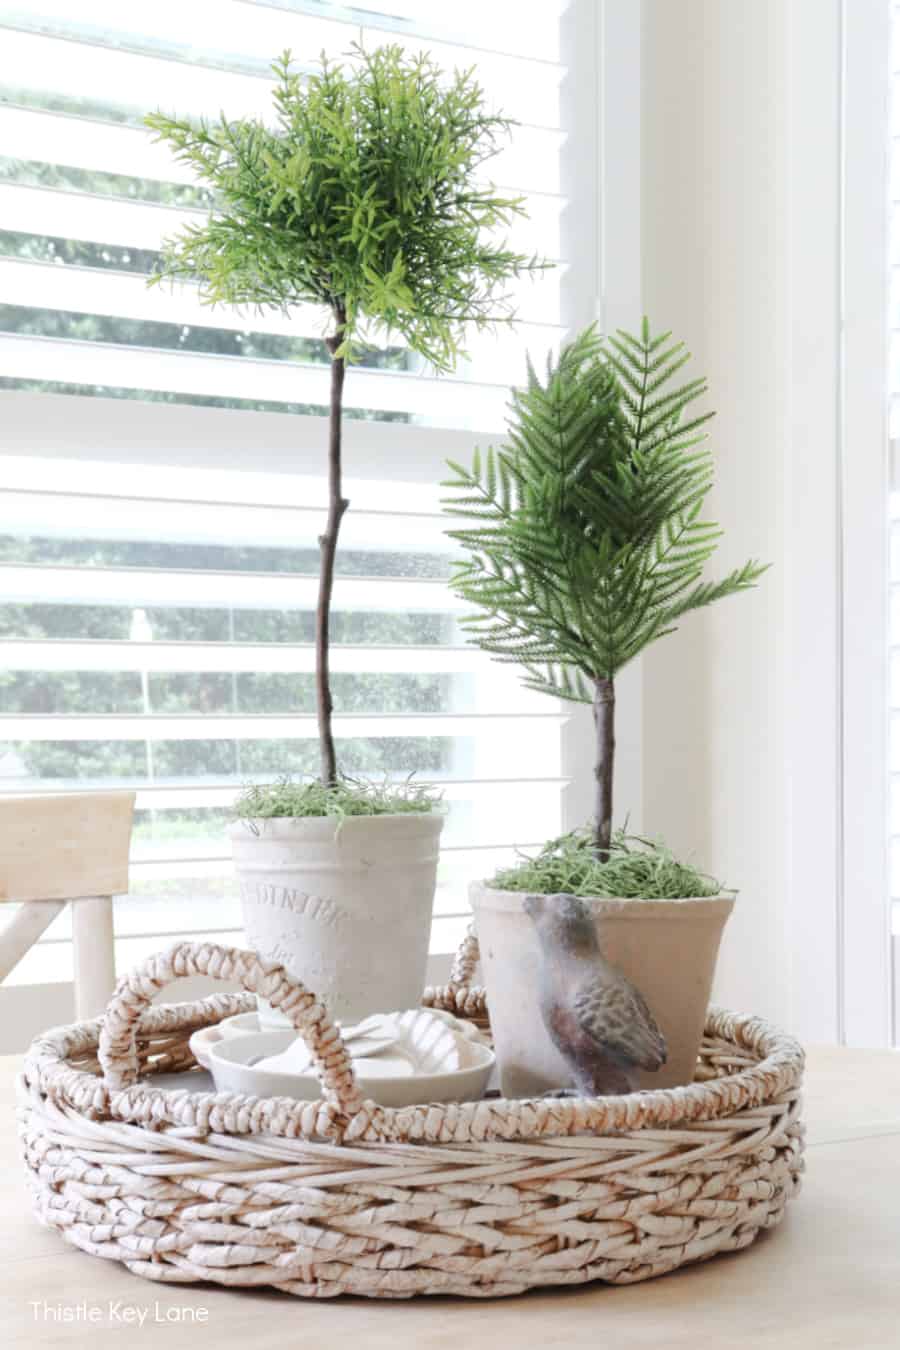
Alright I have to admit that one of my topiaries is a bit more realistic looking than the other, but I’m still happy with how both turned out.
Without descriptions on the greenery price tags, I’m having to guess what they are supposed to be. Let’s just say one could be rosemary and the other might be cedar and take it from there.
Supplies And Shopping Links
- greenery picks
- small branch or stick
- sanding sponge
- wire cutter
- small drill with drill bit set
- brown floral tape
- utility knife
- styrofoam
- glue gun and glue sticks
- green Spanish moss
- terra cotta pots or plant containers
- craft paint and brush (optional)
Step By Step
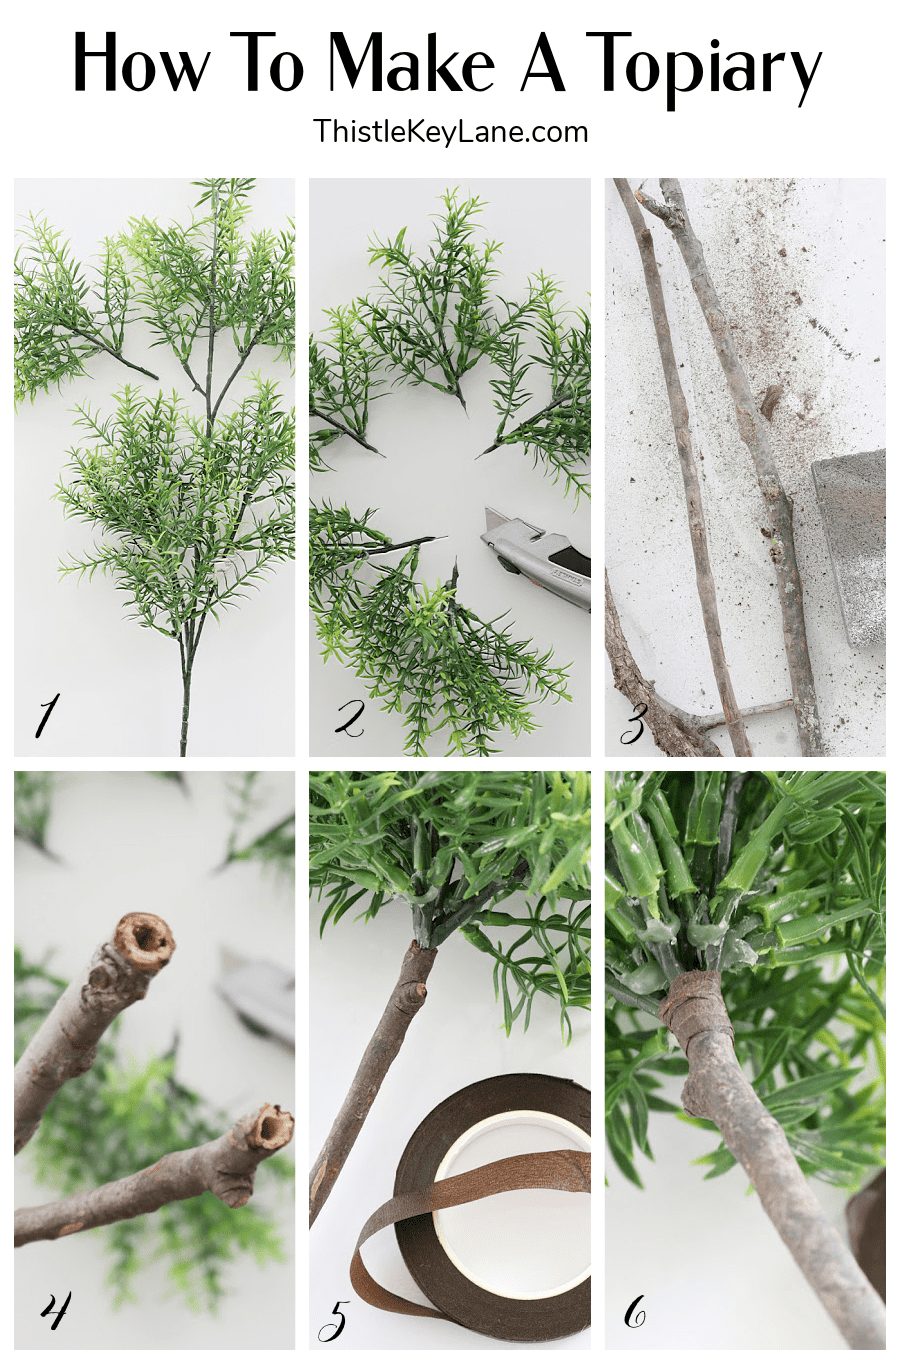
- Using wire cutters cut the smaller branches from the greenery pick.
- Then using a utility knife remove some of the plastic coating to expose the wire.
- Found branch stems or sticks are best to use for a more rustic appearance. Decide how tall the topiary should be and cut off any extra length. Clean up the bark with sand paper or a sanding sponge. Rubbing down the stem with outdoor work gloves will probably work just as well.
- Using a small drill make a whole in the end of the branch about a half inch deep.
- I suggest doing a dry fit first to see how the faux greenery wires will fit into the branch hole. Once you’re happy with the fit add a dab of hot glue and insert greenery.
- Use a short piece of brown floral tape to hide where the stick and the greenery connect.
- Insert a piece styrofoam square, round disk or ball into the terracotta pot. It doesn’t have to fit perfect to work, and secure the styrofoam with hot glue if needed.
- Push the base of the stem into the styrofoam or use a pencil to get a hole started. Use hot glue to secure the stem.
- Cover the styrofoam with green Spanish moss or deer moss if you have it, and secure with hot glue.
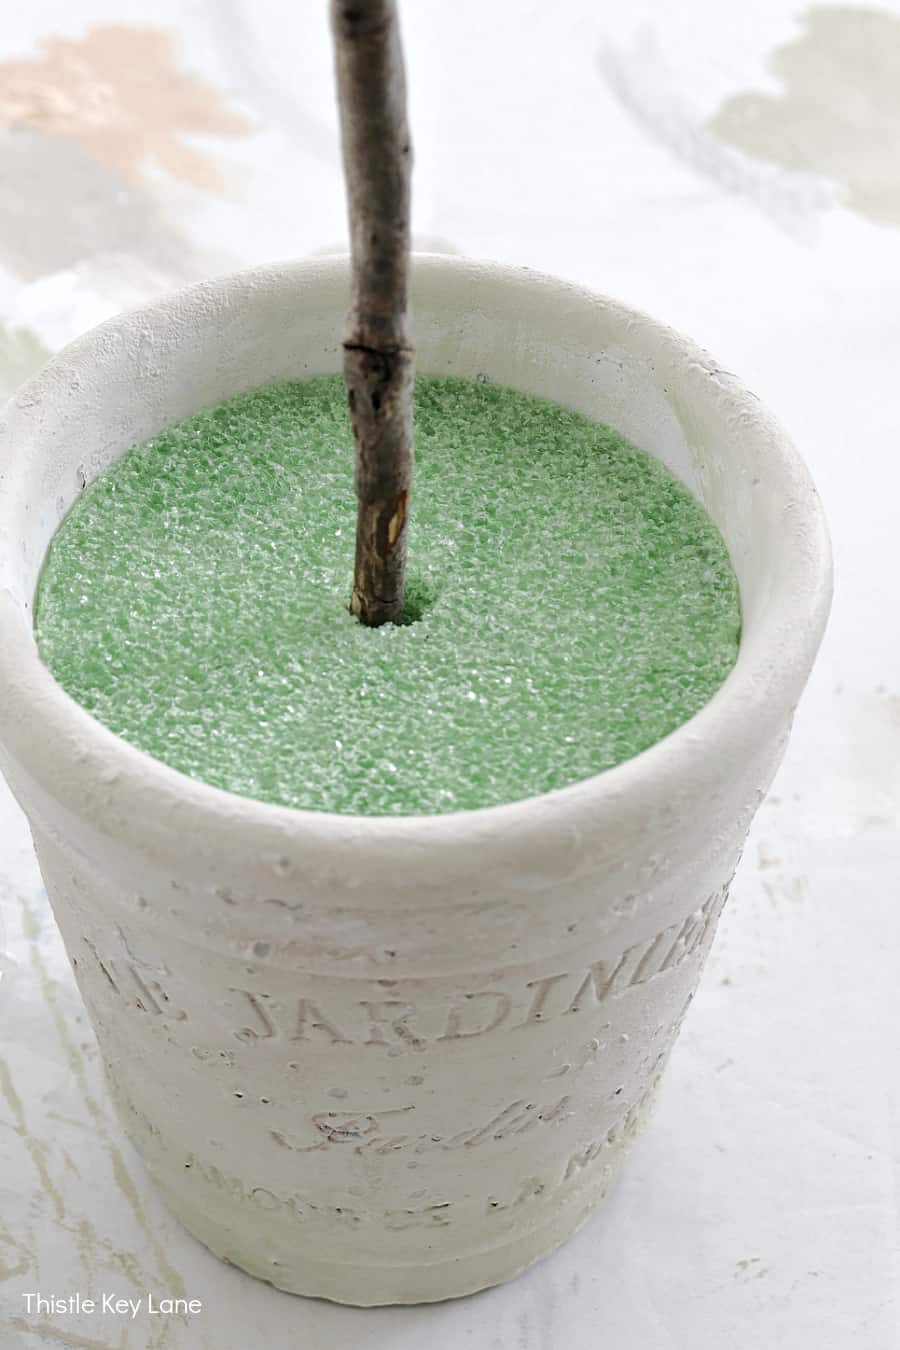
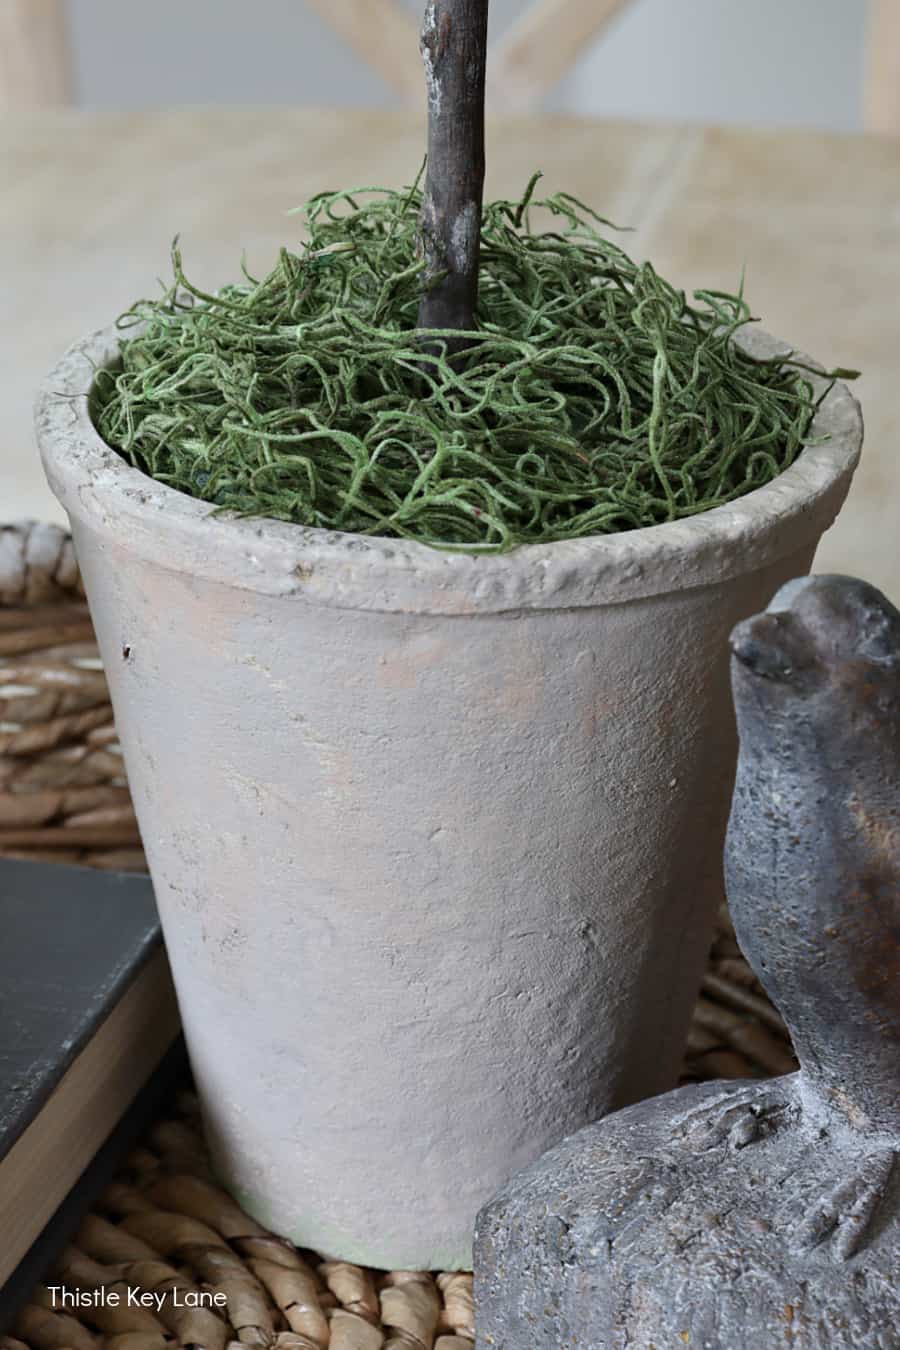
I’m only showing examples of the taller topiary although both were created following the same steps.
Updating Terra Cotta Pots
I’m getting to where I shop for terra cotta pots whenever I think about it. I mostly look for shape rather than the color, because I know how easily it is to repaint them.
Both of the pots I’m using were on clearance, so I only spent a few dollars for both. I think the styrofoam cost more than the pots, which is so ridiculous when I think about it.
Here’s a quick before and after photo of the pots I found. There’s nothing wrong with their appearance before the makeover. In fact they have wonderful texture that makes them look so interesting. I just want them to fit in better with my decor and the obvious answer for me is paint.
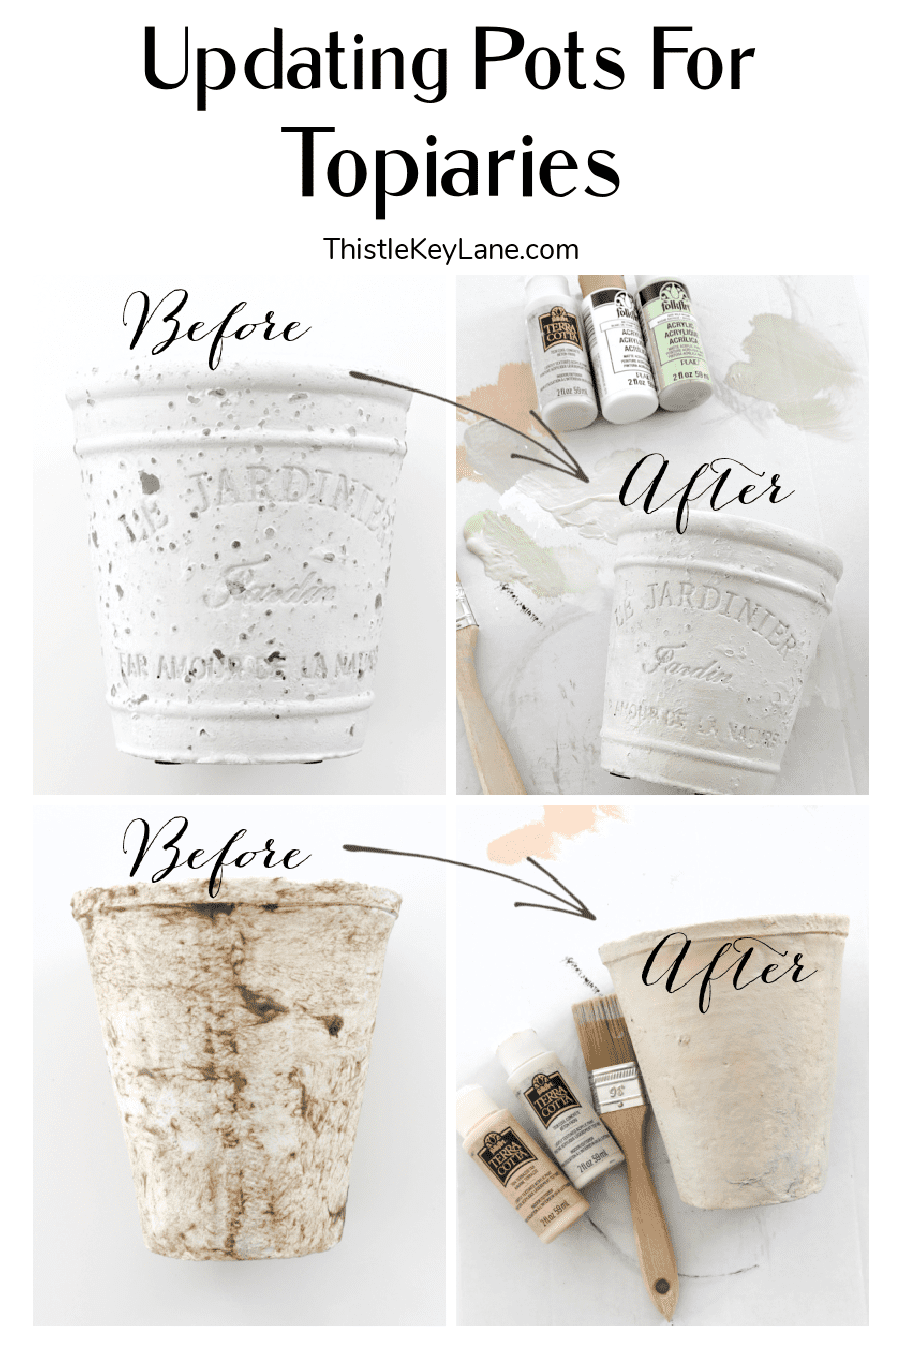
I’m using a combination of terra cotta paint in the color cool concrete with a little white and green acrylic paints on the French style pot.
On the larger pot I’m using just the textured terracotta paint in terrazzo tan and cool concrete.
The color is very faint, but I think you can see the light green at the bottom of French pot which gives the impression of it once having moss. For more ideas see my post DIY Aging Terracotta Pots and Flower Pot Upcycle Project.
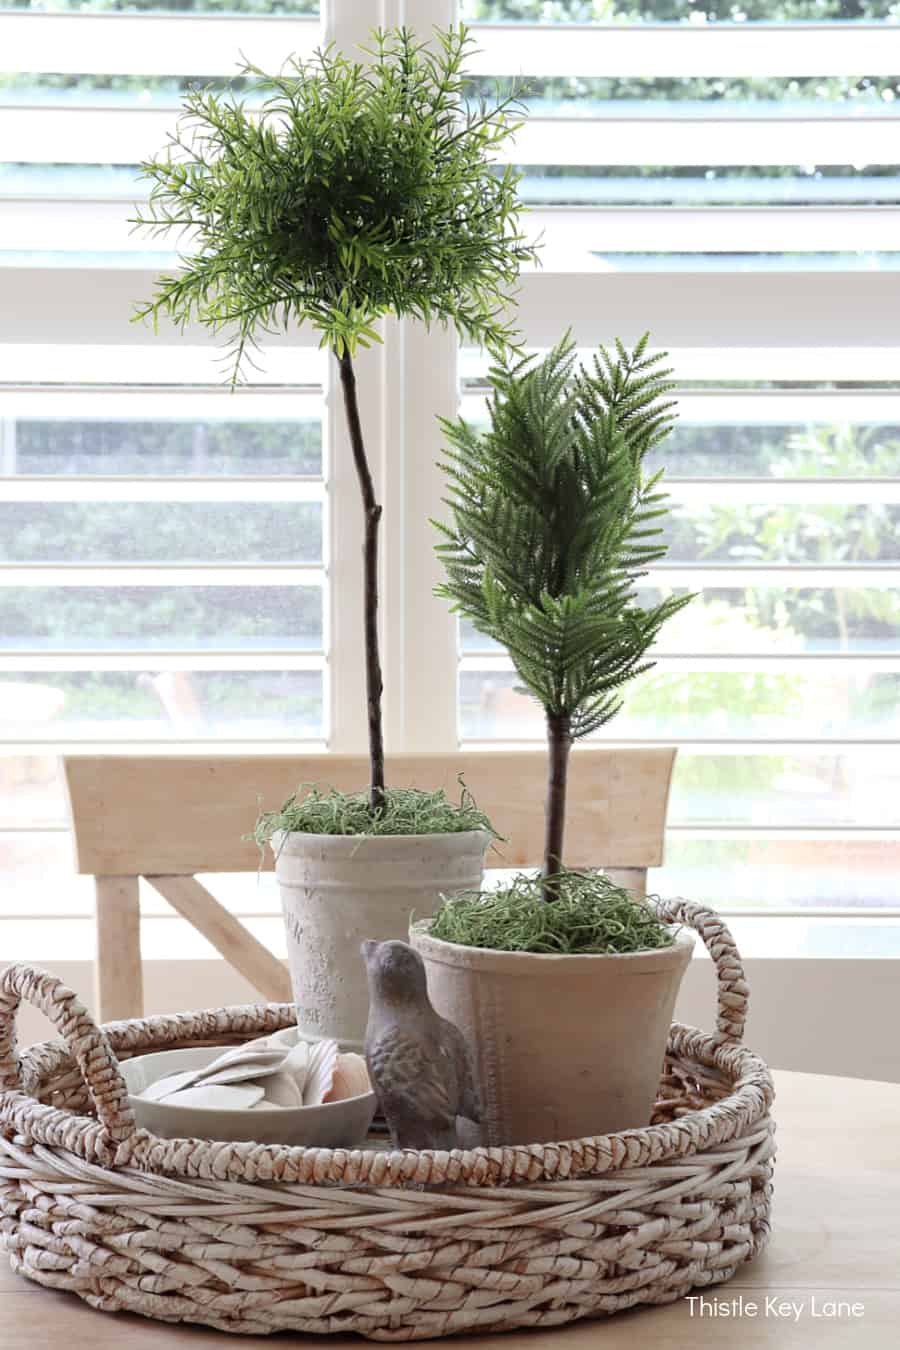
Decorating With Topiaries
I can’t wait to use these little topiaries in a few seasonal vignettes in the coming months. One positive note is that I can use them in areas with low light where real topiaries can not survive.
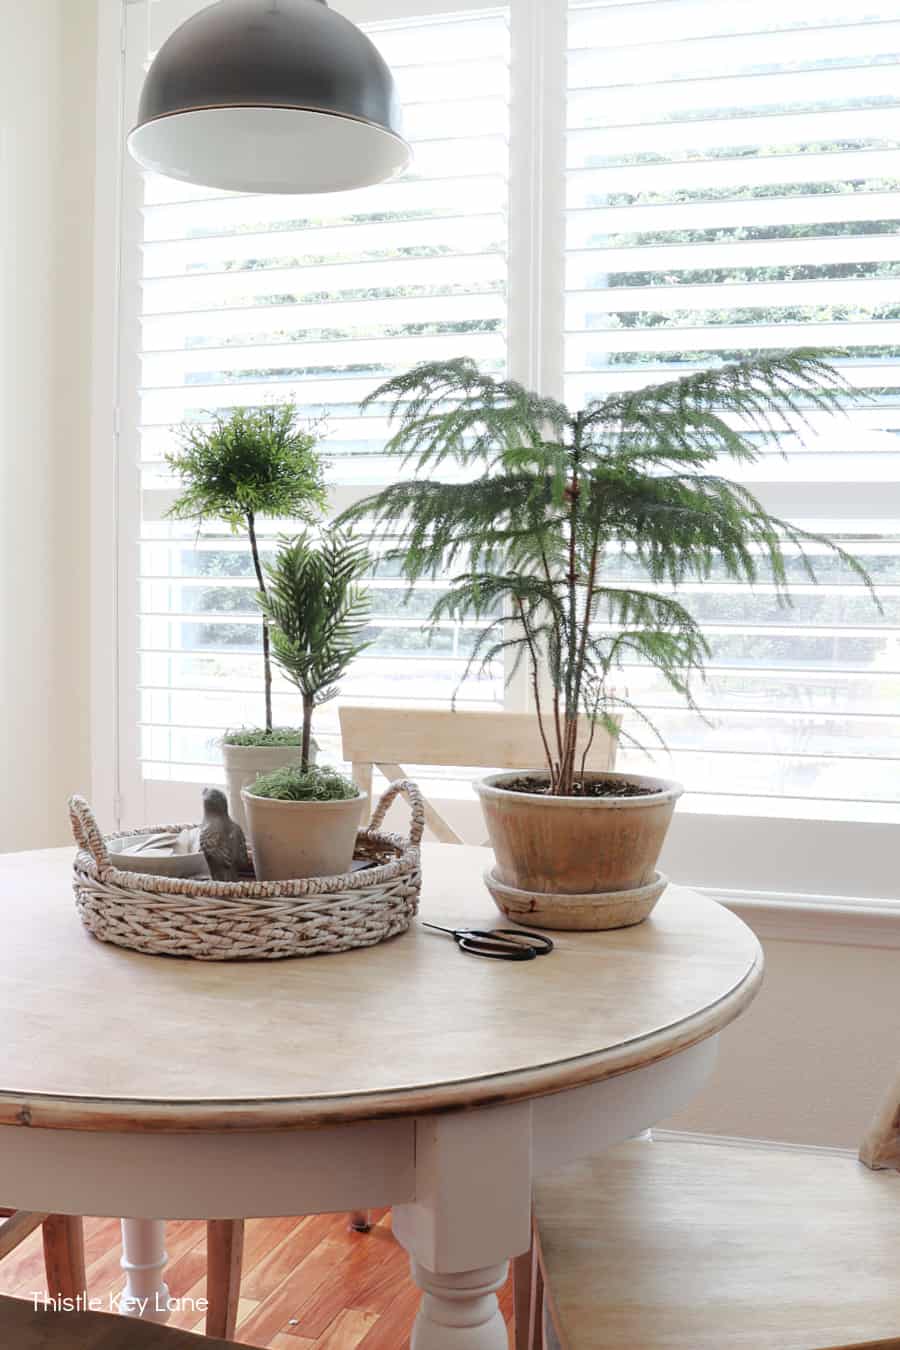
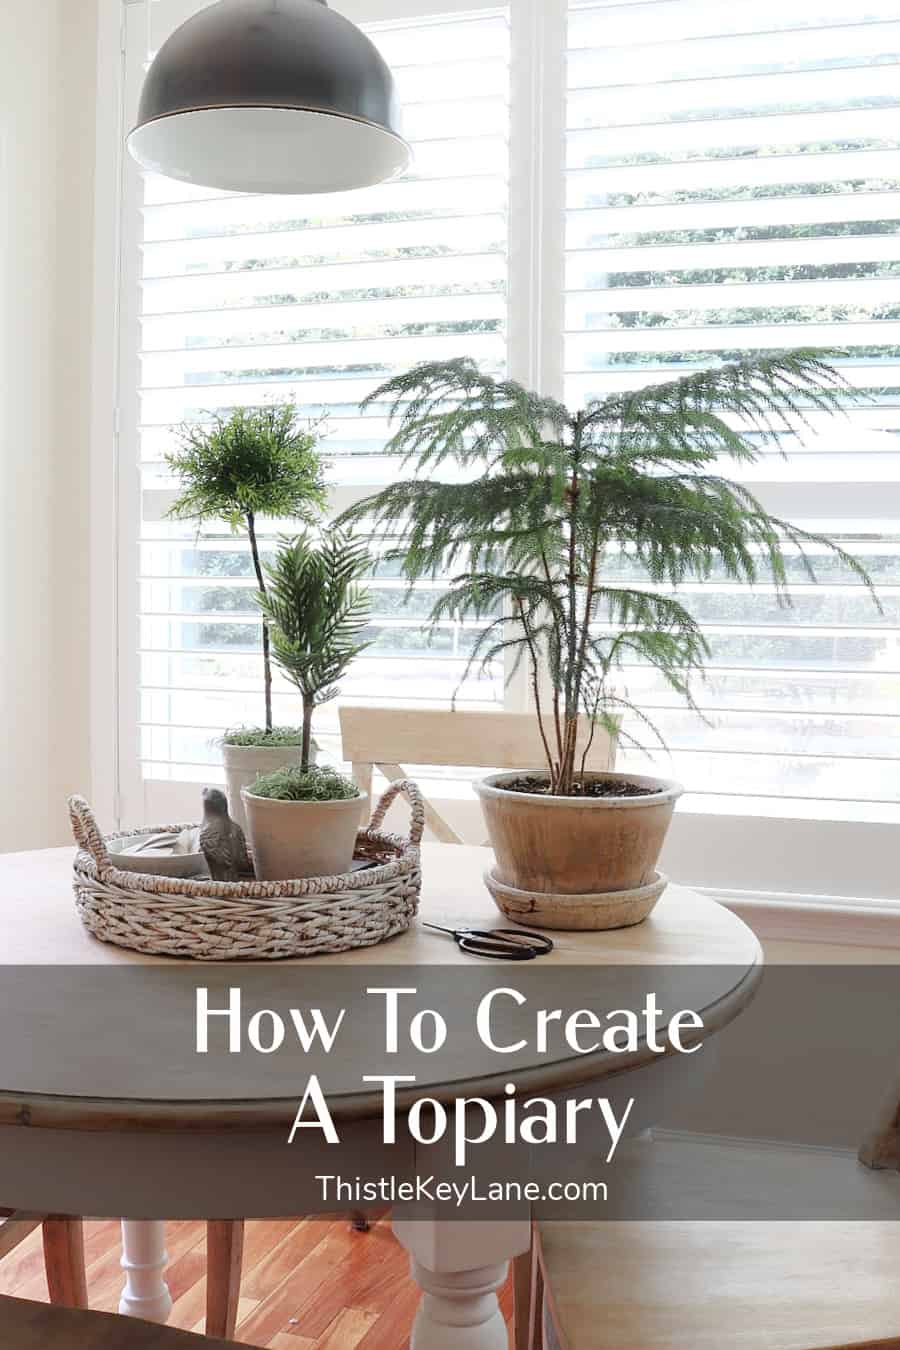
Right now I have a simple tray vignette on the kitchen table with topiaries, a bowl of shells and a bird figurine.

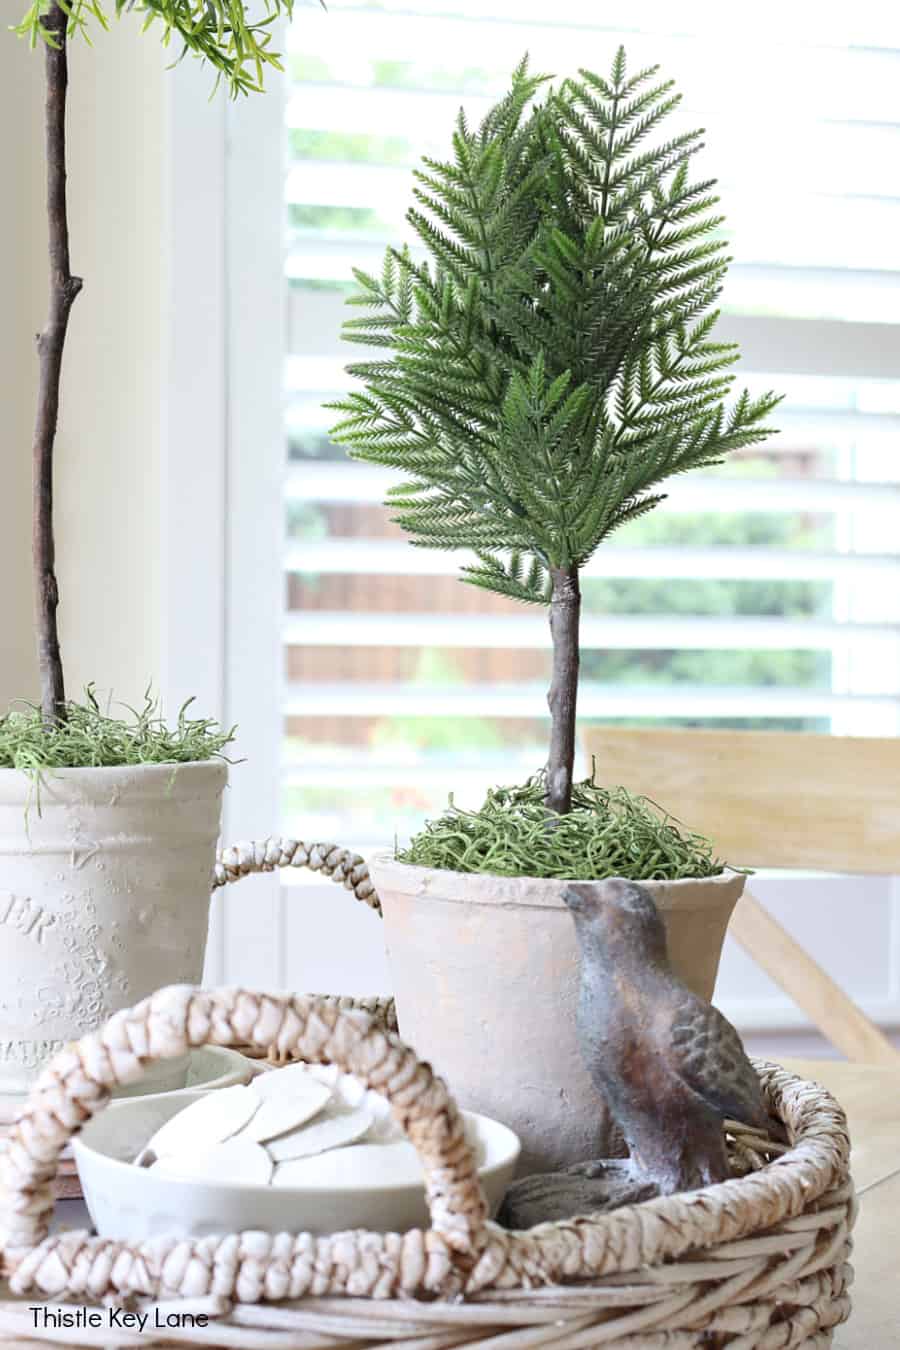
One last tip in making your faux topiaries look a little more authentic is to mix them in with real plants. See how cute they look next to the Norfolk pine?
Be sure to follow Thistle Key Lane on Pinterest, where the boards are up to date with seasonal inspiration you’re going to love!
Thank you so much for stopping by today. Keep in touch and let me know what you think about these topiaries.
Cheers!
©2025 How To Create A Faux Topiary post first appeared on Thistle Key Lane.


Wow, those topiaries look so real. Congratulations, you are being featured on TFT. I hope you stop by.
Hugs,
Bev
Thank you for the feature Bev! I just popped over to link up again!
Lovely. I’m liking this so much I’m gonna give it a try. So pretty, so simple yet so eloquent
Thank you Jo for stopping by! I hope you will have fun with the project!