
DIY Painted Shell Artwork
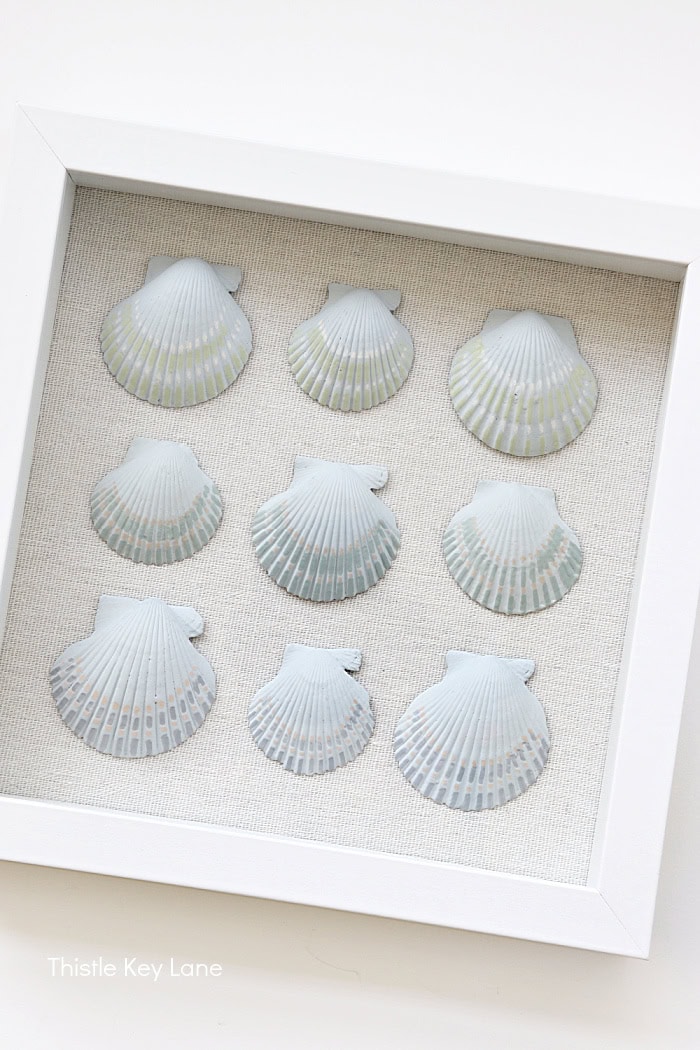
DIY Painted Shell Artwork. You are going to love this simple painted shell project, that you can turn into chic coastal artwork in a few easy steps.
As an Amazon affiliate, I earn from qualifying purchases at no cost to you. My blog may contain affiliate links for your convenience. For more information please see my disclosure page.
DIY Painted Shell Artwork
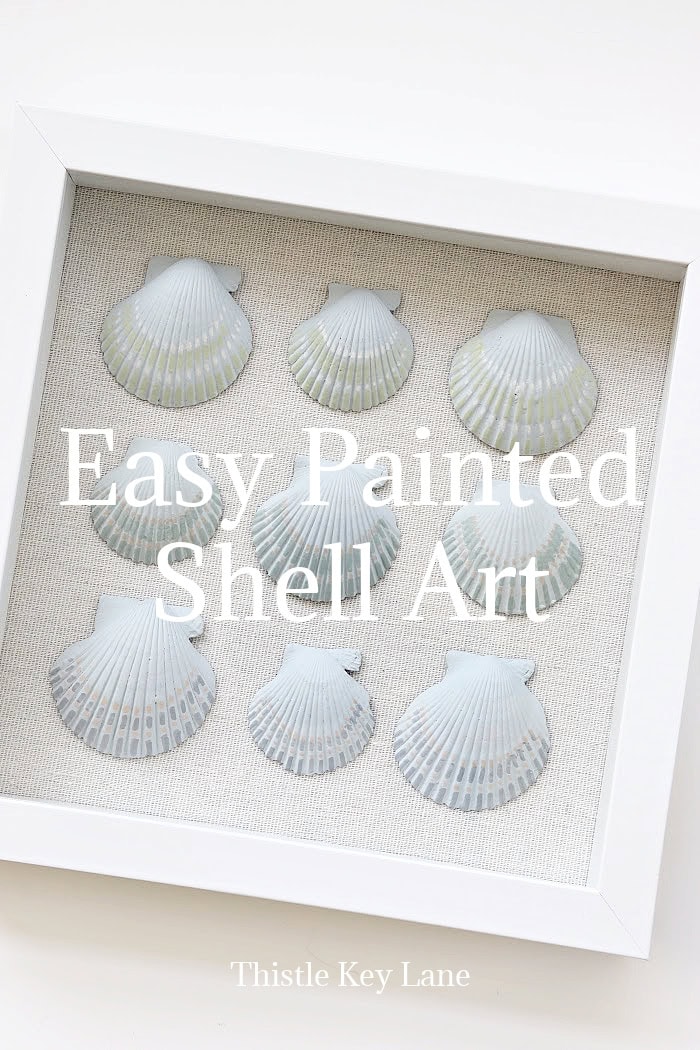
I keep seeing painted shells popping up in my IG feed, so I’m jumping on the band wagon and giving it a go. This is an easy craft that you can take your time with. No need to rush, just enjoy the activity. The end results will be pretty shells that you can display in a shadow box.
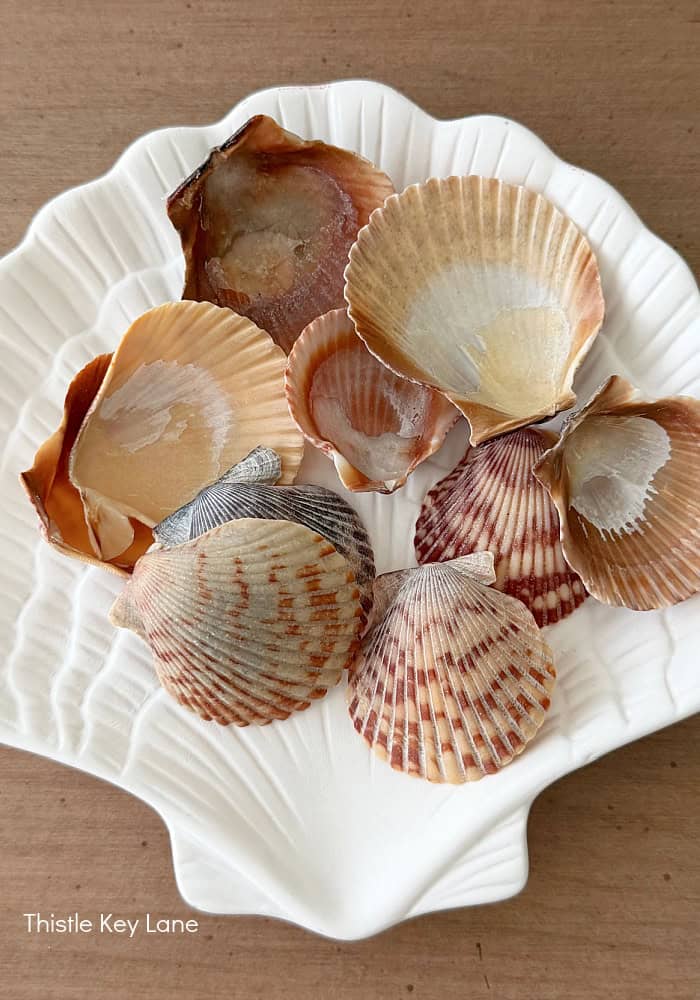
For this project, I’m using some small scallop shells from one of my Florida trips. They range in size from about 1.5 inches to 2 inches. My goal is to create artwork for a gallery wall with a subtle coastal feel in soft shades of blue, green, pink and cream.
Here’s a list of supplies I’m using for this project.
Supplies
- shells
- acrylic craft paint
- paint brush
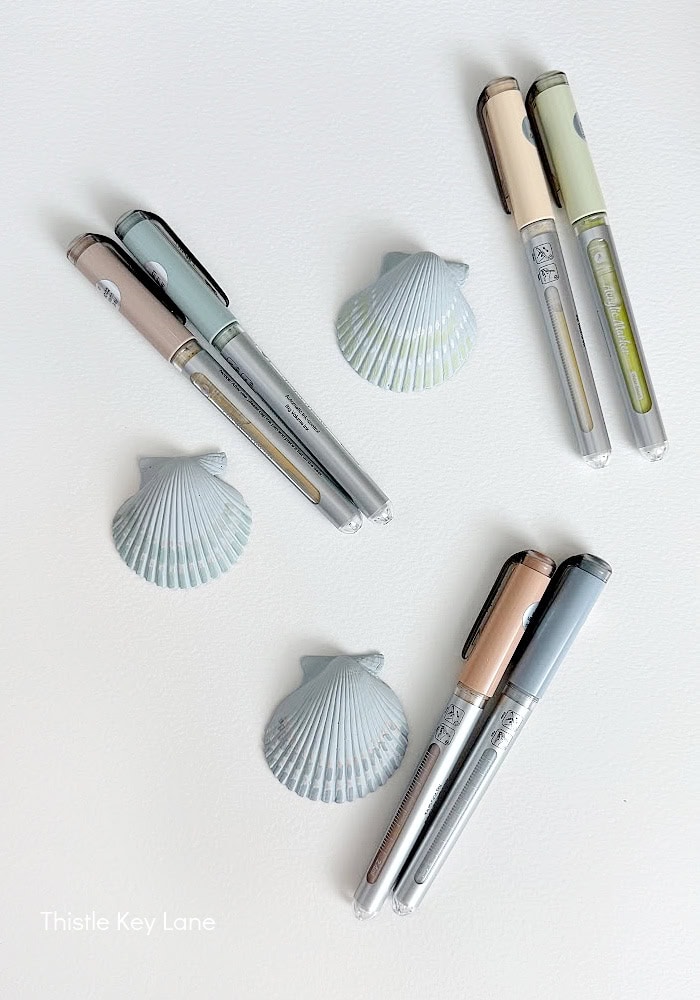
- paint pens
- shadow box
- hot glue gun and glue sticks
Painting The Shells
For most projects, I try to use what I have in my craft supply stash, but this time I didn’t have the right color. So to achieve this lighter shade of blue, I’m using a mix of FolkArt silver marlin with wicker white in matte acrylic. The end result is a dreamy soft muted blue which is exactly the shade I’m looking for.
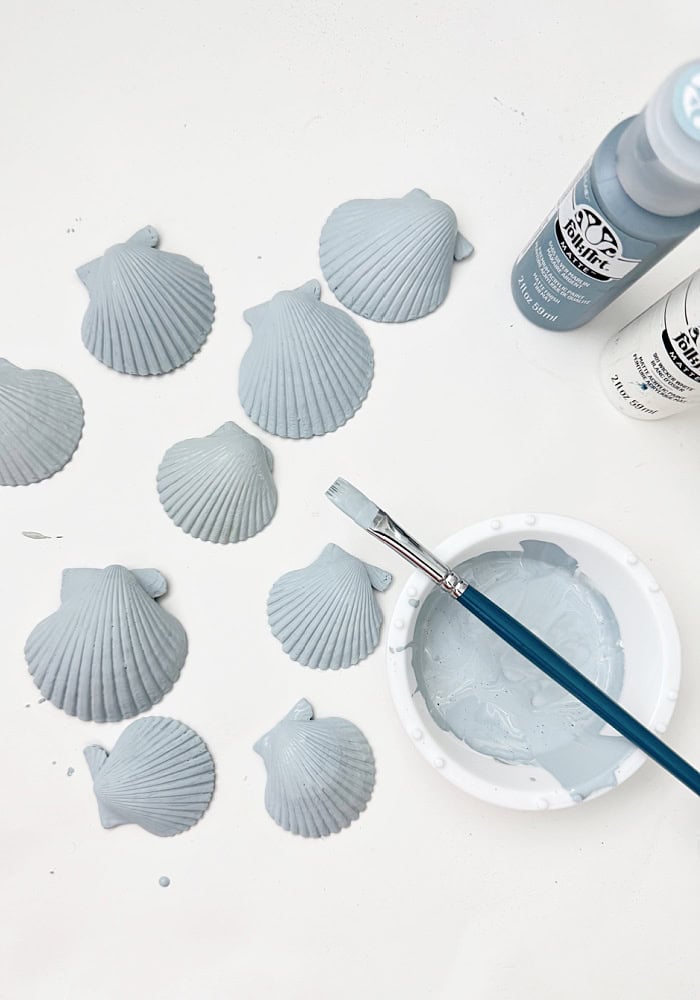
Once you pick your base paint color, use a small craft brush to paint both sides of your shells. That way you can display which ever side you like best. Depending on the color of the shells, and the color of paint you choose, you may need two coats.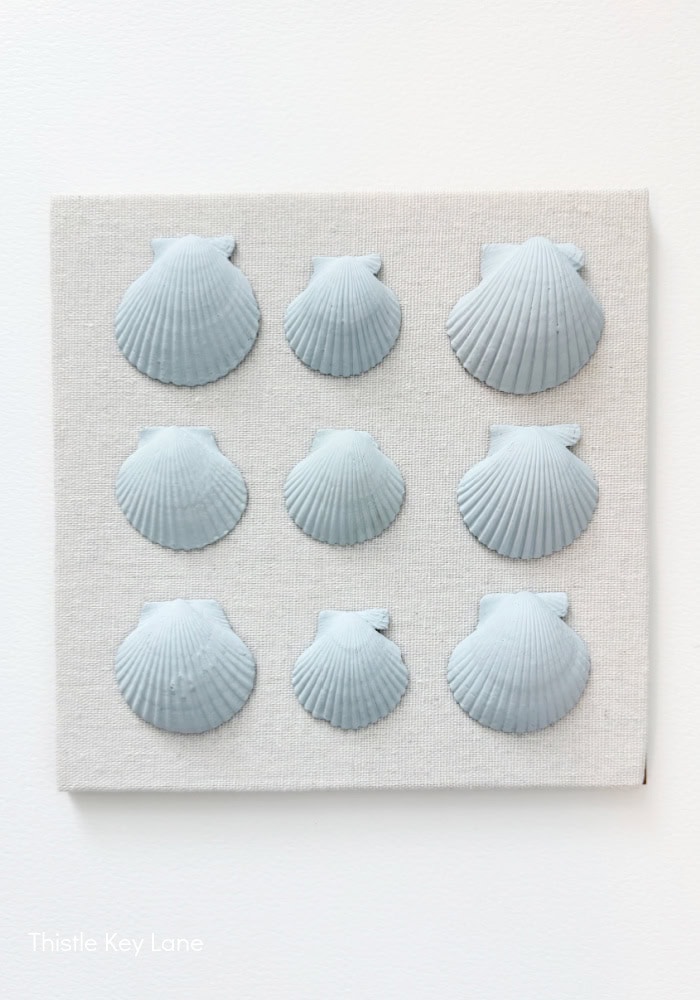
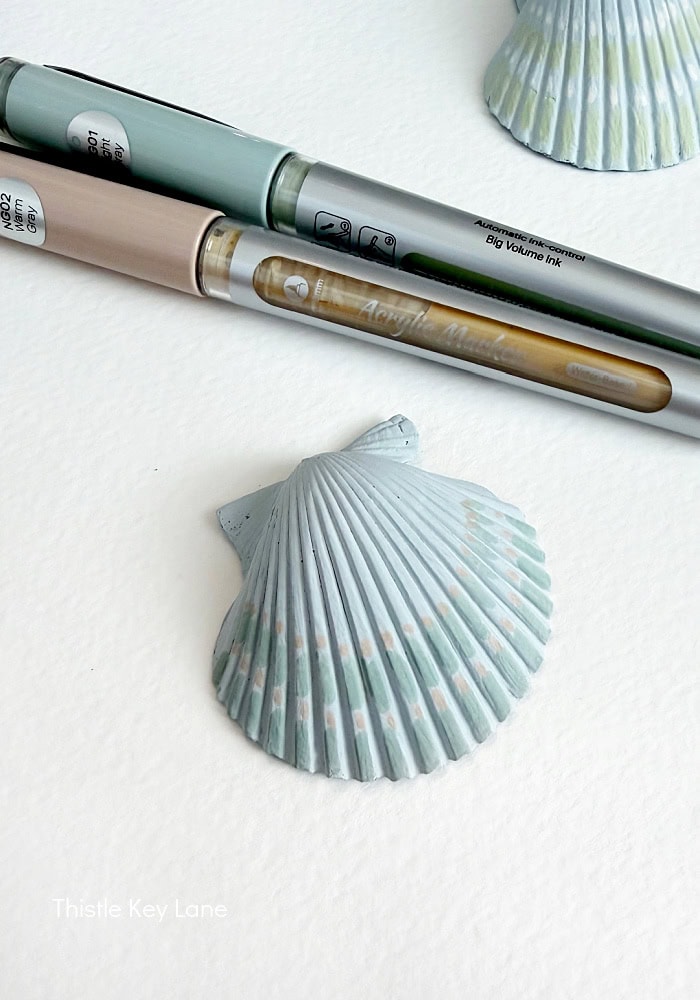
At this point you can stop here with the monochromatic look or continue decorating your shells with a little extra color and details. I’m using some new to me acrylic paint pens, that I’m going nuts over. The pens are so easy to use, and the colors are beautiful. You can find the complete set here.
To highlight the ridges on the scallop shells, I’m using paint pens to add little dots and lines. I think it is so much fun to experiment with different color combinations. You can decorate your shells all the same, or play around with different looks. Remember if you don’t like what you create, you can always paint back over the shells with your base color and start again.
Framing The Shells
To display my shells I’m using an inexpensive 8″x8″ white shadow box with a neutral linen covered interior board. You can click here for a white frame like mine or to see more colors.
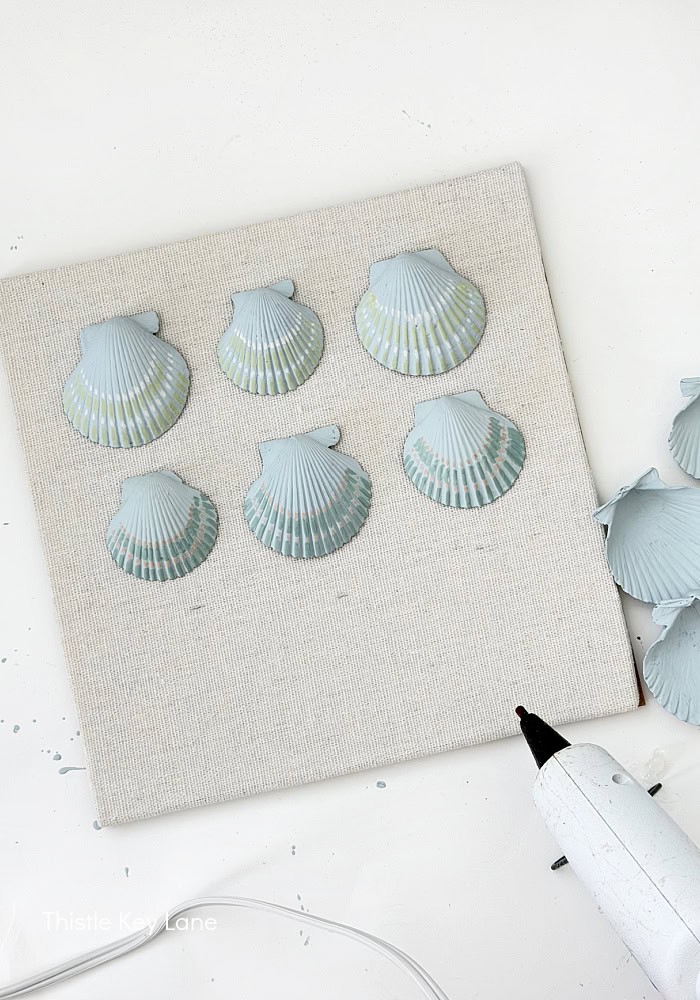
Before glueing the shells in place, you may want lay out your shells making small pencil marks on the linen board at the top of each shell. This will help with the spacing, when you hot glue gun the shells on the linen board. Once the shells are in place, you can reassemble the shadow box and enjoy your artwork.
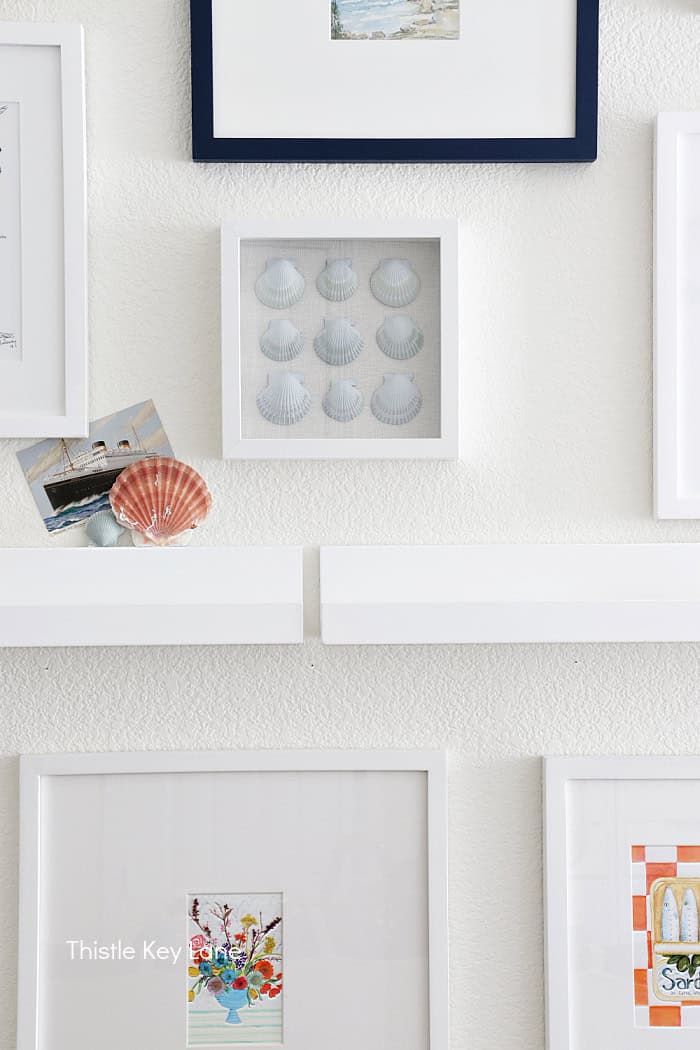
I’m loving this new addition to the gallery wall in my studio. Now that I have a good idea of the process, I’m going to dig out a few more shells to paint and design something for the smoother inside shell surface.
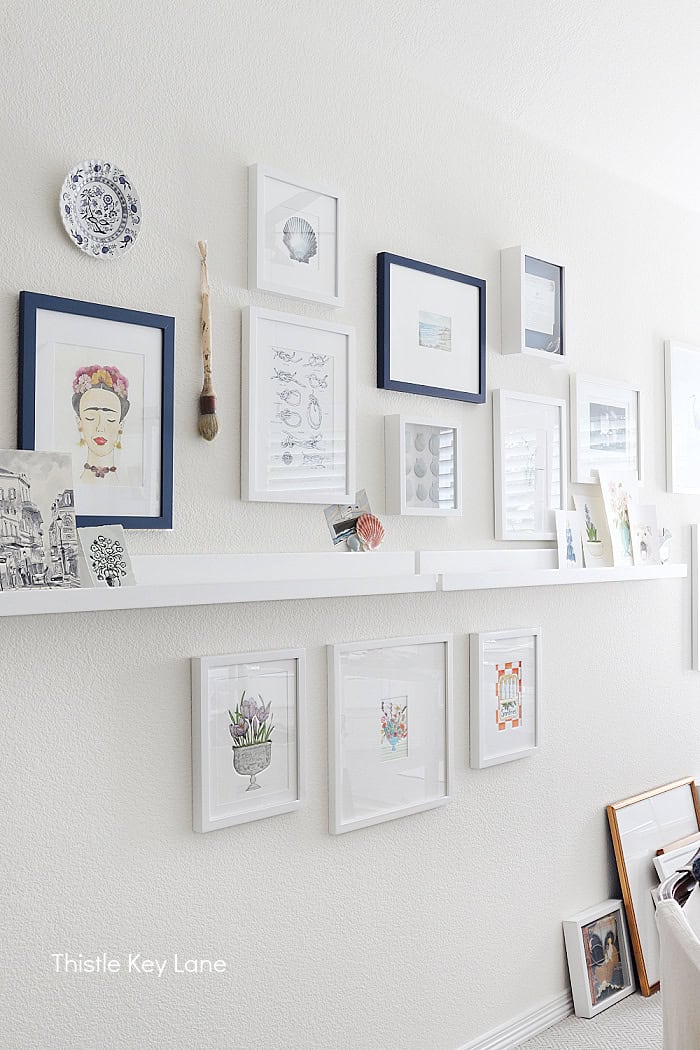
For more shell project ideas, check out my post DIY Raffia and Shell Candle Holders.
Be sure to follow Thistle Key Lane on Pinterest, where the boards are up to date with seasonal inspiration you can use right now!
Thank you for visiting today and letting me share this painted shell project with you. I hope it is something you will look forward to trying, and will enjoy the process too.
Cheers!
© 2026 DIY Painted Shell Artwork post first appeared on Thistle Key Lane.

Your shell artwork and collage look amazing! It’s very soothing. Thank you for sharing it on Farmhouse Friday. I’m featuring it tomorrow. pinned
Yay! Thank you so much Cindy for the feature! I will be by to link up again tomorrow!