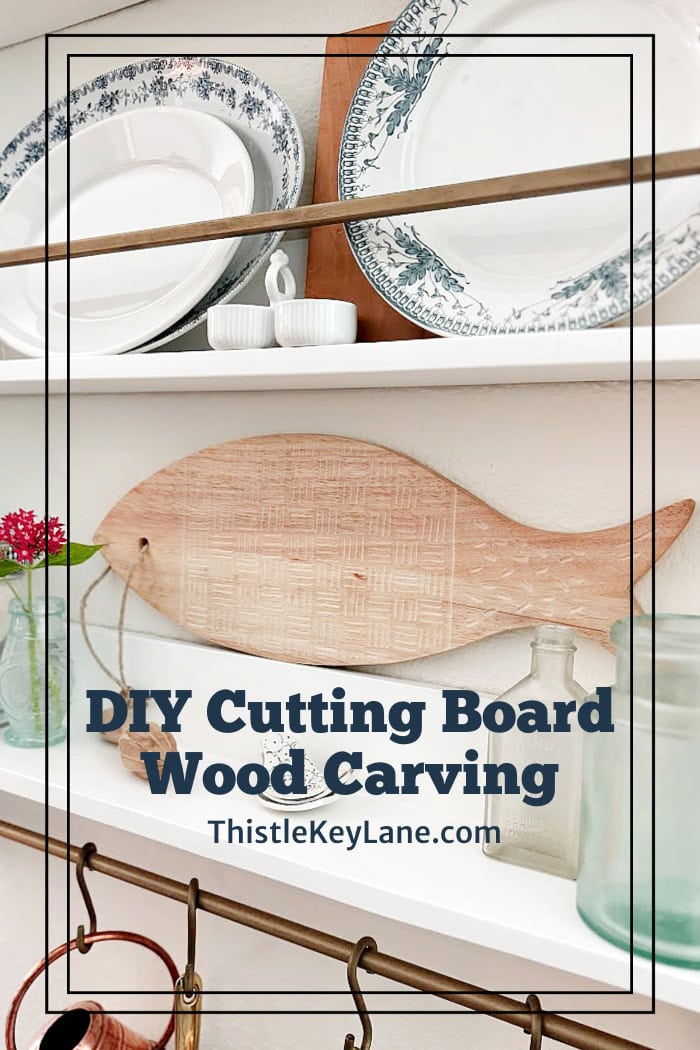
Cutting Board Wood Carving DIY. Try out this project as an easy introduction to wood carving. See how to carve a checked or gingham pattern with simple lines using a Dremel.
As an Amazon affiliate, I earn from qualifying purchases at no cost to you. My blog may contain affiliate links for your convenience. For more information please see my disclosure page.
June Handcrafted Society Challenge
Are you ready for the Handcrafted Society’s June challenge? Excellent, me too! If you are new to my blog, the Handcrafted Society is simply a group of bloggers who share a love for detail and craftsmanship. Each month we take our assigned medium and set our creative minds to work. To see the HS project from last June you can click here, for my tutorial on how to display architectural moulding pieces.
This month our assigned medium is a geometric design or pattern. Sounds pretty interesting right? Be sure to check out the links and photos at the end of my post to see what my friends are sharing too. You won’t believe the cute ideas from this small group!
Cutting Board Wood Carving DIY
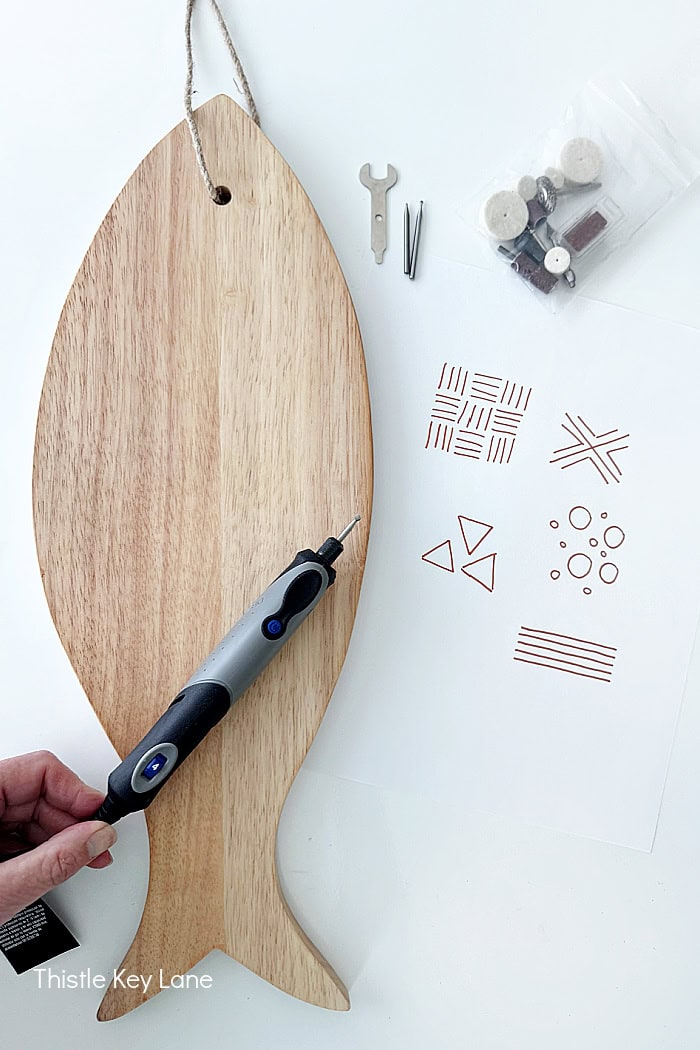
I think of this project as an excellent introduction to wood carving using a Dremel Stylo craft tool. The simple geometric design I’m carving is horizontal and vertical lines that create squares which look like checks. You know how much I love gingham patterns. 😉
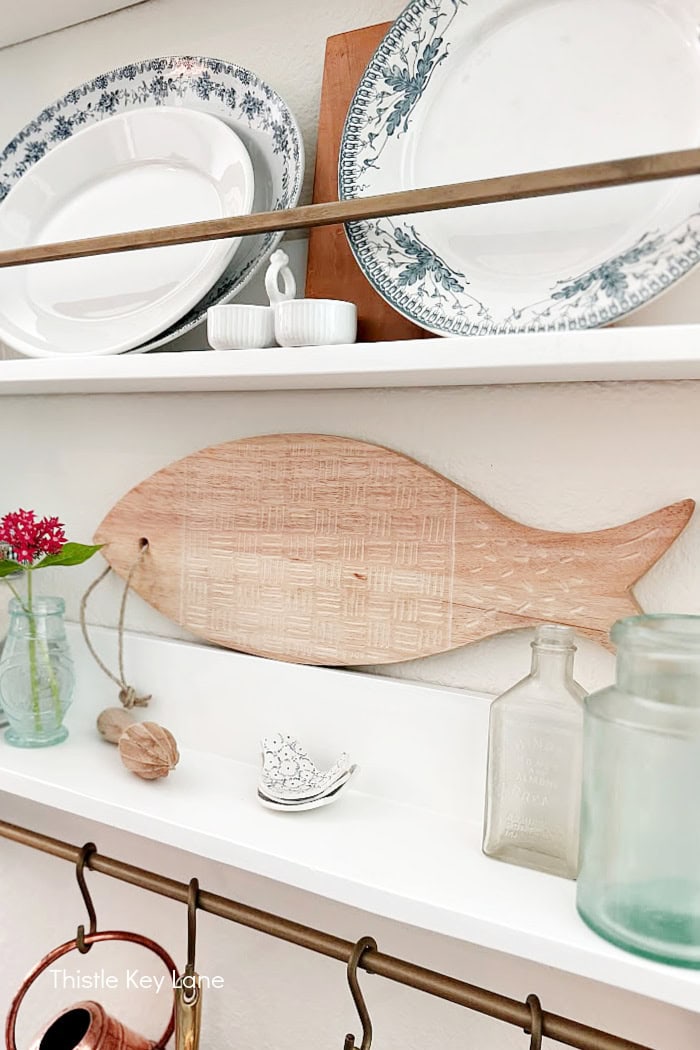
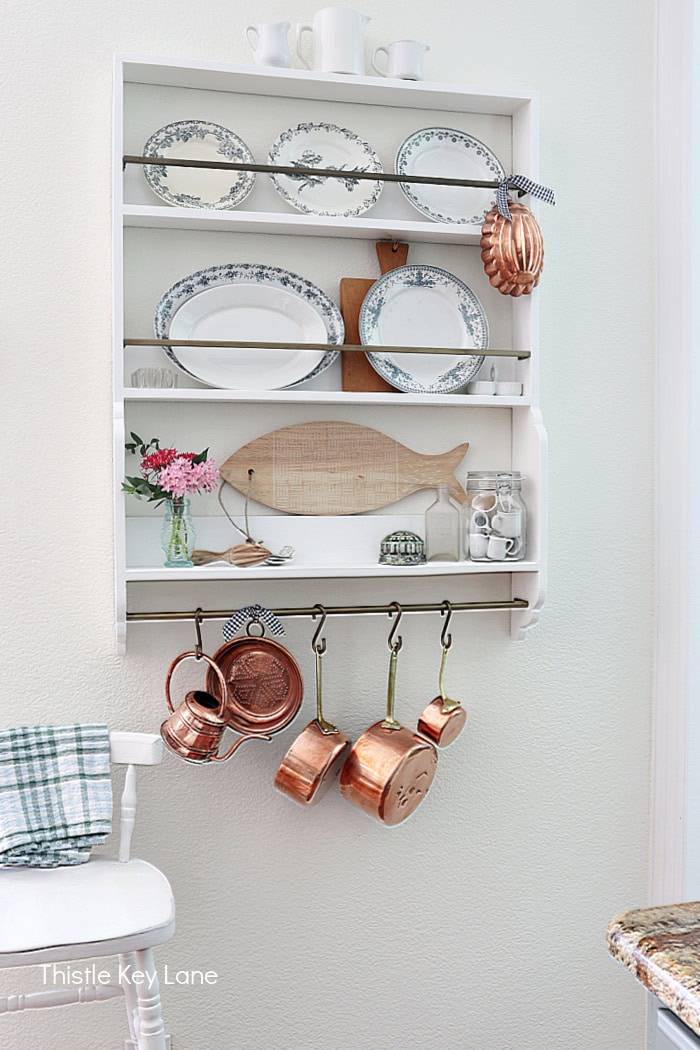
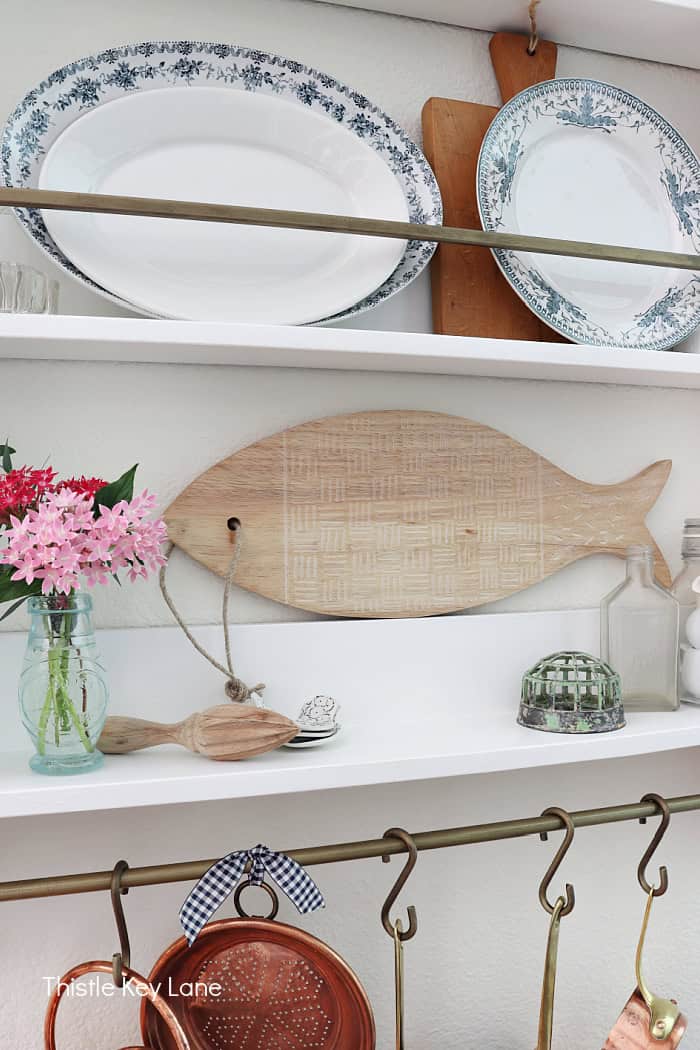
The fish cutting board that I’m decorating is a good size and an inexpensive piece to practice on. My plan is to create a pleasing carved design to use as decoration on a kitchen shelf, reserving the other side plain for serving food. I’m loving how it looks on my wall rack with my French blue and white transferware plates, and other vintage collections.
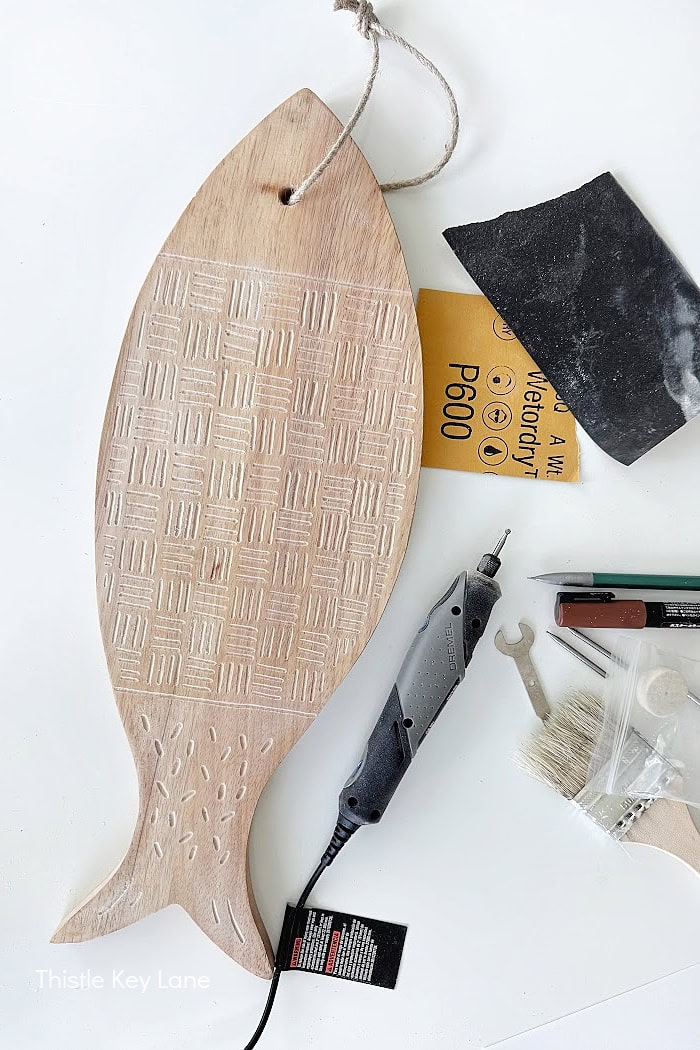
Supplies
- wood cutting board
- Dremel Stylo+ Craft Tool
- pencil
- fine sandpaper or sanding sponge
- safety glasses
- face mask
- chip brush
- clear coat sealer (optional)
Step By Step Guide To Beginner Wood Carving
Remember to read the manufactures instructions before starting any project using power tools, even small ones such as the Dremel Stylo+. You should also use safety glasses, and a face mask to prevent inhaling wood particles.
I started out using the Dremel Stylo+ to carve vertical and horizontal lines free hand. Then decided, to make the rest of my pattern with pencil. That way my carved lines would look a little more uniform. By the way, you can play around with different geometric designs or use a stencil as a guide.
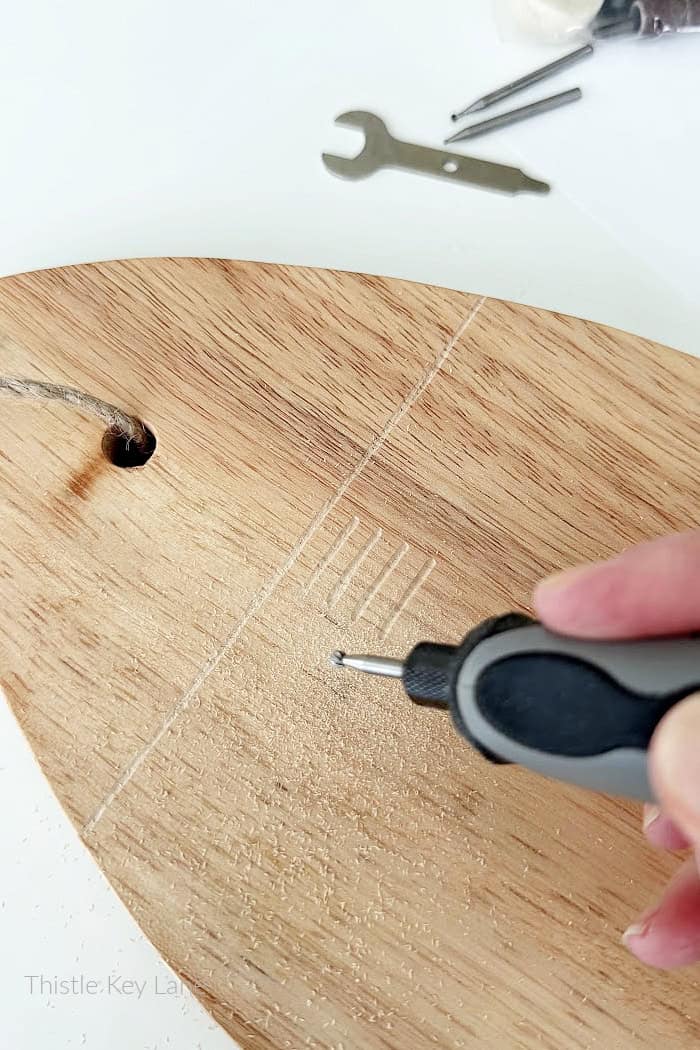
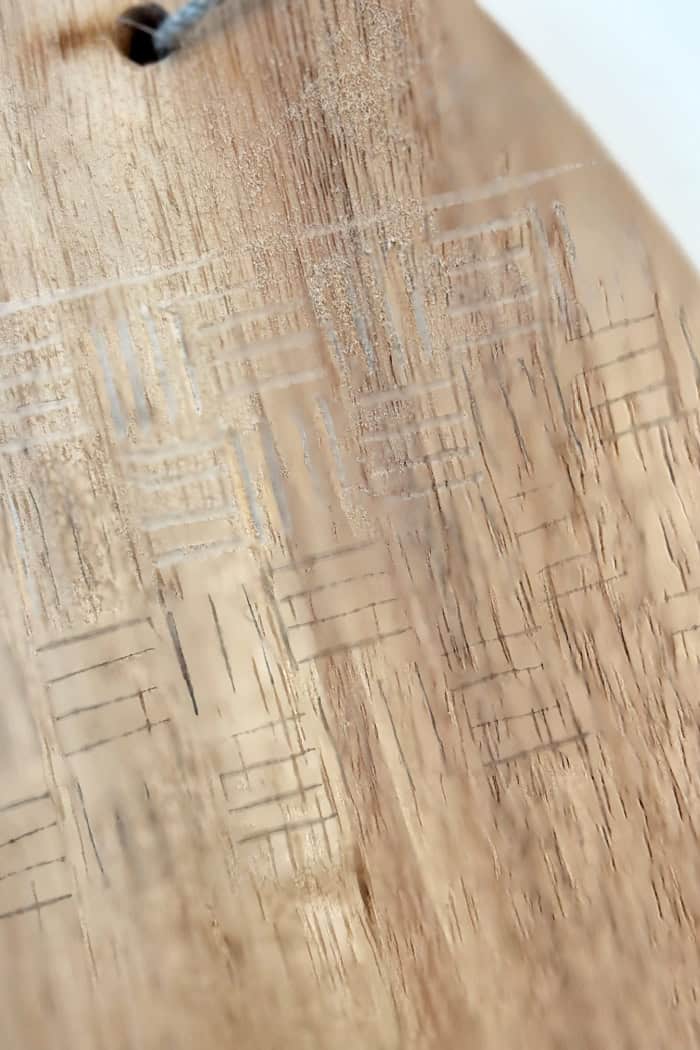
When using the Dremel Stylo+ I find that carving from right to left makes the smoothest carving stroke, although you can go in either directions. You might want to practice on a scrap piece of wood until you get the feel of it.
For this wood carving project, I’m using the largest of the three engraving cutters that are included with the Dremel Stylo+. My lines are far from being straight but I don’t mind the rustic look. To make carving the lines easier, you can rotate the board as needed.
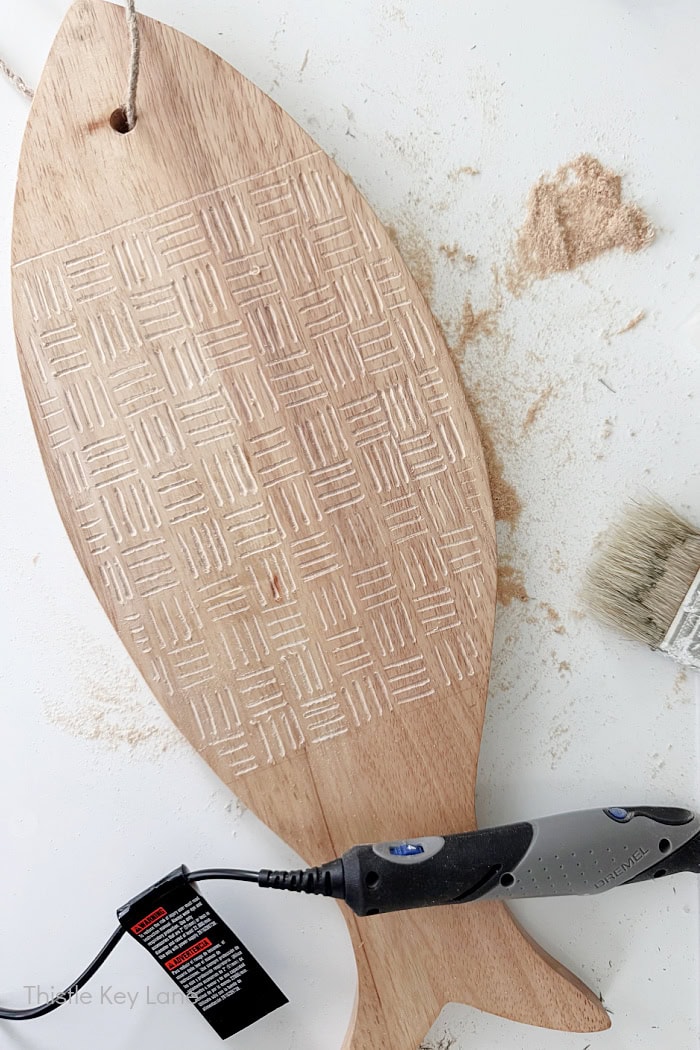
During your carving process, keep a clean paint brush handy to clear off the wood particles. You can also use a hand held vacuum to clean up as you go.
Use fine sandpaper to smooth out any rough edges in the carved areas, until you have the finish you desire. Once the gingham pattern was finished in the middle section, I added a few extra details to the tail. These are random short lines going in different directions, plus two lines on the top and bottom of the caudal fin.
What I Learned From Cutting Board Wood Carving
Start to finish, this wood carving design may take you a couple of hours, more or less. Surprisingly, I enjoyed getting into the rhythm of the wood carving, and felt the repetition was very relaxing. Plus listening to tunes or an audio book with earbuds helps to take the edge off the sound of the wood carving.
I’m finding the Dremel Stylo+ is very easy to hold and manipulate. I hope to experiment on glass and terracotta, so more on that later.
Be sure to follow Thistle Key Lane on Pinterest, where the boards are up to date with seasonal inspiration you can use right now!
Thank you so much for stopping by today. Keep scrolling to see what my Handcrafted Society friends are sharing today. All you have to do is click on the image or blog name to view their full post.
Cheers!
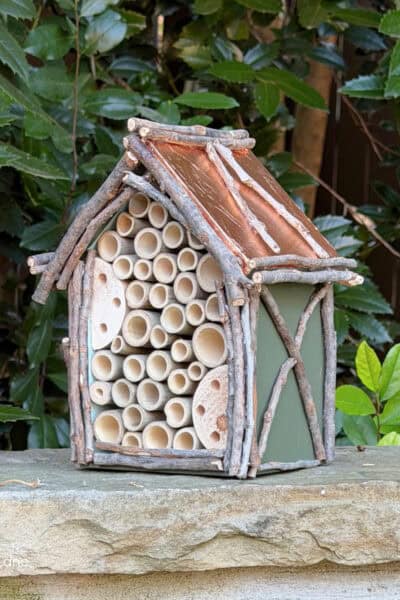
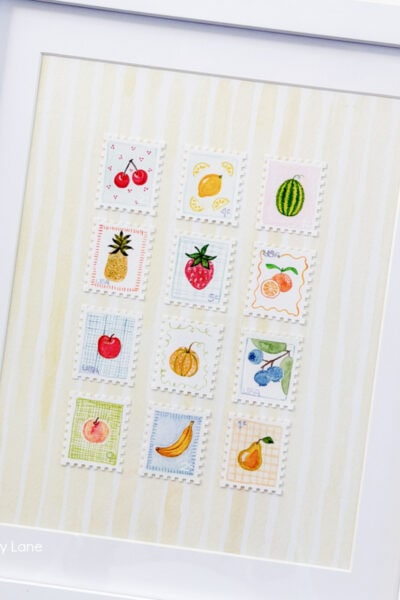
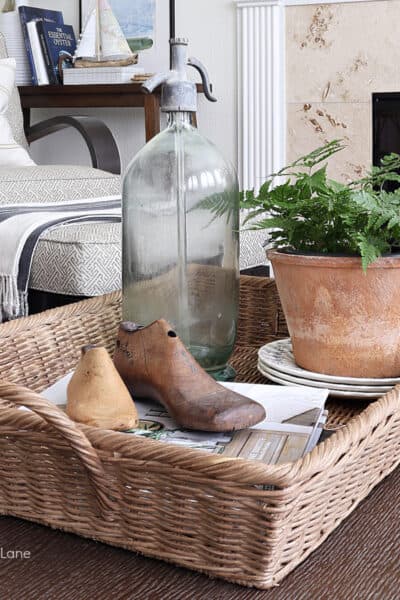
More Geometric Inspiration…


©2025 Cutting Board Wood Carving DIY post first appeared on Thistle Key Lane.

What a creative idea, Michelle! I love the pattern you chose-it looks like fish scales. Plus, this tool seems really easy and fun to use. Especially, if you’re a beginner like me. I can definitely see it opening up a whole new world of possibilities for home decor and gifting. My wheels are already turning! Sending you lots of hugs and hoping you’re having a great summer, CoCo
This little tool is my new favorite toy that’s for sure! I can see you coming up with all kinds of cool designs! Hugs to you CoCo! Enjoy your summer my friend!
hi michelle
sharing on a future weekend edit!
joe you are having a great summer! remind me where you are in the is?!
Thank you Laura, I appreciate share my friend!
I have always wanted a Dremel drill, and your project has convinced me I need to order one! I love the pattern that you created for the fish…so creative! And, as usual, you styled it so beautifully. Great job, Michelle!
Thank you Missy! I’ve been wanting one of these Dremel Stylo pens for a while, so this was a good excuse to buy one. 😊
You are so creative, Michelle! I adore how you added so much interest with the geometric pattern. This cutting board went from cute to fabulous! I’m feeling so inspired; I think I’ve discovered a new tool for my craft room! Pinning now!
Thanks so much Donna! Maybe we should have a craft tool HS challenge one month! 😃
Michelle – This is such a clever idea! I too love gingham. (Swoon) Your fish cutting board would also make a great gift! Thanks for the advice and tips – like cutting right to left. Definitely intrigued by the dremel and other possibilities. Pinned!
Thank you so much Anna! I’m excited about this new tool, and can’t wait to try it on different surfaces.
Super cute and such a great idea. Made the board so interesting! pinned
Thanks so much Cindy! I’m happy you liked the project!