
DIY Rustic Stick Vase
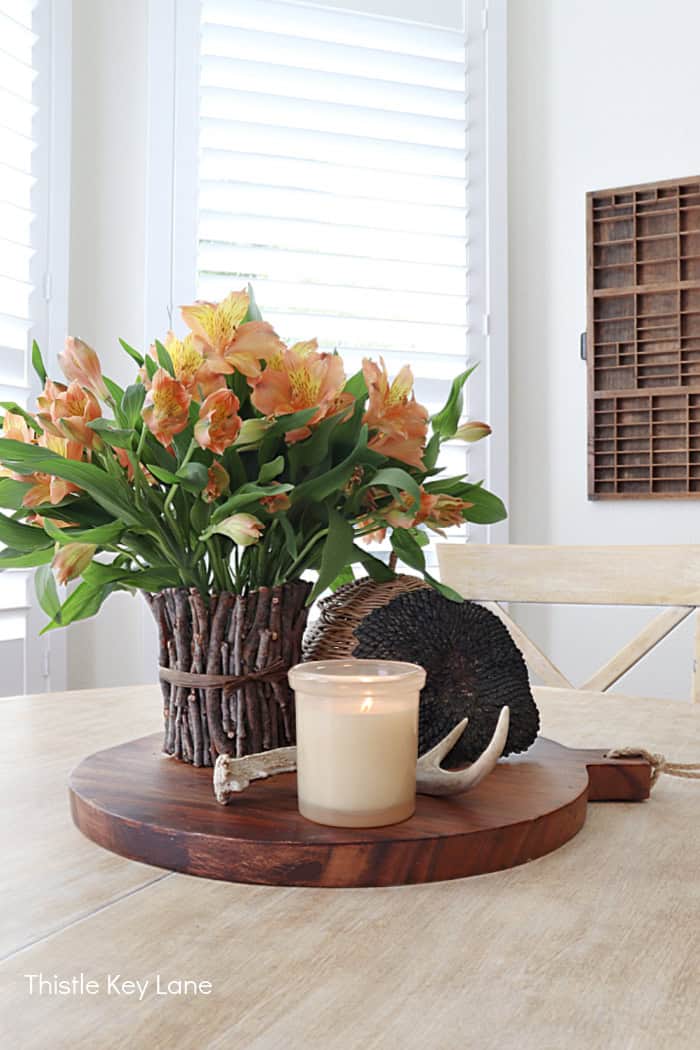
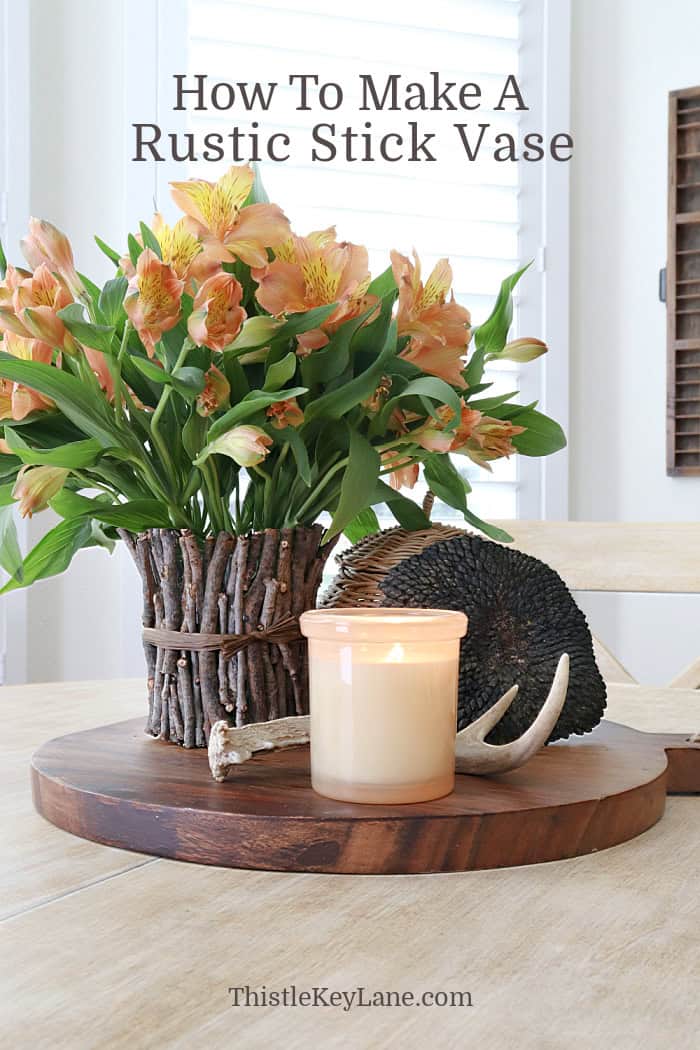
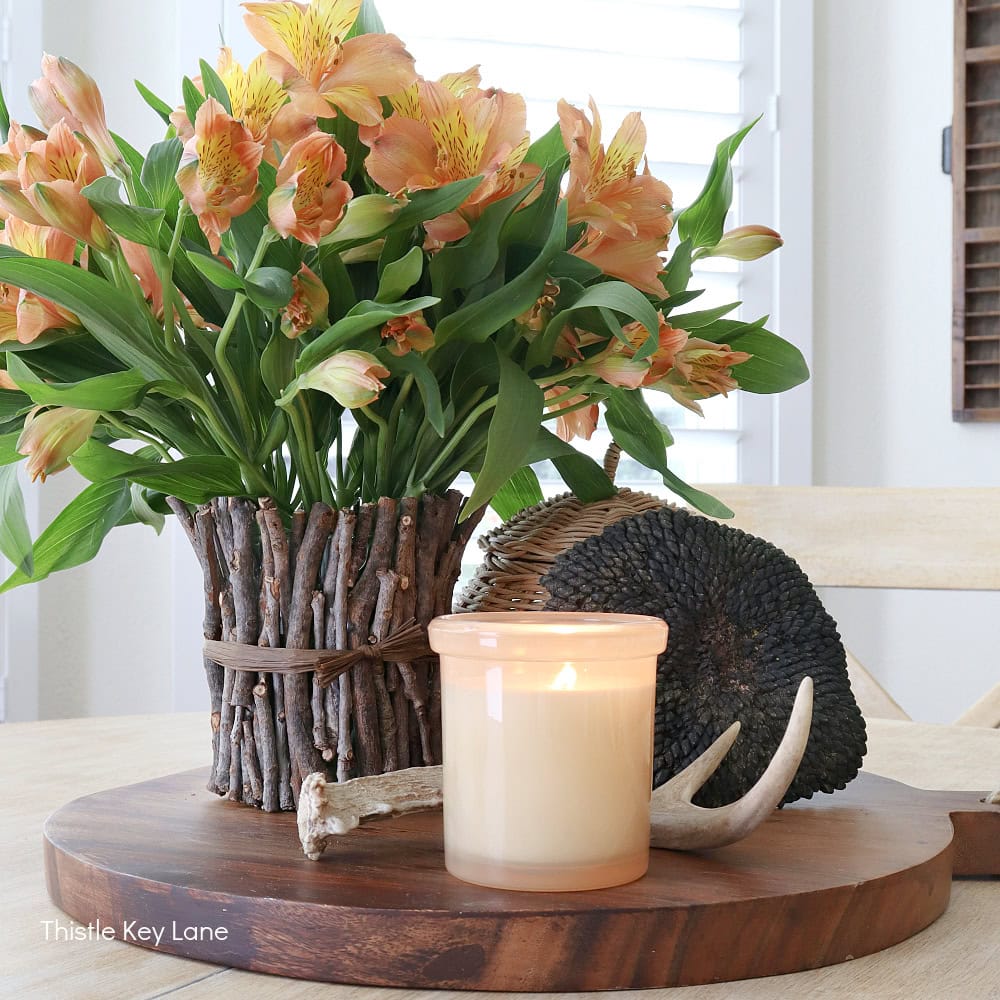
DIY Rustic Stick Vase. See how to make a rustic stick vase by foraging the woods or your own backyard for small branches and sticks. This is an easy project that you can finish in just a few hours. Then create an elegant flower arrangement in your new rustic stick vase.
Handcrafted Society
It’s time for our September Handcrafted Society get together. If you are wondering what the Handcrafted Society is all about. Quite simply, it’s a group of bloggers who share a love for detail and craftsmanship.
This month we have eight bloggers sharing foraging projects. Be sure to check out all the links, and photos at the end of my post for everyone participating this month.
DIY Rustic Stick Vase
Foraging for natural items to decorate our homes is such an interesting concept, but certainly not a new one. So instead of ordering supplies online or going to the craft store we are foraging the great outdoors.
When I think of foraging, pine cones and acorns are the first to pop into my head. Then I start imaging leaves, branches, flowers, evergreens, herbs, vines and the list goes on and on.
Since I’m always looking for new vase ideas, I’m making a rustic stick vase for this month’s challenge. So I’m heading outdoors to forage in my own backyard.
We have a nice size pecan tree that is always dropping small branches when we have high winds. There are a variety of sizes from wide to skinny, however I’m not being too picky. I don’t want my vase to look manufactured, instead I want it to have a rustic handcrafted appearance.
Here’s what you’ll need for this project.
Supplies
- sticks
- pruning shears
- drinking glass, jar or can
- hot glue gun and glue sticks
- raffia or twine
How To Make A Stick Vase
I’m using just an odd ball glass I happen to have for the vase vessel. You can also use a glass jar or metal can (clean of course).😉
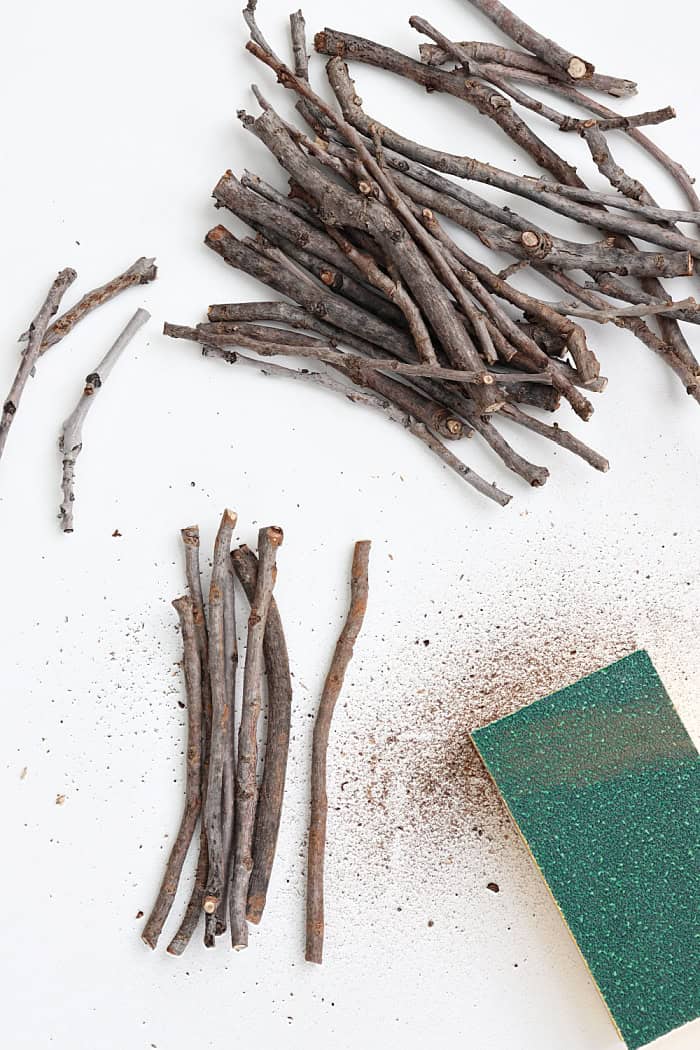
Measure the vessel, and cut your sticks with pruning shears about an inch taller. Set your shorter sticks to the side, because you will want to use those too.
Depending on the condition of your branches you may want to clean them up a bit. I’m using a sanding sponge to knock off loose bark and dirt.
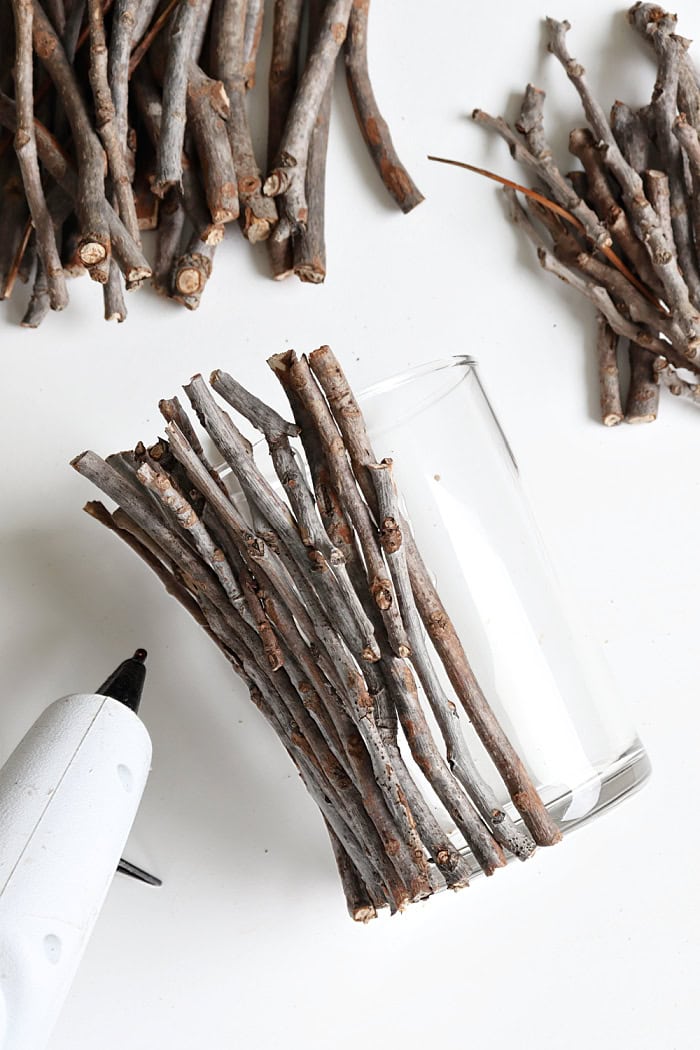
Now you can start hot glueing your sticks to your vase vessel using your hot glue gun. As you add sticks make sure you are keeping them even with the bottom of the vessel, so that it will be level when you place it upright. Don’t worry if you have gaps or spaces between sticks, you can fill those in later. For added interest position some of the curved sticks to they flare out at the top. By the way, I’m using about 60 long sticks of various widths to cover the bulk of the vase overlapping as needed.
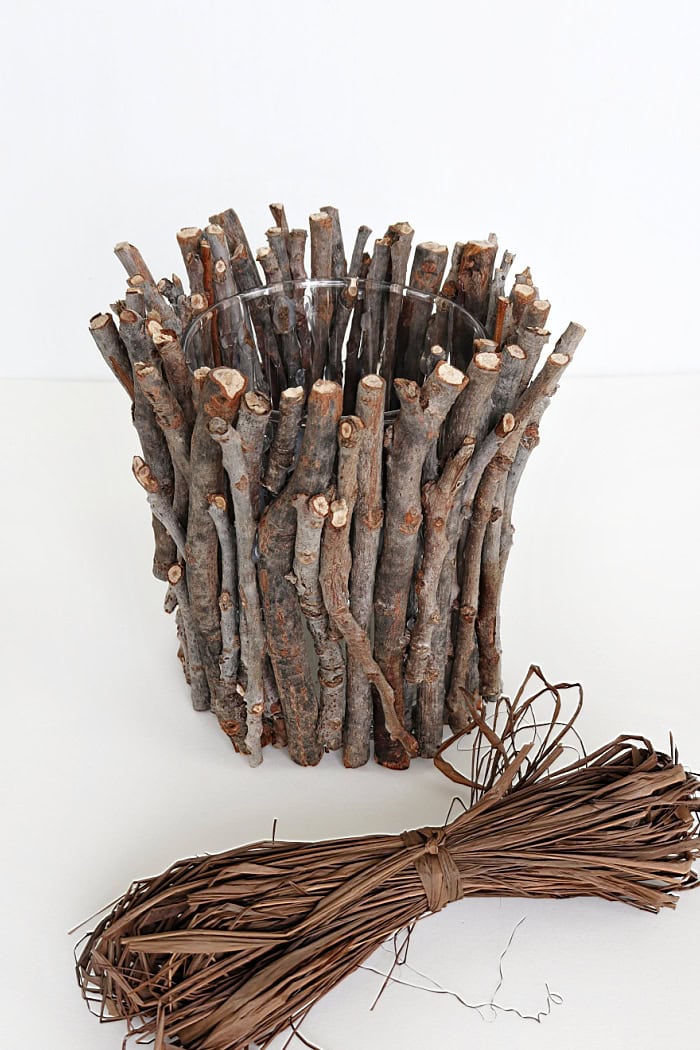
Add your shorter sticks to fill in gaps and spaces until you are happy with the look. I’m using some of the short sticks to hide blobs of hot glue on the glass, and other short sticks to create depth.
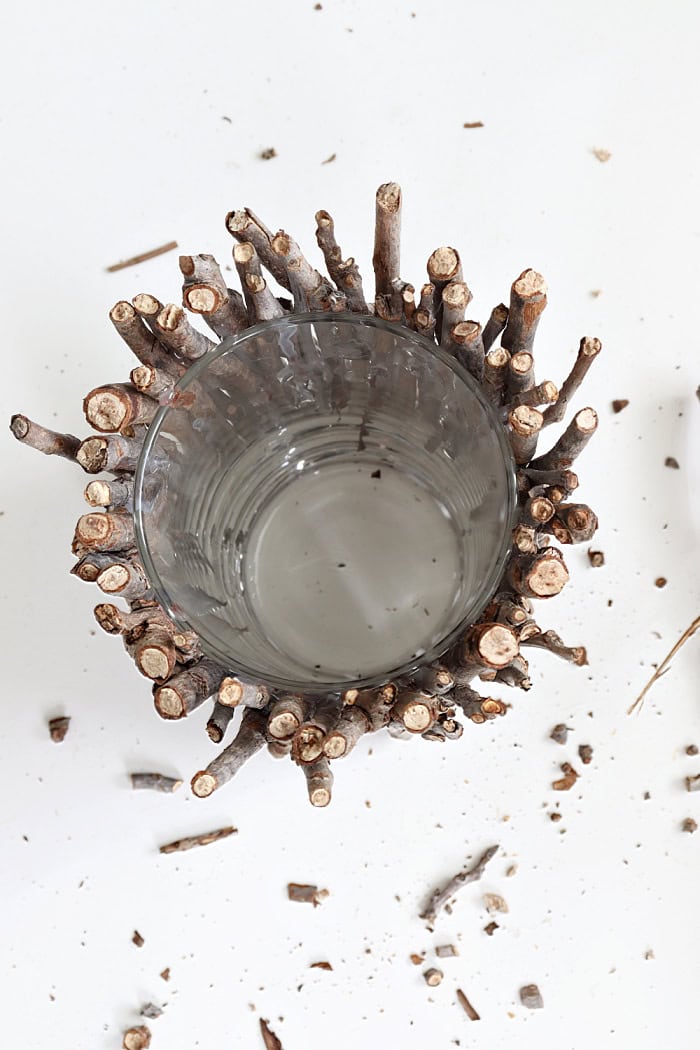
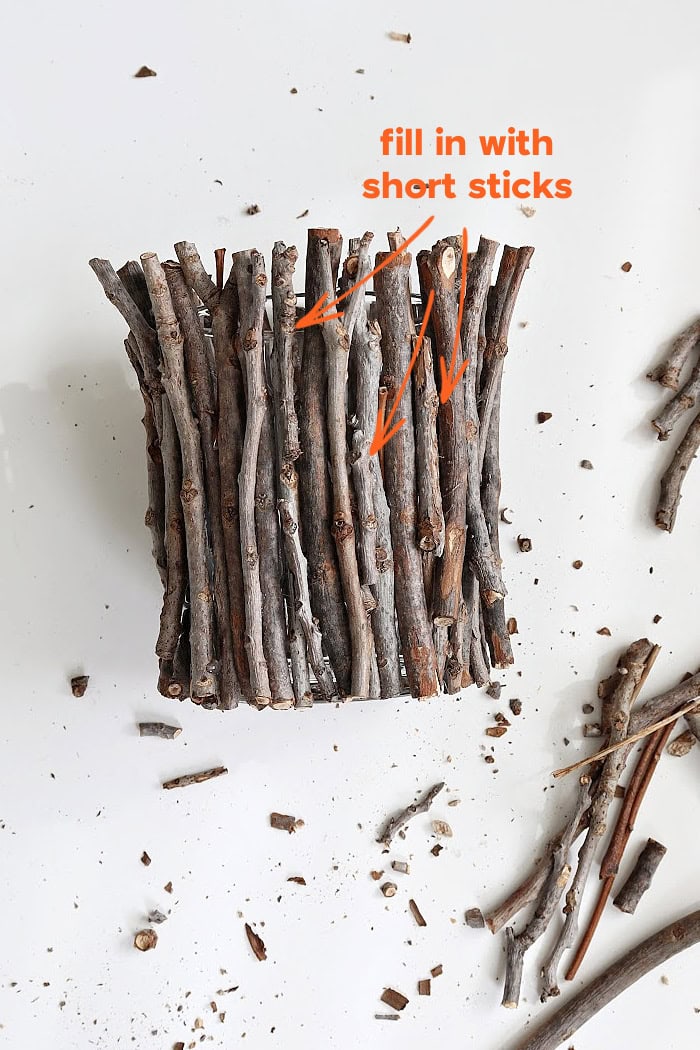
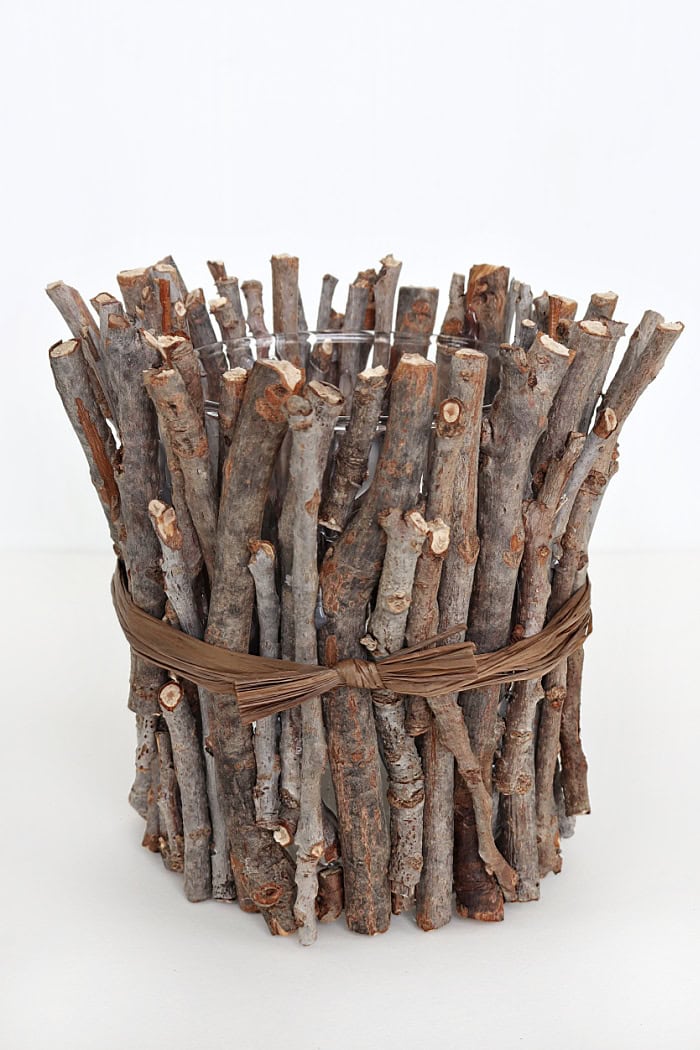
The last step is wrapping raffia or twine around the middle of your stick vase and tying it into a bow or knot. I’m using brown raffia, because it blends in with with brown sticks. That way I can use this stick vase for winter or springtime arrangements too.
Creating A Stick Vase Arrangement
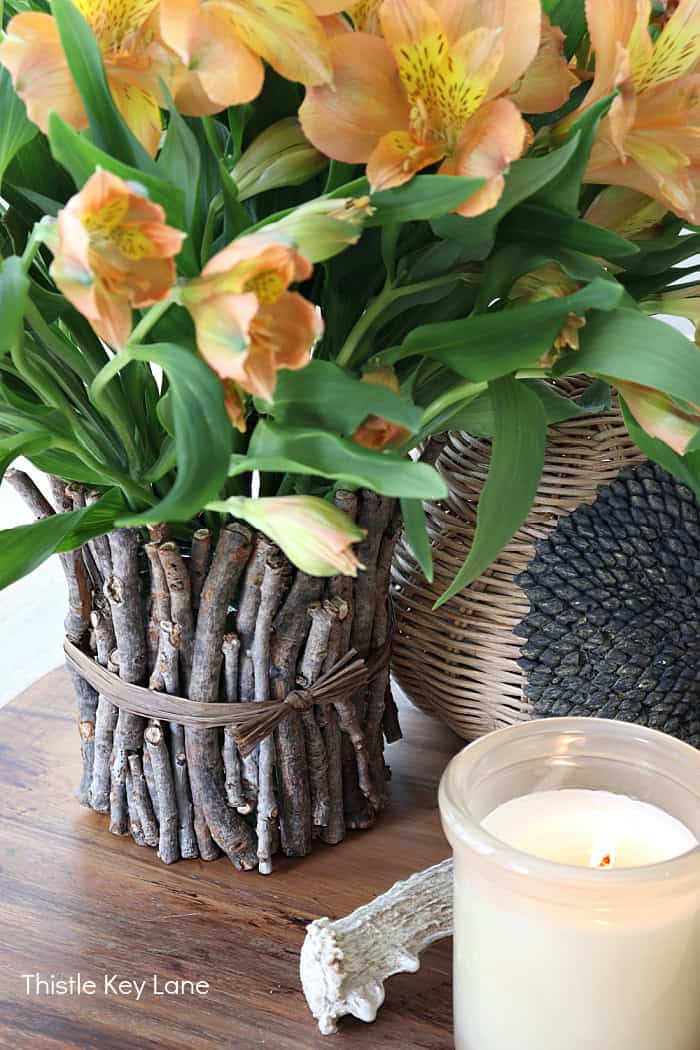
The overall size of my rustic stick vase is about 5 1/2″ tall by about 5″ wide. For this table top arrangement I’m picking alstroemeria with soft coral blooms and lots of green leaves.
If you don’t have a lot of confidence in flower arranging, then choose a single type of flower. This type of arrangement can be the easiest to create, and the most striking for a mass of color. For more single flower bouquet options think about hydrangeas, sunflowers, dahlias, zinnias, daisies, and roses.
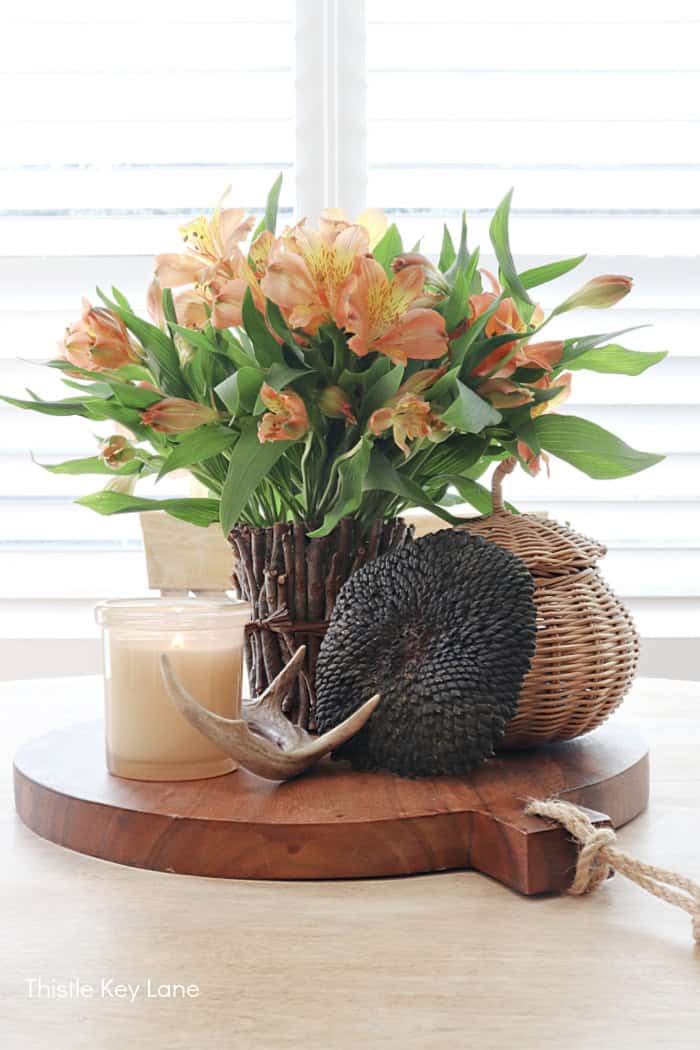
Remember after you trim the stems to the desired length, be sure to remove any leaves that will be below the water line. Also change out the water every day or at least every other day to help your flowers last longer.
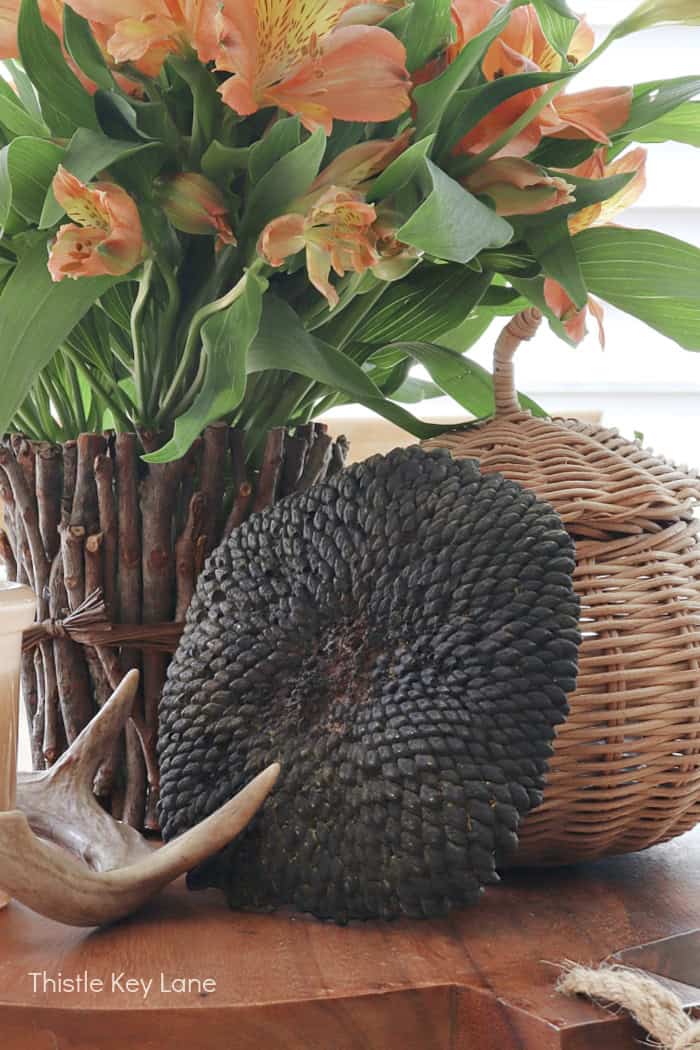
To create a fall vignette, I using a rattan pumpkin, a sunflower mold, small deer shed and a candle. The rustic stick vase arrangement is the anchor that pulls the grouping together. For three more cutting board vignette ideas see my post, Fall Kitchen Arrangement With Sunflowers.
Be sure to follow Thistle Key Lane on Pinterest, where the boards are up to date with seasonal inspiration that you can use right now!
I hope you will have fun with this project, and explore what you can create for your home to welcome in the fall season. Keep scrolling to see what my Handcrafted Society friends are sharing today. All you have to do is click on the image or blog name to view their full post.
Cheers!

Hi Michelle! This is such a cute idea! You are so creative! Who knew sticks could look so amazing? I adore the fall vignette you created around it! Pinning now!
Thank you so much Donna for the sweet comments and for pinning!
This is amazing, Michelle! I love that you can use this throughout the year and in multiple seasons too. The flowers you chose are so pretty. They’re one of my all time favorites because they last a while and are usually budget friendly as well. Thanks for the inspo sweet friend, I can’t wait to try this! Sending you so many hugs, CoCo
Thank you CoCo! Yes these flowers usually last several weeks and would you believe cost less than $10! That’s a win!!
This came out great Michelle. I’ve actually been gathering twigs to do something similar lol. You’ve inspired me to get it done. Lovely inspiration! XO- MaryJo
Thank you MaryJo! I can’t wait to see what you make! Hugs!
Michelle, I love the idea of using sticks glued around a vase. It looks beautiful yet rustic. Perfect for the fall.
Thank you Tammy! I’ve been wanting to make a stick vase for a while, and just need that little nudge to get busy! 😊
Simply gorgeous in its simplicity! I just love this!!! You always amaze me Michelle. You have such a great eye.
Thank you Diane! Your comments make me feel happy!
I love this, Michelle. It’s right up my alley. Rustic, cozy, and perfect for fall. Thanks so much for sharing.
Thank you Kelly! Rustic is exactly what I’m going for. I’m so happy you liked the project!
Brilliant, Michelle! You created such beautiful texture by layering the short twigs over the larger twigs. Who knew that twigs could be so stunning!
You know, I had my doubts when I started the project, but I’m so happy with the way it turned out! Thanks so much for the sweet comments Missy!
I love this project, Michelle! I’m going to try one of my own. Thanks for sharing!
Thanks so much Kim! BTW I loved your Indian corn wreath. So cute!!