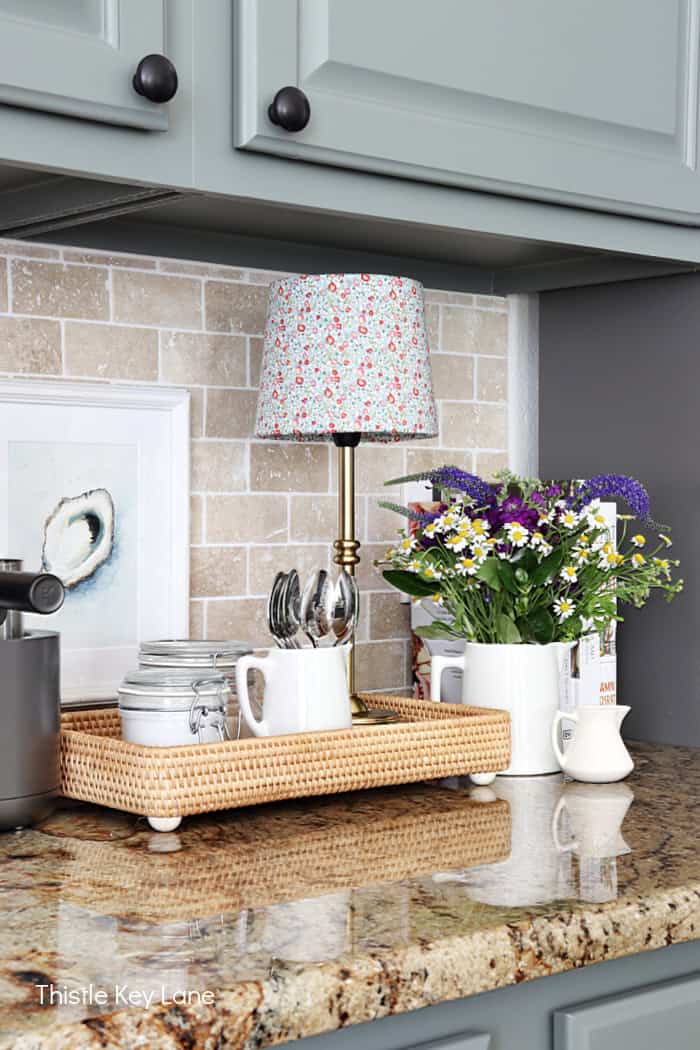
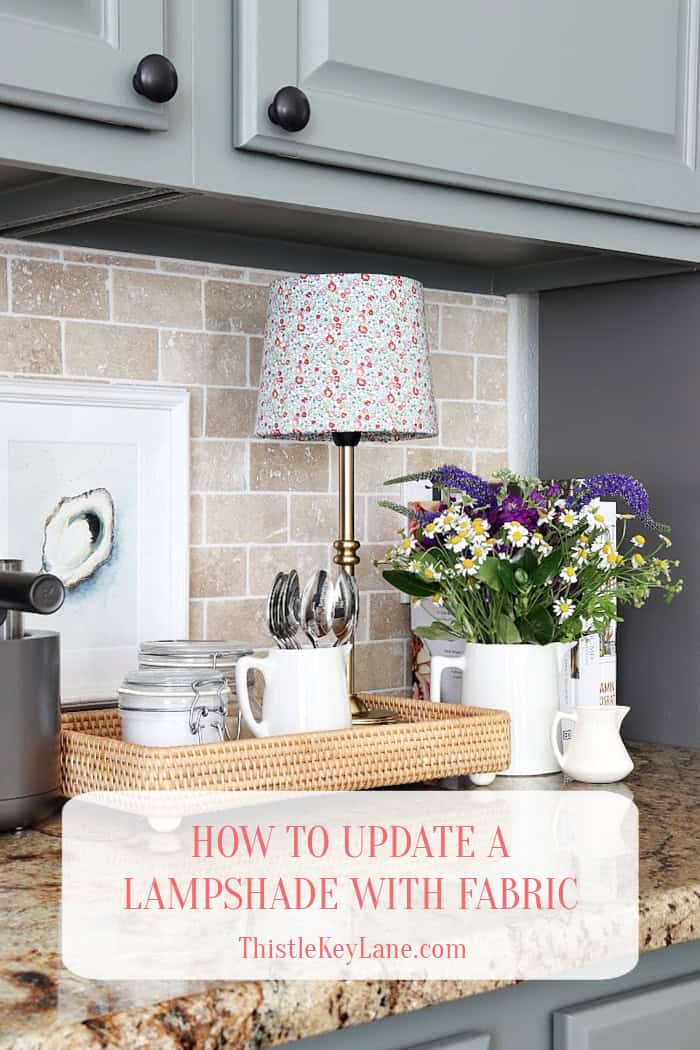
Lampshade Update With Fabric. In today’s post I’ll show you just how easy it is to update a plain lampshade with fabric. I’m completely smitten with this simple transformation of the white shade on my cordless lamp, and how cozy it looks on the counter.
As an Amazon affiliate, I earn from qualifying purchases at no cost to you. My blog may contain affiliate links for your convenience. For more information please see my disclosure page.
Lampshade Update With Fabric
I’ve noticed lots of cute lamp projects lately, and wanted to see for myself if I can cover a lampshade with fabric. Turns out that this is a quick and easy project that only requires a short list of supplies. By the way, the fabric scrap may look familiar, because it is left over from the picture frame and mat post that you can see here.
Supplies
- small lampshade
- paper sack
- pencil
- fabric
- scissors
- straight pins or tape
- hot glue gun and glue sticks
Instructions
The first step is to create a pattern for your lampshade. You can use a paper sack, large piece of craft paper or even the back side of wrapping paper. Place the lampshade on its side with the seam side down on the paper. Make small pencil marks on your paper at the top and bottom of the shade as you slowly roll the shade across the paper until you get to the seam again.
Fill in your pattern lines connecting the pencil marks then cut out your pattern with scissors. Wrap the paper pattern around the lampshade to make sure it will fit. Make adjustments or trim as necessary.
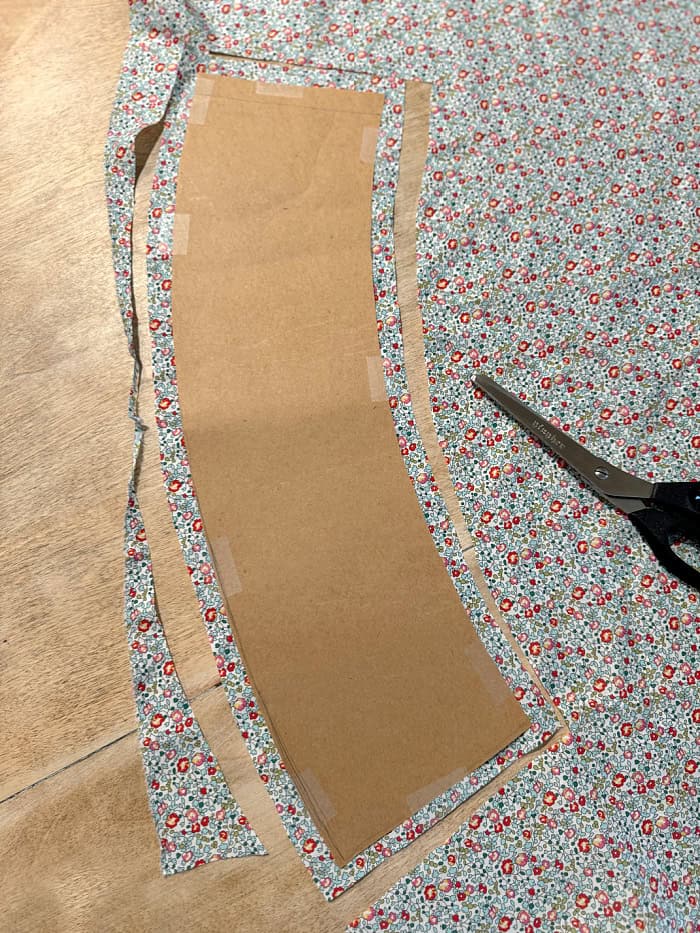
Pin the pattern to your fabric. (Note: I was too lazy to go back upstairs to get my straight pins, so you’ll see I’m using tape instead.) Cut fabric about 3/4″ larger than the pattern all the way around. This will give you enough fabric to fold over the top and bottom edges of the shade.
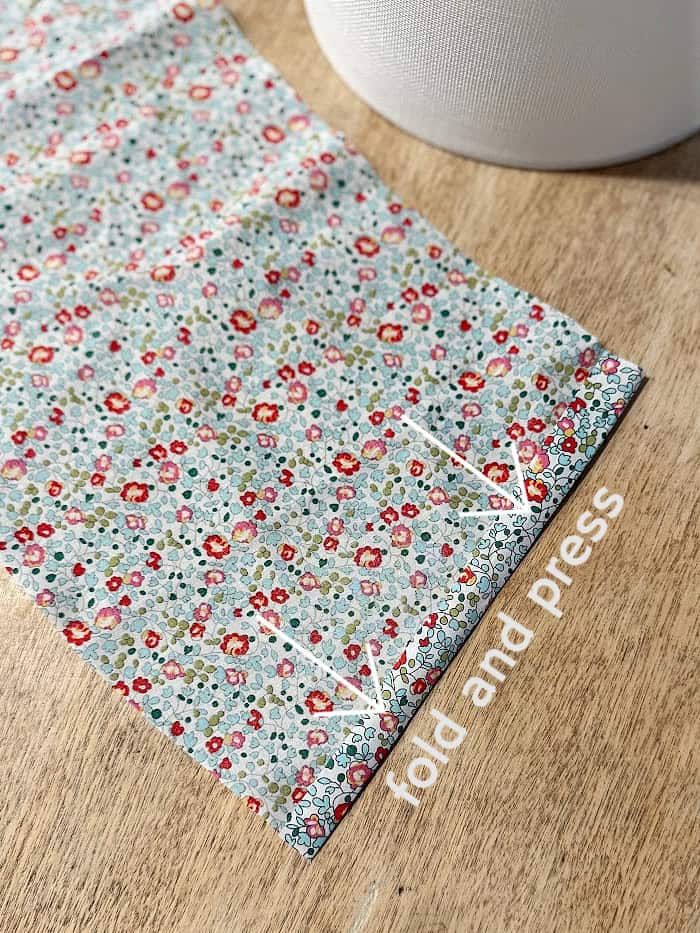
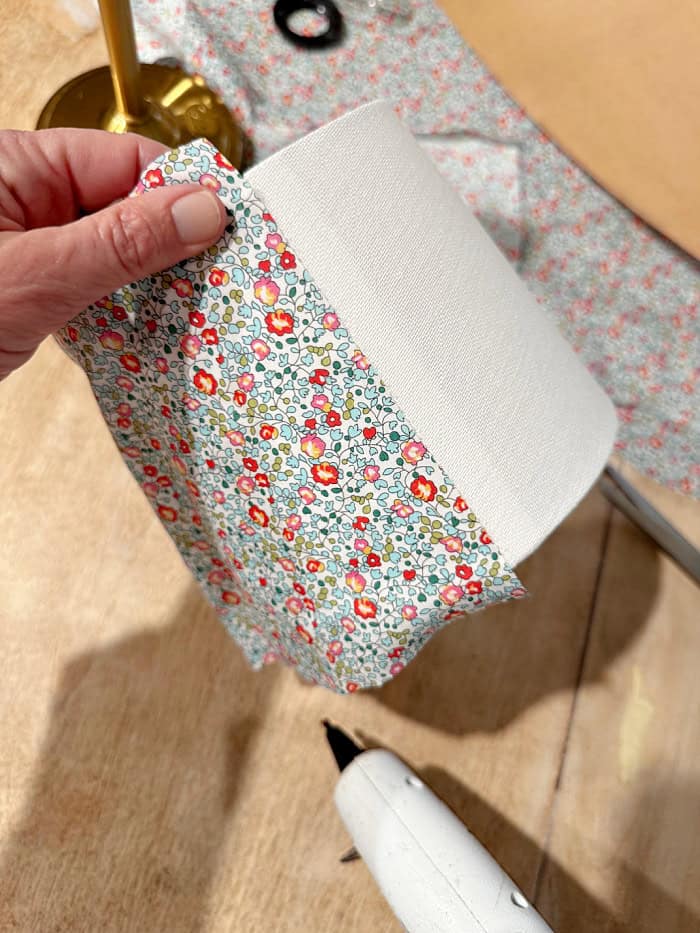
Fold and press with an iron the end of the fabric that will overlap at the seam. Pressing will give you a crisp finished looking edge.
Using a hot glue gun, attach the fabric to the shade starting at the seam. Wrap the fabric around the lampshade smoothing out wrinkles and glue folded edge overlapping your starting point.
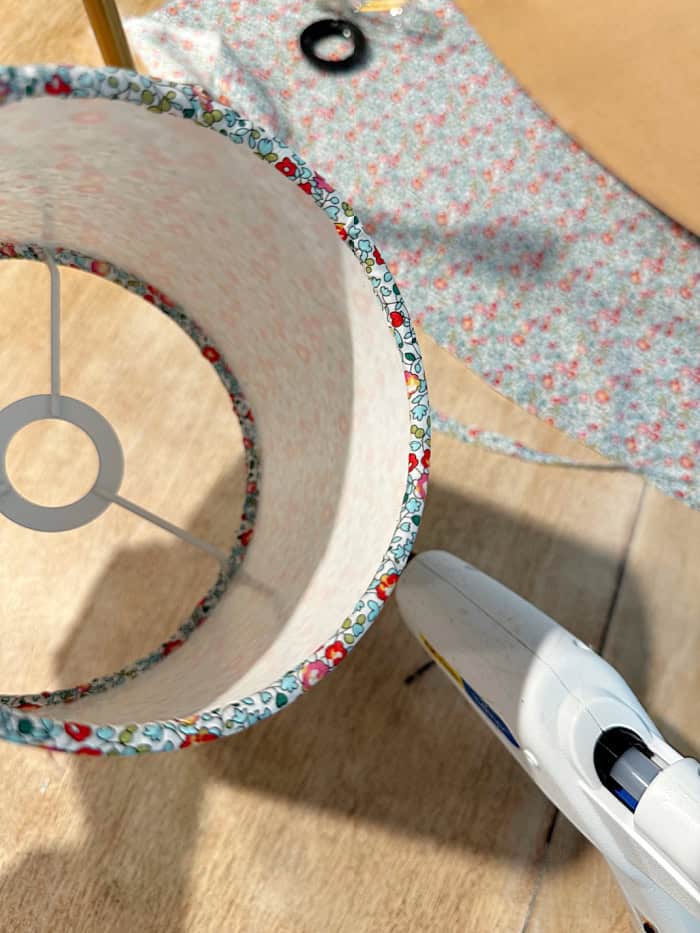
Then secure the fabric at the top and bottom edges with your hot glue gun. You will want to add more hot glue as you are folding the fabric over the rounded edges. Once the fabric is glued into place around the top and bottom of the shade you are finished.
As an after thought, I wish I had some coordinating trim to add to the shade, but I can always add some later. Just something to think about as you plan your project.
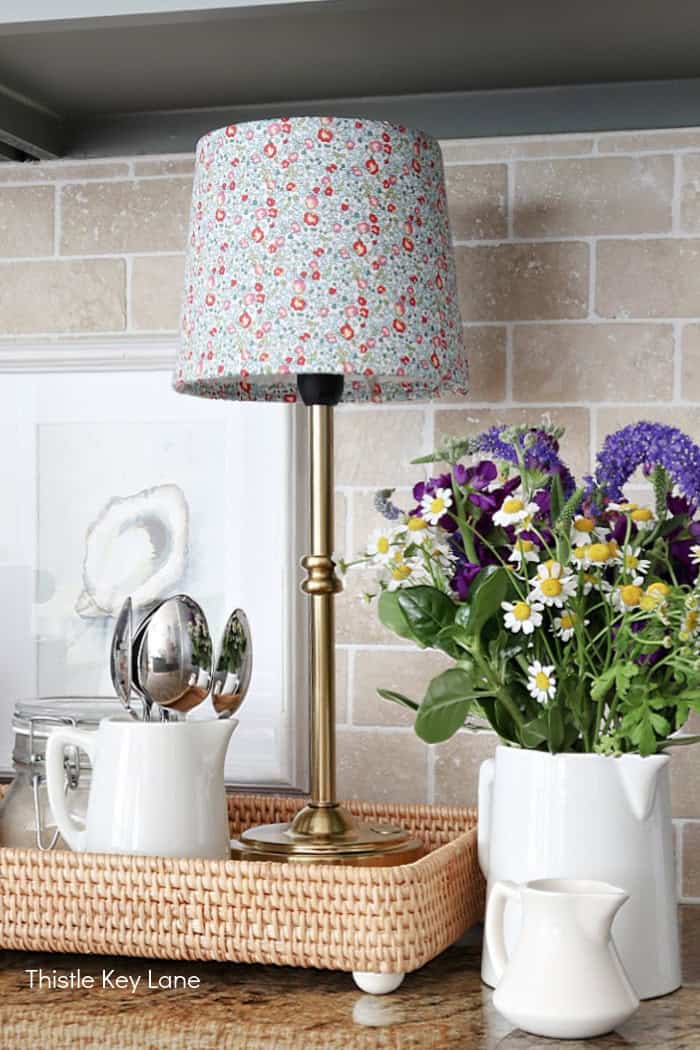
Styling Your Fancy Lampshade
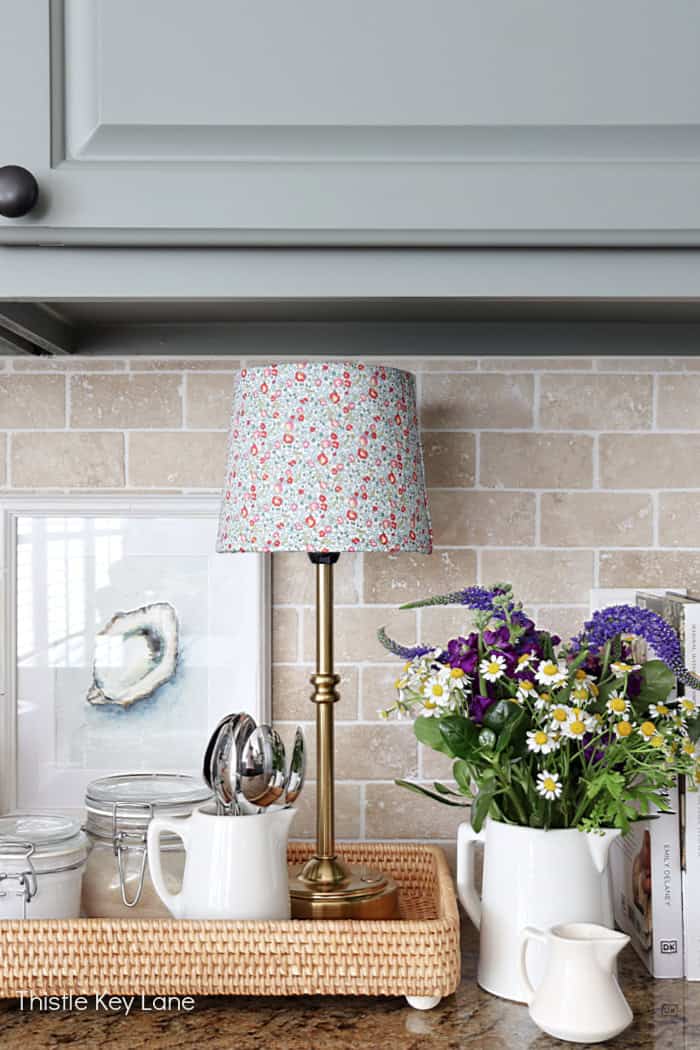
This cute cordless lamp is one of my favorite purchases from last year. I like the convenience of having a lamp on the counter, especially one that doesn’t take up much space. With the updated shade we now have an extra a pop of color and a playful pattern. It’s just what the coffee station needed, since this is one of the few places that I decorate in the kitchen.
You can find the same cordless lamp by clicking on the link here. For more lamp makeover inspiration click on these posts below.
- How to Paint Wicker or Rattan
- Easy Table Lamp Makeover
- Ceramic Lamp Makeover With A Terra Cotta Finish
Be sure to follow Thistle Key Lane on Pinterest, where the boards are up to date with seasonal inspiration you can use right now!
I hope you enjoy this post. Updating a lampshade takes no time at all to complete, and it’s the perfect craft project for a rainy morning or afternoon. The best part is enjoying a pretty lampshade whether the lamp is turned on or off.
Cheers!
© 2025 Lampshade Update With Fabric post first appeared on Thistle Key Lane.

Michelle, you have inspired me to give this a try. I am working on a room make over for my granddaughter. Your lamp looks so pretty.
Thanks Tammy! You will love this easy project. I hope you find a fun print to use!