Today’s project, how to create vases with chalk paint, is one I’ve been working on for a month or so. It all started with a squat little vinegar bottle. I eyed it while making a salad one evening, thinking it would make a darling vase. So I stashed it away, until I had four more bottles to start my project.

Upcycling Projects
I just love upcycling projects like this one, and it’s so easy to reuse interesting looking bottles that you would normally put in the recycle bin.
Cork type bottles make good looking vases, because the openings have a finished look. I have jars that fit more into the shabby chic category, but these are more suitable for what I have in mind. Do you like trash to treasure projects? Me too!

How To Create Vases With Chalk Paint
Start with clean bottles and remove labels. Rubbing alcohol or Goo-Gone works great for removing sticky residue.
Some bottles do have more potential than others, which may change the way you shop for groceries next time. Balsamic vinegar bottles and liquor bottles are excellent choices. The other two bottles have a wire that locks a lid in place which are easy to remove.

Gather Supplies
- chalked paint
- chip brushes
- painters tape
- cardboard to paint on
Use painters tape to create a sharp paint border. Vary the heights of the border on each bottle or make them all the same. Don’t worry if the tape is not perfectly straight. The bottles will look great after painting.

Apply one coat of chalk paint with a chip, and allow to dry for 30 to 45 minutes. A chip brush will create texture and makes really good paint ridges, so be sure those bush strokes go in the same direction.

Apply second coat and allow to dry again 30 to 45 minutes. Carefully remove the painters tape and you’re done.

This is a super easy project and takes less than two hours to complete.
Why the big can of paint? I purchased a 30 oz. can of Rust-Oleum Chalk Paint in Linen White, because my next project is painting a piece of furniture. It seems more practical getting several projects from one can of paint.
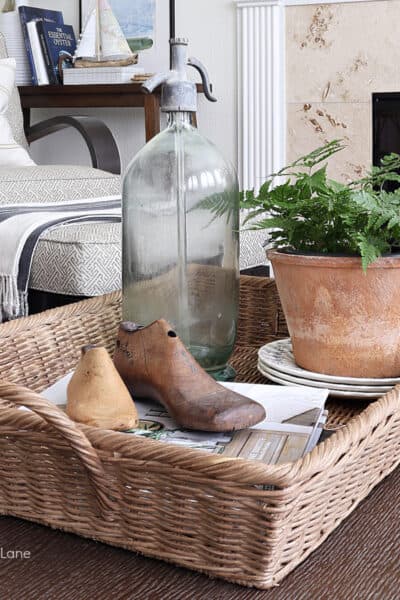
Styling Vases
I’m working on restyling the guest room, and trying out the vases on top of the armoire next to a French market basket. The look is fresh and summery, which I’m loving right now.


For more views of the guest room see my post How To Make A Headboard Slipcover and Euro Sham.
Later on this summer, I’m planning to use the vases for a flower display on the entry table. Be sure to check back for the post so you can catch these cute vases in action.
Be sure to follow Thistle Key Lane on Pinterest, where the boards are up to date with seasonal inspiration you’re going to love!

Funny thing about this project is that I like my vases better than some of the pricey ones I’ve been waiting to go on sale. Plus I can use just three vases or all five together in a grouping for more impact.
Thanks for letting me share my trash to treasure vase project with you.
Cheers!
©2020 How To Create Vases With Chalk Paint post first appeared on Thistle Key Lane™.

Great project idea, Michelle! These came out so cute – and I hate throwing away pretty bottles so this is the perfect way to recycle them!
Thanks Janet! I love recycling too and now my daughter wants a set.
So pretty Michelle – what a great idea! Thanks for sharing the process! 💗
Thank you Barbara, I miss doing craft projects and this one actually turned out like I wanted! 😉
This is such a cute idea Michelle! Thank you for sharing with us!
Thank you Kim, I look forward to your link party every week!
LOVE these vases, Michelle! And I need to find some pretty vinegar bottles! Pinned!
You’re so sweet Julie and thank you for pinning! Hugs!!
Such a neat project! What a great idea to re-use those glass jars! Pinned!
Thank you Rachel for stopping by!