
Holiday Silver And Gold Candlelight Centerpiece
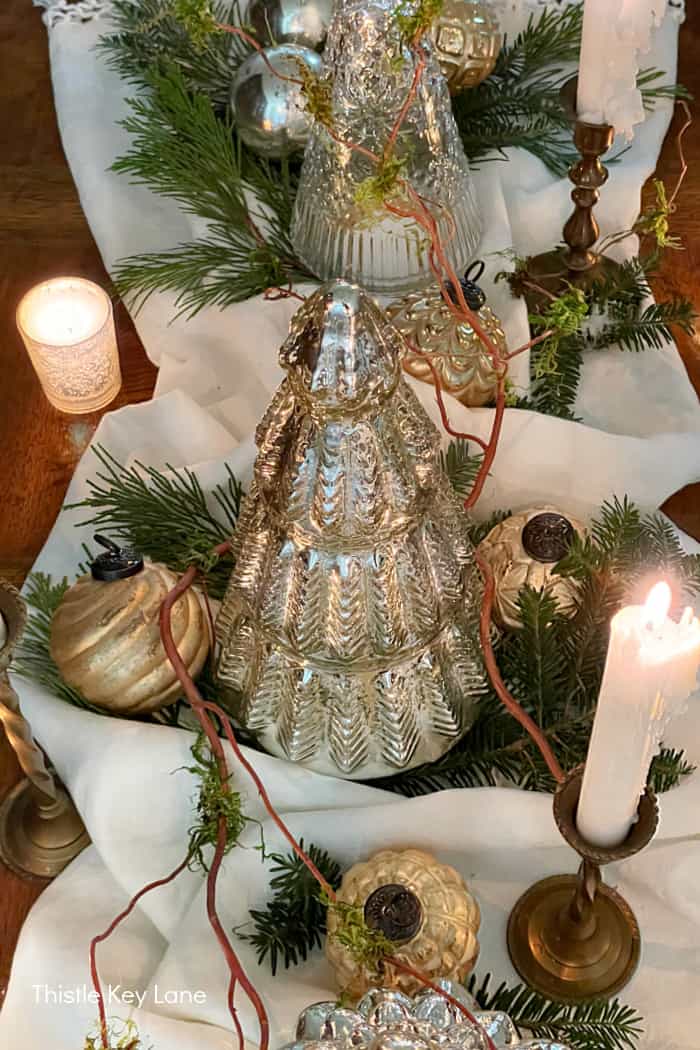
Holiday Silver And Gold Candlelight Centerpiece. Today I’m sharing how to create a beautiful centerpiece for your Christmas table with the magic glow of candlelight and mercury glass. I also have quick instructions on how to make moss branches that you can add to a holiday centerpiece.
November Pinterest Challenge
It’s time for our November Pinterest Challenge and this month’s theme is Night Time Christmas Dining Table Centerpieces. Grab a cup of coffee and settle in for lots of pretty and inspiring ideas.
If this is your first time joining us for a Pinterest Challenge, this is how it works. Our host Cindy over at County Road 407, selects a photo for us to recreate, and each participant puts their own spin on the photo.

Welcome to Thistle Key Lane! If you just happen to be stopping by or popping in after visiting Barb of French Ethereal, I’m so happy to have you.
All the links for everyone participating in our Pinterest challenge are at the end of my post. To see last year’s November PC click on Easy Embroidered Felt Christmas Ornaments.
Our inspiration this month comes from the blog of Kelley Nan. In her post she shares not only a beautiful table, but a whole night time Christmas tour with glowing twinkle lights and candles.
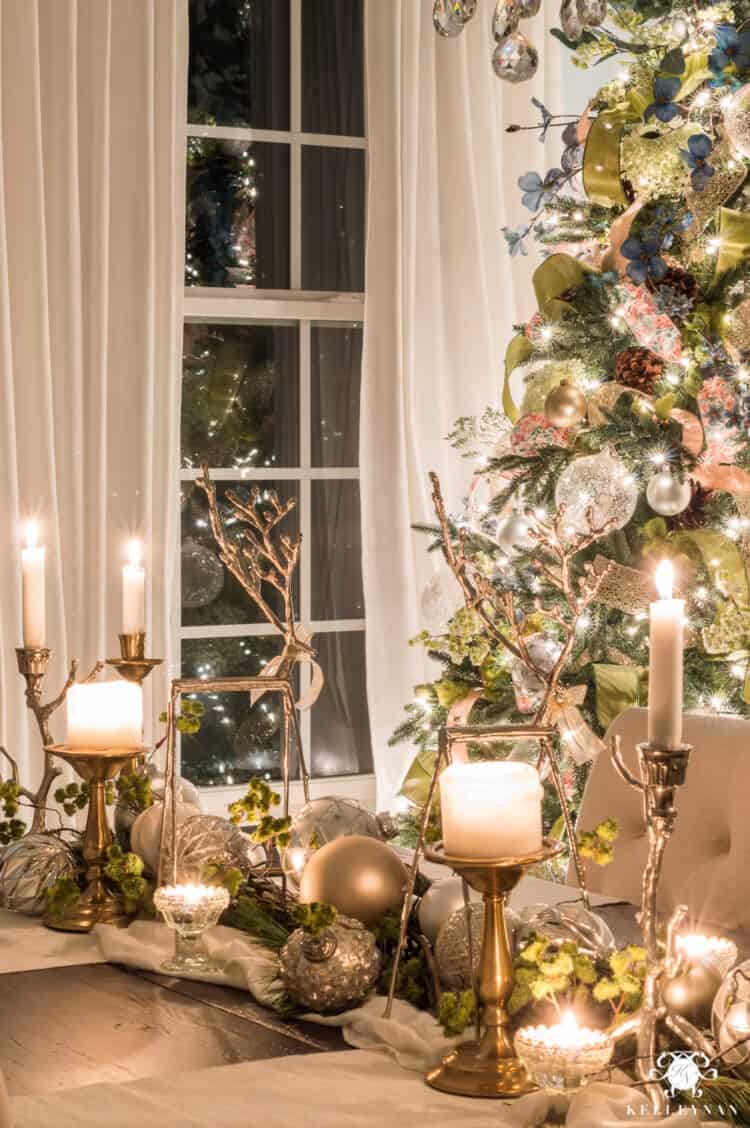
Here’s what I’m gathering from Kelley’s photo, plus a few more items to create my holiday candlelight centerpiece.
- small white tablecloth
- round gold ornaments
- variety of glass and mercury glass trees
- brass candle stick holders
- white tapper candles
- mercury glass votive candle holders
- evergreen clippings
- branches with moss
Holiday Silver And Gold Candlelight Centerpiece
As an extra challenge for most of our PCs I like to use what I already have on hand. I enjoy shopping my home, and working on some creative problem solving at the same time.
What I notice most about Kelley’s tablescape is that it’s light and airy. I love her variety of candle holders, the cute stick deer figures and what looks like moss pom-pom picks.
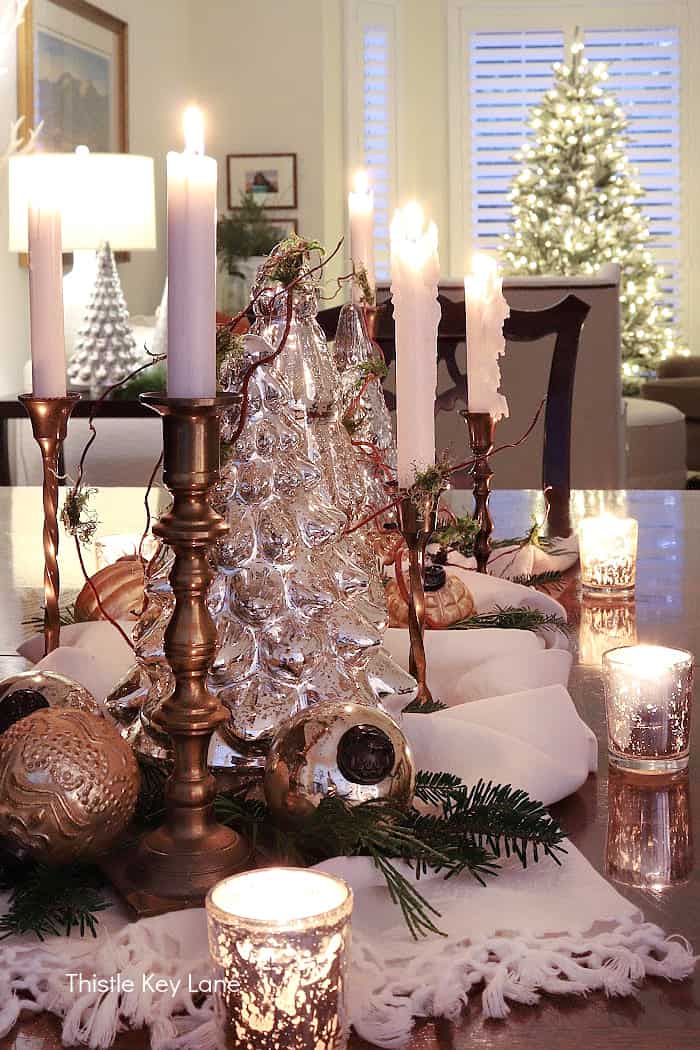
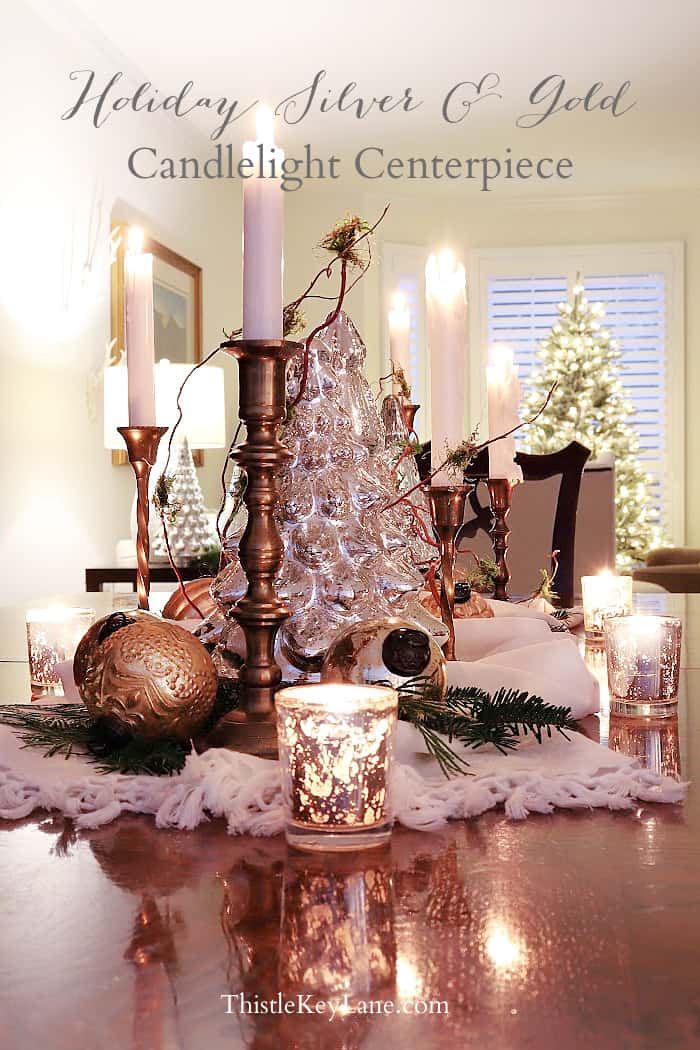
My centerpiece starts with a square tablecloth with fringe, folded into the shape of a table runner. I’m pushing the cloth to the center of the table to make sure I have enough room for place settings on each side.
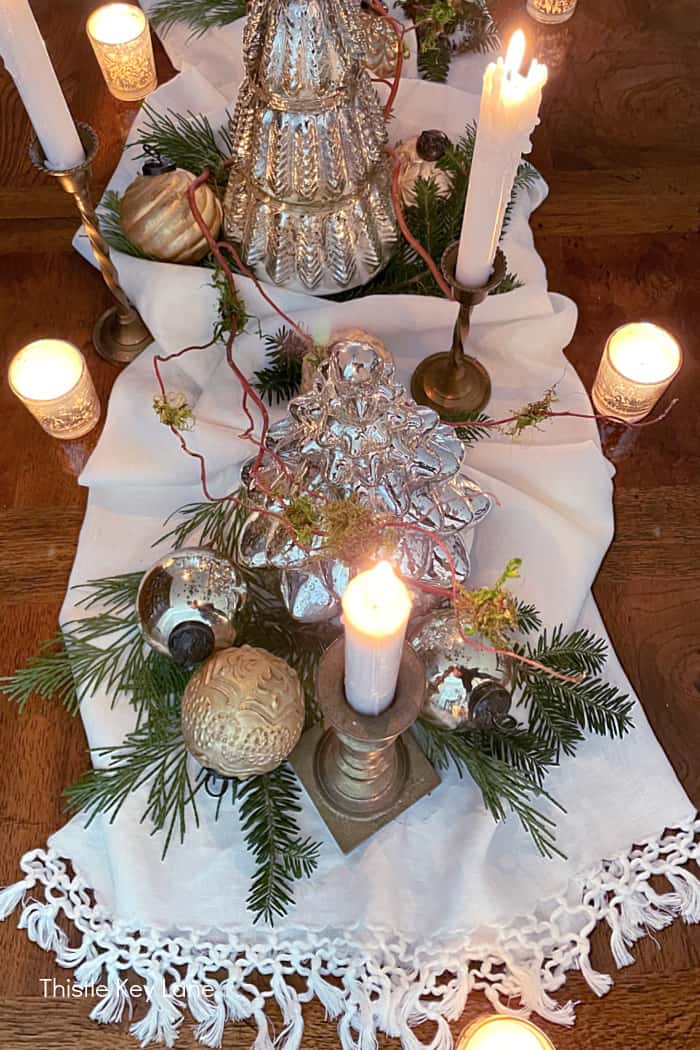
Instead of the deer figures I’m using three trees. One is clear glass and the other two are mercury glass. Next comes what I call table cloth scrunching, which creates soft folds around the trees.
With the tablecloth runner and trees in place, I’m nestling gold vintage looking ornaments in and around the folds. Then I’m adding the brass candle sticks with white candles and short pieces of fresh greenery.
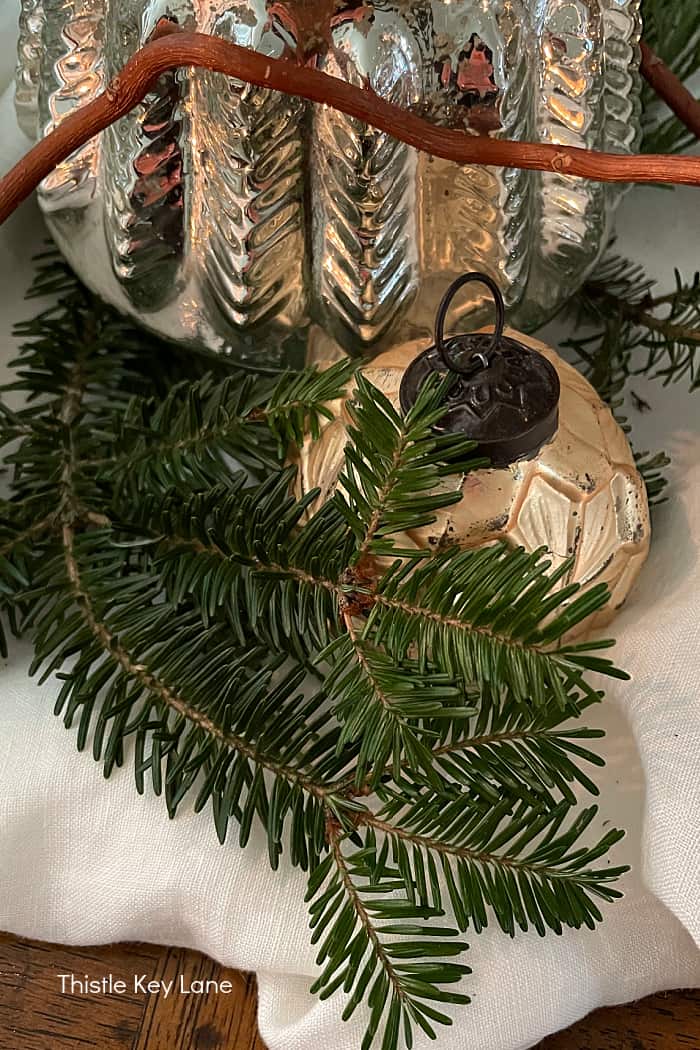
The pine and cedar clippings don’t show up that well in the candlelight, but they look really pretty during the day. The greenery adds a bit of coziness without being over crowded.
Moss Pom-pom Branch
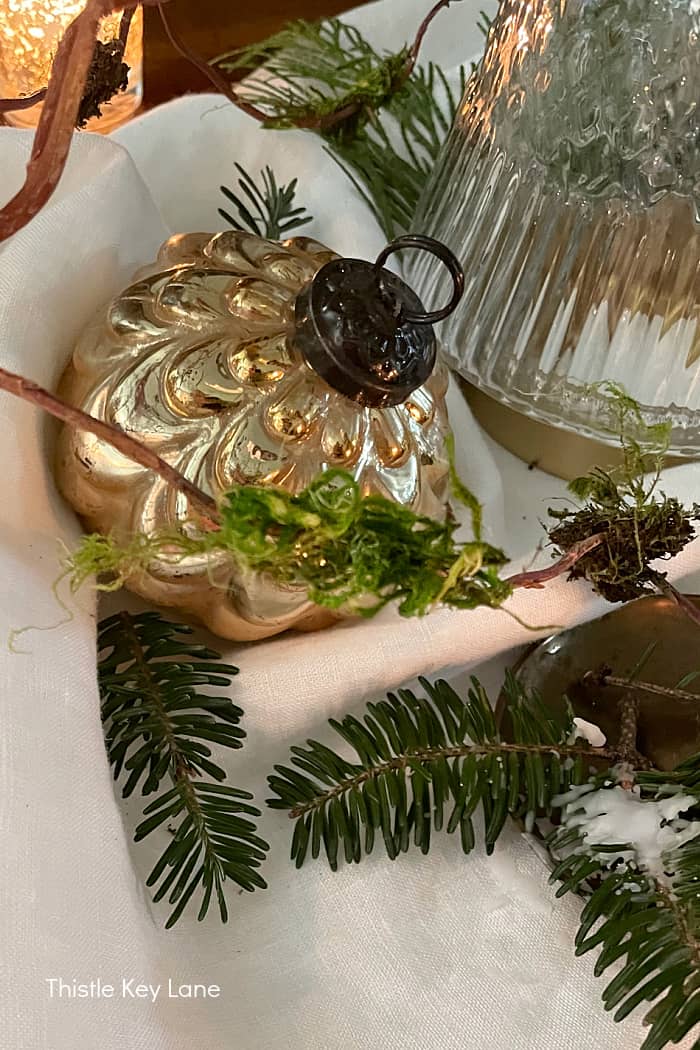
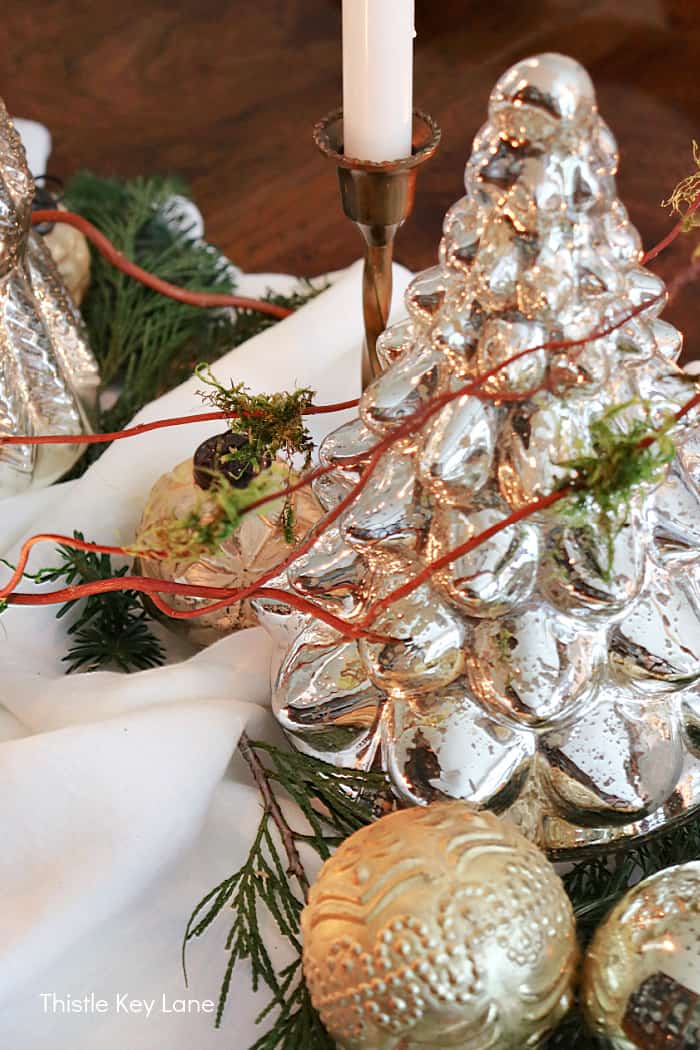
Now for the moss pompoms. I’m using preserved moss and two dried willow branches to create an unexpected look for the centerpiece.
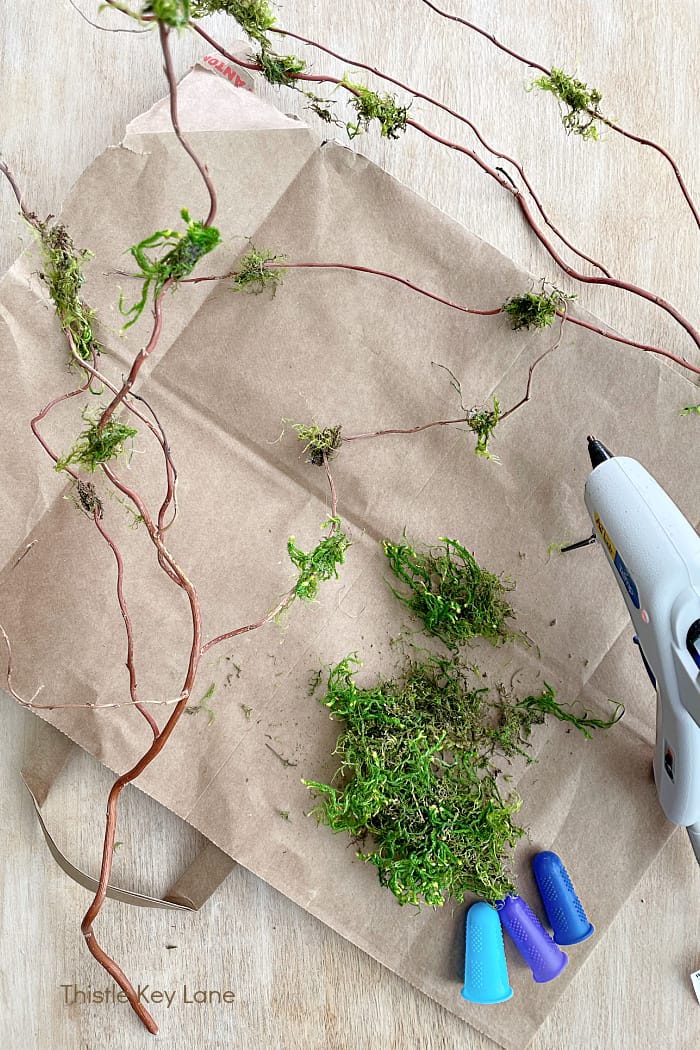
You’ll need a hot glue gun, glue sticks, preserved moss and a couple of bare branches. May I also suggest silicone finger protectors. 😉
These branches come together quickly. Depending on the amount of moss your adding, these branches only take about ten minutes to create.
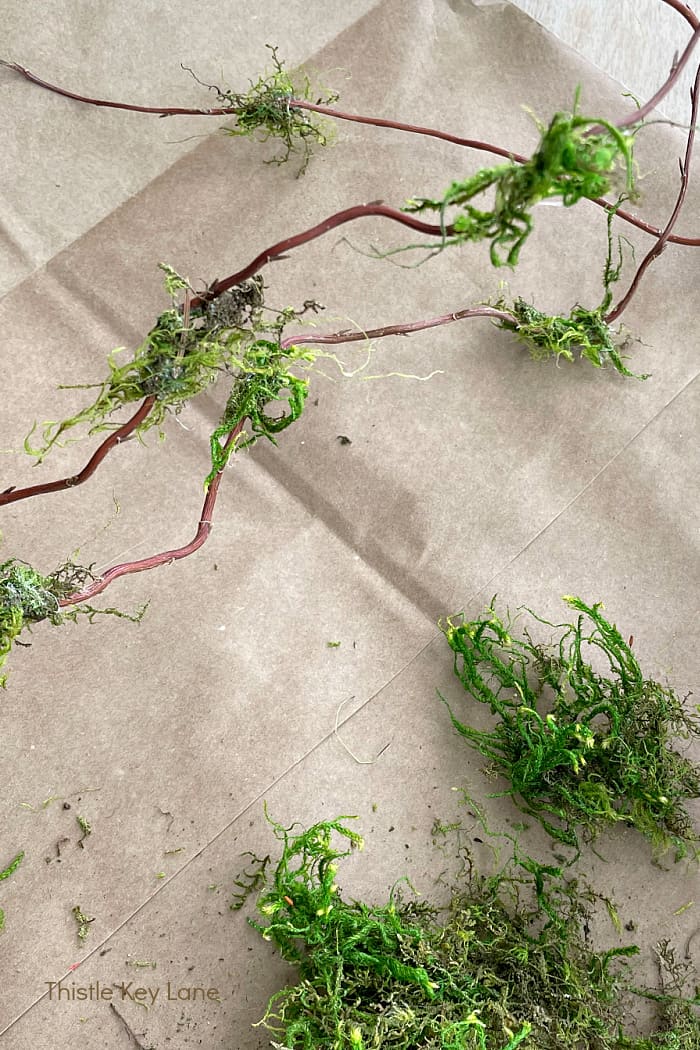
Add a small amount of hot glue to the stem then hold the moss in place until it is secure. That’s why it’s good to have the silicone finger protectors, so you can hold the moss to the hot glue.
I feel that the greenery adds a bit of coziness to the centerpiece without making it seem over crowded.
Finishing Touch
Mercury glass votive candle holders are the finishing touch. I decided to set them on the table instead of the table runner. If I try to squeeze them onto the table runner I’ll end up catching our moss branches on fire. We certainly don’t want that. Of course LED lights are a good alternative.
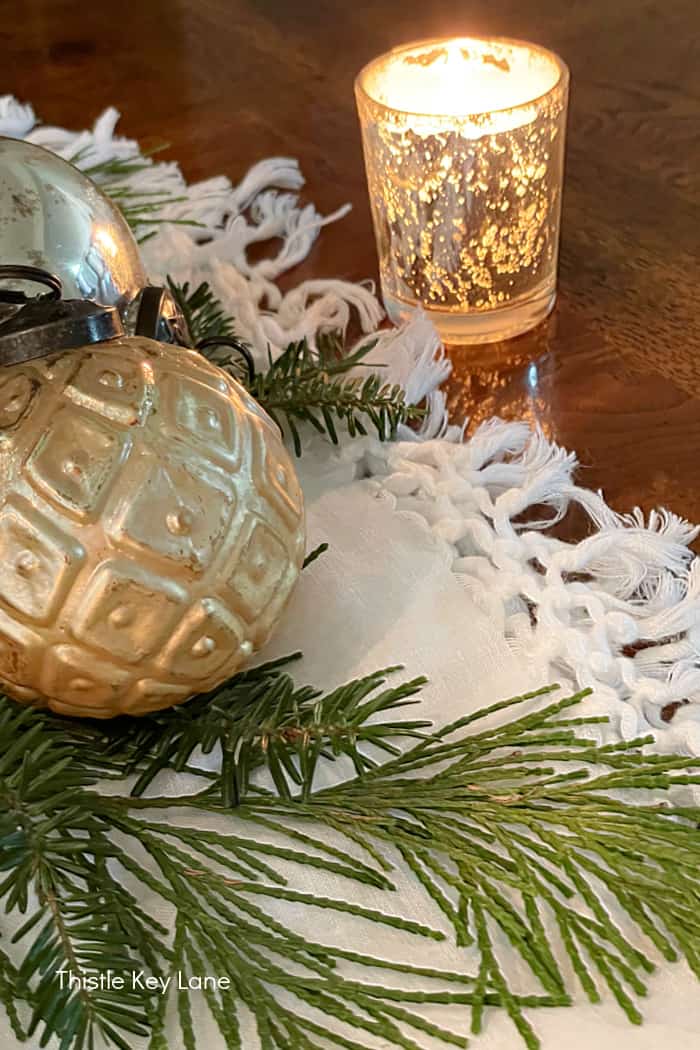
Now we wait for twilight, then light the candles and enjoy the soft flickering glow.
I must confess low light photography is new to me, and something I want to practice more. What the eye sees and what the camera picks up is not always the same. I think that’s why I enjoyed seeing Kelley’s post again, because her low light photography is absolutely gorgeous. It’s as if you are there in person.
Be sure to follow Thistle Key Lane on Pinterest, where the boards are up to date with holiday ideas you can use right now!
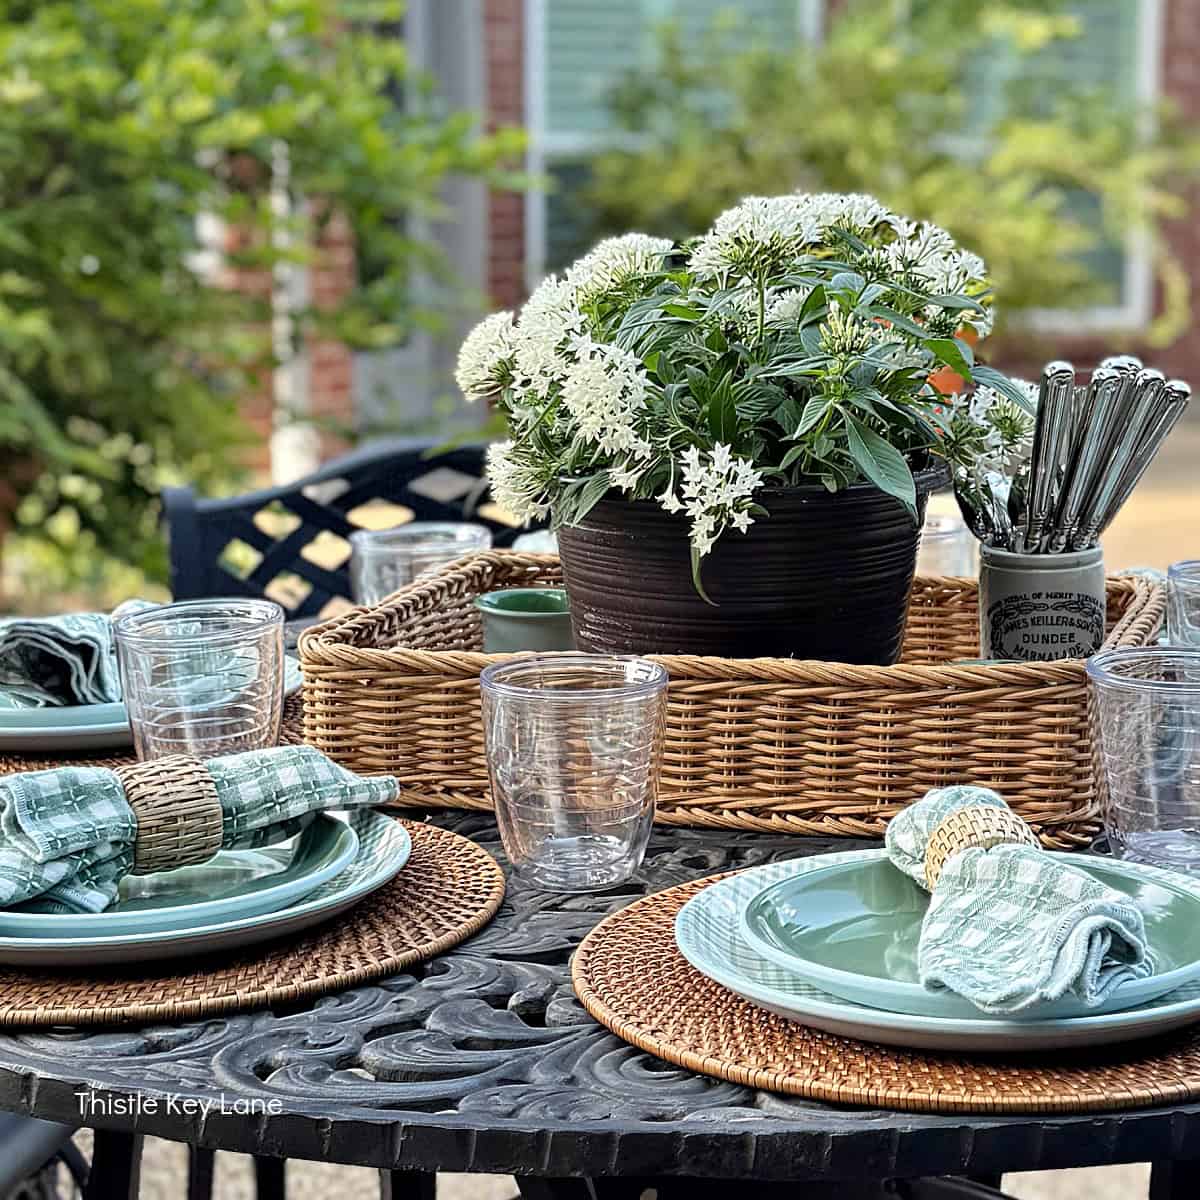
Up next on our Pinterest Challenge is Renae of Peacock Ridge Farm sharing a delightful English country inspired Christmas.
Thank you so much today for stopping by today. Are you ready to create some holiday sparkle in your Christmas centerpiece? For more ideas be sure to click through the links we have below.
Cheers!
Our Pinterest Challenge Continues…
©2023 Holiday Silver And Gold Candlelight Centerpiece post first appeared on Thistle Key Lane.


Your tablescape is so beautiful! I love your festive touches. Happy holidays to you
Thank you so much Renae!
Michelle I love how you created the garland. The ornaments are pure sparkle fabulous. Truly a glorious tablescape!
Thank you Laura! The mossy branches are fun to create!
You make me want to raid my Mom’s mercury glass ornament and candlestick stash, Michelle! I love the way you gently intertwined them with the moss branches and greenery. It’s has such a beautiful and elegant feel. Can’t wait to see more from your holiday home sweet friend. Sending you tons of hugs, CoCo
Thank you so much CoCo! I’m looking forward to see more of your holiday decor as well! Happy Christmas my friend!
Of course you made your own moss branches. LOL. You are amazing and very creative. Your table (and photography) turned out beautifully and I’d love to sit there all night. I’ve been turning everything on and lighting the candles in the dining room at night even though we aren’t using it. I love the look! Thank you for joining in and sharing your home. It’s gorgeous!
Thank you for commenting on my mossy branches Cindy! They were fun and so was this challenge. Note to self, work on low light photography LOL!
I love mercury glass and you’ve created such a pretty table using it! And those moss branches are a great idea!
Thanks Niky! Cindy picked a really good challenge for us this month!
What a gorgeous centerpiece Michelle. Love the added natural touch of the branches with the moss. It sure creates a great contrast to the gold and silver. All so pretty!
Thank you Wendy! It seems like everything tablescape needs a little greenery for the holidays!
Michelle, creating the branches with moss was a genius idea! They look modern and Old World at the same time. Silver and gold always looks good together…
Enjoy your beautiful table and Happy Holidays,
Barb 🙂
You’re so right Barb, silver and gold is always a pretty holiday combination. Happy Christmas to you!
I LOVE this, Michelle!! Mercury glass is one of my most favorite decor pieces for Christmas and you’ve used it SO beautifully. Those branches are an amazing touch for added texture. Thanks so much for sharing at Home Imagined this week!
Thank you for the kind comments Rachel! It’s always a pleasure to link up at your party!
Just beautifully done and so festive.
Thank you so much Maria for visiting!
Michelle, what a lovely Christmas table. Love your mix of different elements that fit your color scheme. Adding moss to branches is such a great idea. Your table looks lovely during the day and magical at night.
Thank you Carol! Yes, it’s one of those centerpieces that you can appreciate the details during the day, but the candlelight totally steals the show at night.
Michelle,
Your table is just stunning! Love the idea of scrunching up a tablecloth for a runner. Very clever gluing moss to the branches!
Thank you so much Christy! Merry Christmas!
Michelle,
I love your centerpiece. Congratulations, you are being featured on TFT. I hope you stop by.
Hugs,
Bev
Thank you Bev! I’ll be by today to link up again!