Today I’m sharing how to make a chinoiserie heart box. Creating a decorative box may be easier than you might think. You can also personalize it, using your own artwork for a one-of-a-kind gift.
As an Amazon affiliate, I earn from qualifying purchases at no cost to you. My blog may contain other affiliate links as well for your convenience. For more information please see my disclosure page.

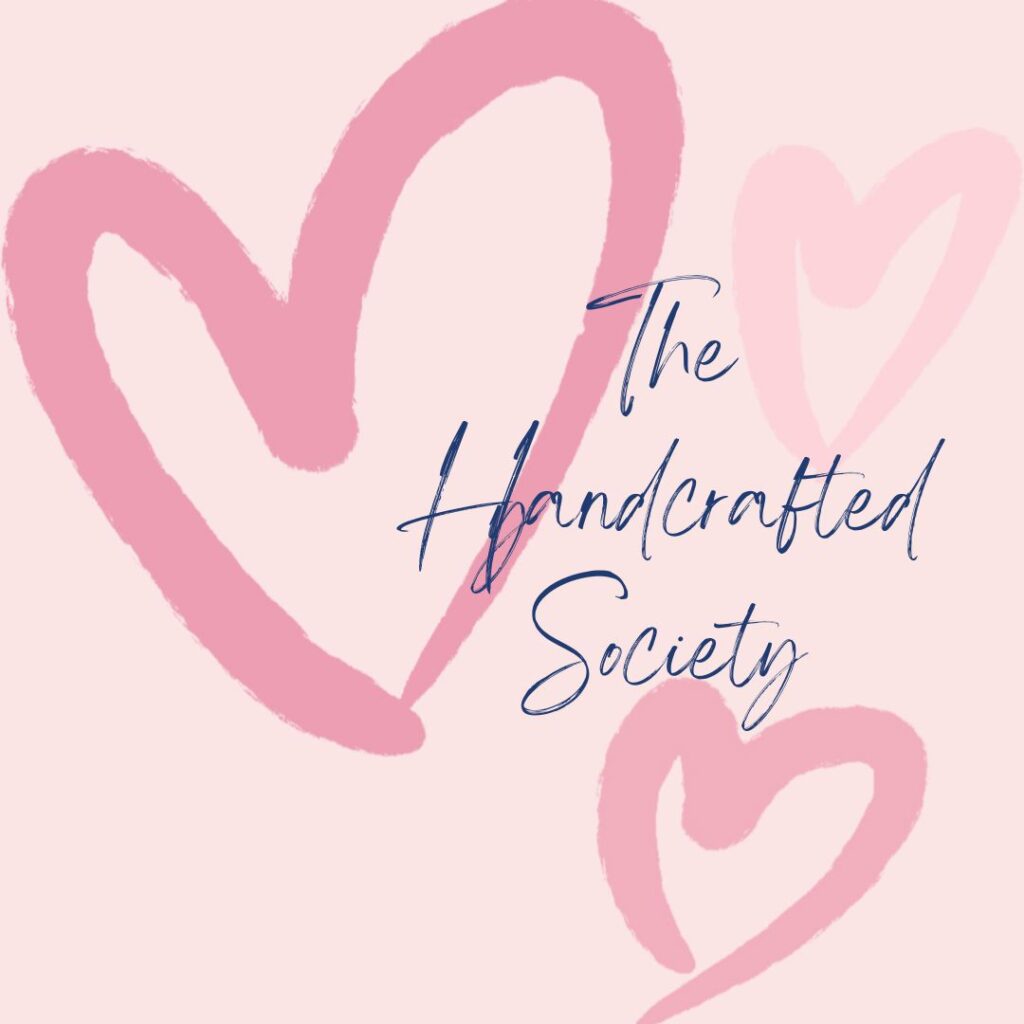
I have exciting news to share with you too. This is a the first blog hop of the Handcrafted Society, and I’m so excited that Wendy of WM Design House invited me to join in.

Introducing The Handcrafted Society
A collaboration of talented bloggers ready to revolutionize the DIY world with their brilliant ideas.
On the first Tuesday each month, you can find seven unique ways to make something special from a shared theme or medium – and that’s not all! We’ll also be featuring an invited guest monthly to share their talents with you.
Get inspired and join us on this creative journey! You can also find us on Instagram and Pinterest.
Jennifer – Tattertots & Jello | Regina – Saved From Salvage | Amy – Amy Sadler Designs
Missy – Sonata Home Design | Jennifer – Cottage On Bunker Hill | Wendy – WM Design House
Michelle – Thistle Key Lane | Guest – Kim – Perfecting Places

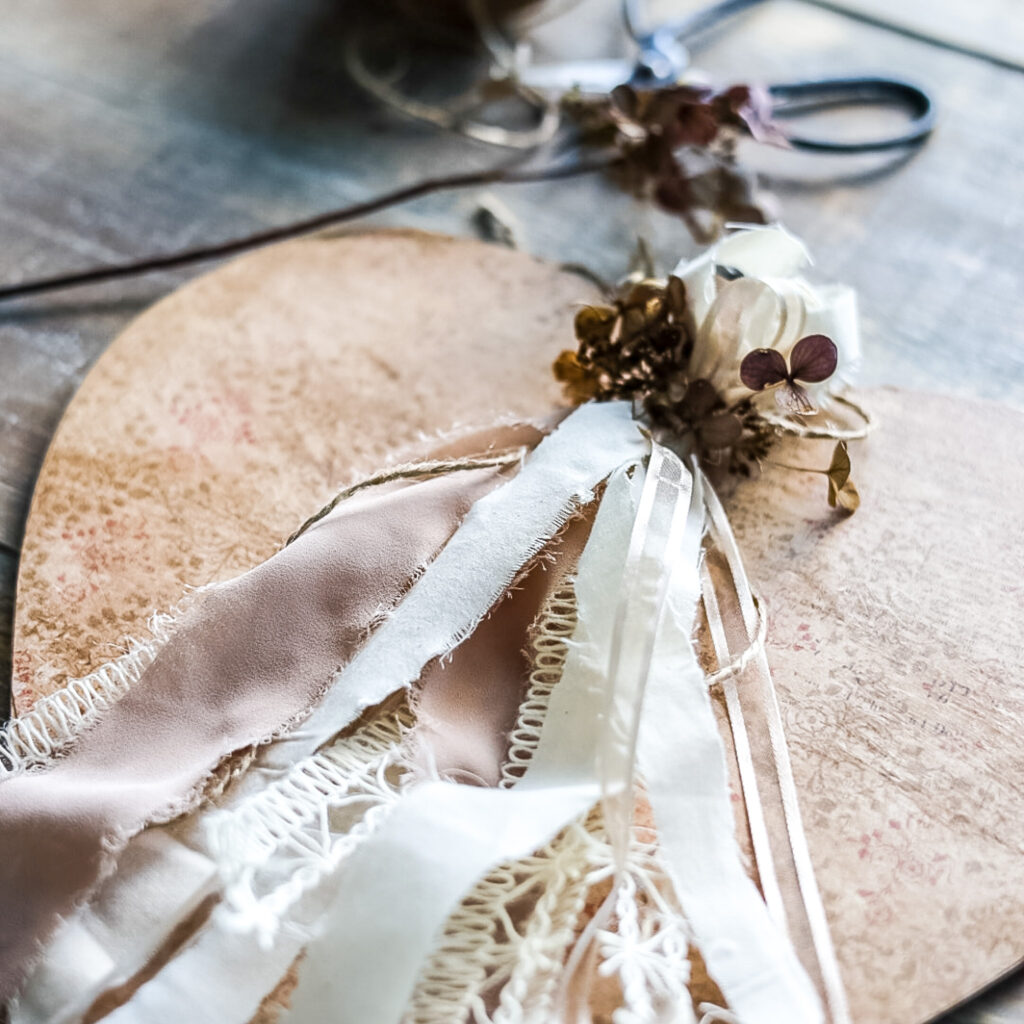
For the first Handcrafted Society Blog Hop, we’re creating something special using paper as our medium, and hearts for a Valentine theme. I hope you will follow along to see what we come up with each month!
If you’re stopping over from Sonata Home Design, welcome to Thistle Key Lane. I think you’ll agree, Missy’s red cone heart is stunning!
Links to all the Handcrafted Society Blog Hop projects are at the end of my post.
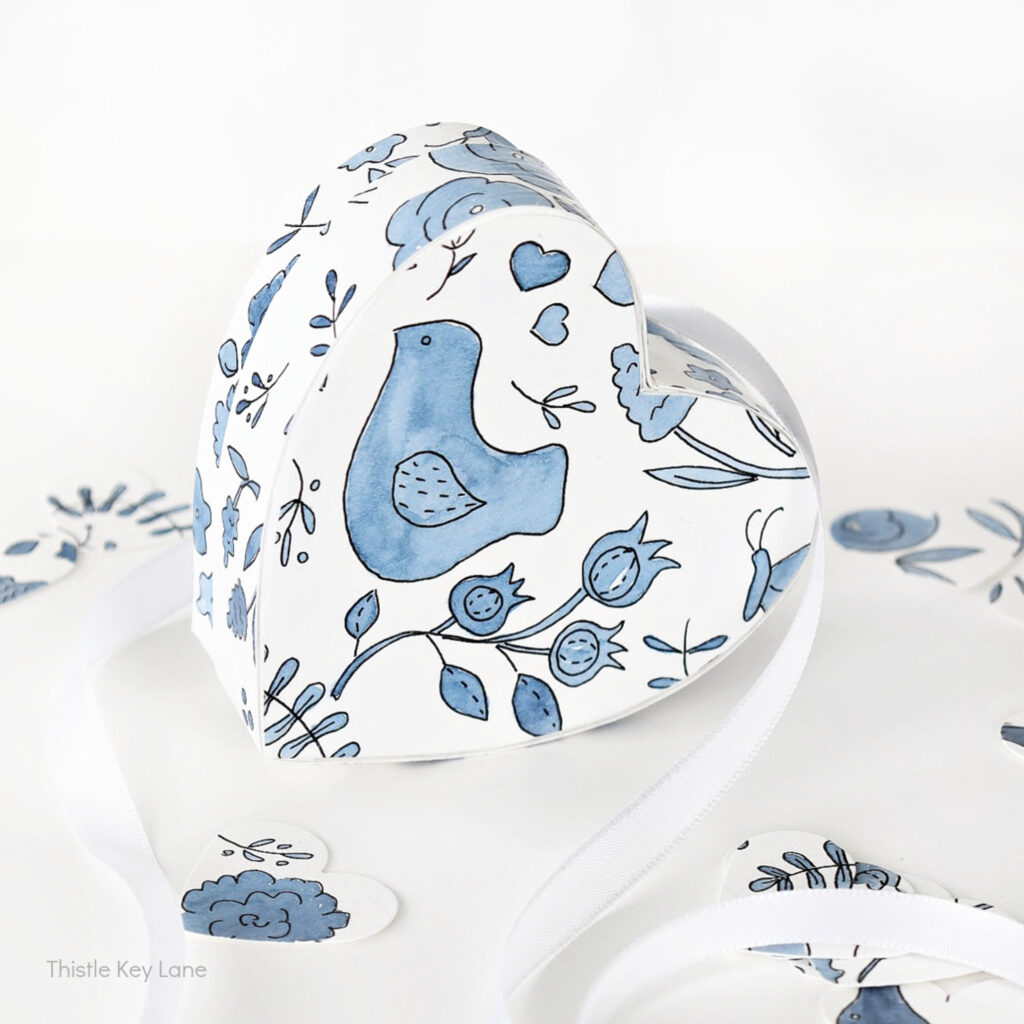
How To Make A Chinoiserie Heart Box
Using paper and hearts sounds simple enough, but deciding on what to make…not so easy. With so many ideas spinning around in my head, I finally decided on covering a paper heart box with my own watercolor design or version of blue and white chinoiserie.
Here’s my list of supplies.
- watercolor artwork (or scrapbook paper, wrapping paper, construction paper, etc.)
- heart shaped box
- scissors
- pencil
- Mod Podge glue
- Mod Podge spray
- brush or sponge brush
- mini clothespins (optional)
- craft paint (optional)
If you’re using scrapbook paper, wrapping paper or construction paper you can skip the first step.
The project starts with one sheet of watercolor paper, drawing a variety of flowers, vines, hearts, and animals. Then with a waterproof pen trace the shapes. Now you’re ready to fill in the designs with navy blue watercolor.

I decided to paint the heart box with white craft paint at the last minute, because I didn’t want the pink color to show. This is an optional step depending on the color of your heart box and the paper you are using to cover it. You’ll see another option below.
After tracing the top and the bottom of your box, cut out your heart shapes. Then cut strips of paper to go around the side of the top and bottom of your heart box.

Glue pieces to the box with craft glue or Mod Podge. Watercolor paper is thicker than craft paper, so I like using mini clothespins to hold the paper in place while it dries.


Important Note:
Be careful when using your own watercolor artwork, because Mod Podge may make it smear. Once you glue all the pieces in place I suggest using a light coat of Mod Podge Spray to prevent smearing and to protect your artwork.
If you are using craft paper then you should be alright applying Mod Podge with a brush.

One To Keep and One To Give Away
There’s something very satisfying when you put a little bit of love into creating a special gift. Don’t you think?
A pink and white version is for my daughter. She always appreciates my artwork, so I’m happy to share some love with my number one fan with a little hand made gift.
By the way the Sharpie pen smeared too when I tested it with brush on Mod Podge. So you’ll want to apply Mod Podge spray, on this type of artwork as well.


Here’s a fun tip: If don’t want to waste the left over portions of your art paper use a punch to make hearts or flowers. You can always use them later on another project.

Shop Supplies
Be sure to follow Thistle Key Lane on Pinterest, where the boards are up to date with seasonal ideas that you can use right now!

For more Valentine’s craft project click here.
Thanks for stopping by for a look at how to make a chinoiserie heart box. This is a fun project, and makes a cute little gift. Now it’s time to take a look at all the darling projects from my friends. If you’re like me, you’re going to have a hard time picking a favorite!
Up next on our blog hop is Wendy of WM Design House. I know you don’t want to miss her gorgeous centerpiece!
Cheers!

Michelle, your Chinoiserie heart box is just lovely! What a sweet gift it would make for a friend or loved one! Thanks so much for sharing!
Thanks Kim! The classic blue and white is so hard for me to resist! 😊
Your chinoiserie box is adorable! I love that you drew and painted it too! Such talent!
Thank you Diane, even though it is mostly doodles it’s good practice. 😊
Such a beautiful project! I love that you can use any paper to create it. I love the blue and white. I pinned it to my valentine board to share 🙂
XOOX
Thanks Jen! Blue and white is my favorite color scheme!
You have inspired me, Michelle! This is simply lovely. The clothespin solution is genius! I think this would make such a beautiful gift to give…or keep!
Yes the clothespins are great when you need extra hands! Thanks for the sweet comments Missy!
Really neat project!! Love the pattern…it’s so cute!
Thanks Jennifer! It’s definitely a money saver to create my own artwork!
So darn cute Michelle.. I love that you water colored your own paper and the pattern is just perfect. I am so glad you have joined in on our journey, it has been so fun and I look forward to many more.
Thank you Wendy for creating this fun outlet for our monthly get togethers! I’m already looking forward to the next one!
Michelle, these are so adorable! I love the watercolor papers too!
Thank you so much Amy! Hugs!
Michelle this is so sweet! I love chinoiserie! I’m so excited to be following you ladies and your monthly Handcrafted Society to see all of your creations!
You are so sweet Nicolle! I’m so excited to be joining these ladies in our new adventure!
Well some of us don’t feel the same about creating special gifts. 😉 Now yours on the other hand are always spectacular! Love love love this. pinned
You always make me laugh and you’re much too kind! Thanks Cindy! 😍
How wonderful! I’m pinning your project, Michelle, but for more than just the chinoiserie heart box (which, btw, I adore). This looks like a group of richly talented ladies, so I will have the benefit of each of their links in my pin as well!
Talented ladies indeed! (I hope I can keep up with them!) Thanks so much for stopping by and pinning Rita!!
This is adorable! I love it.
Thank you so much Renae!
Michelle, this is one of the prettiest little projects. I adore the blue and white. I’m a little confused – did you draw the designs on the paper or buy it? If you drew it, I’m triple impressed.
Thank you so much Carol! Yes I drew the designs and painted them with navy watercolor. 😊
You are so incredibly talented, Michelle! I love featuring your projects on TTA! Thank you for sharing your creativity with us!
Thank you so much for the feature Lynne!