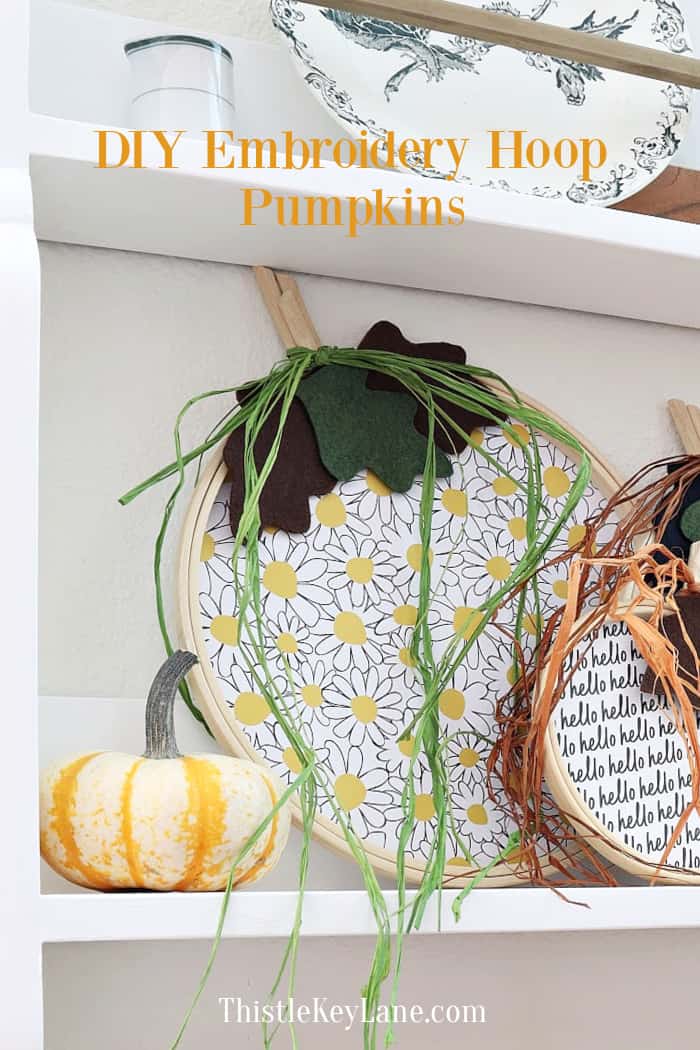
DIY Embroidery Hoop Pumpkins. Today I’m sharing how to create adorable hoop fall pumpkins using different combinations of scrapbook paper, raffia and felt leaves. They are so easy to create and you probably have most of the supplies you’ll need.
Handcrafted Society
It’s time for our Handcrafted Society monthly get together. If you’re wondering what the Handcrafted Society is all about. Simply put, it’s a group of bloggers who share a love for handcrafted items. Our challenge each month is to take an assigned medium or theme to create whatever our heart desires.
Can you guess that pumpkins are our theme this month? Let’s get those pumpkins rolling!

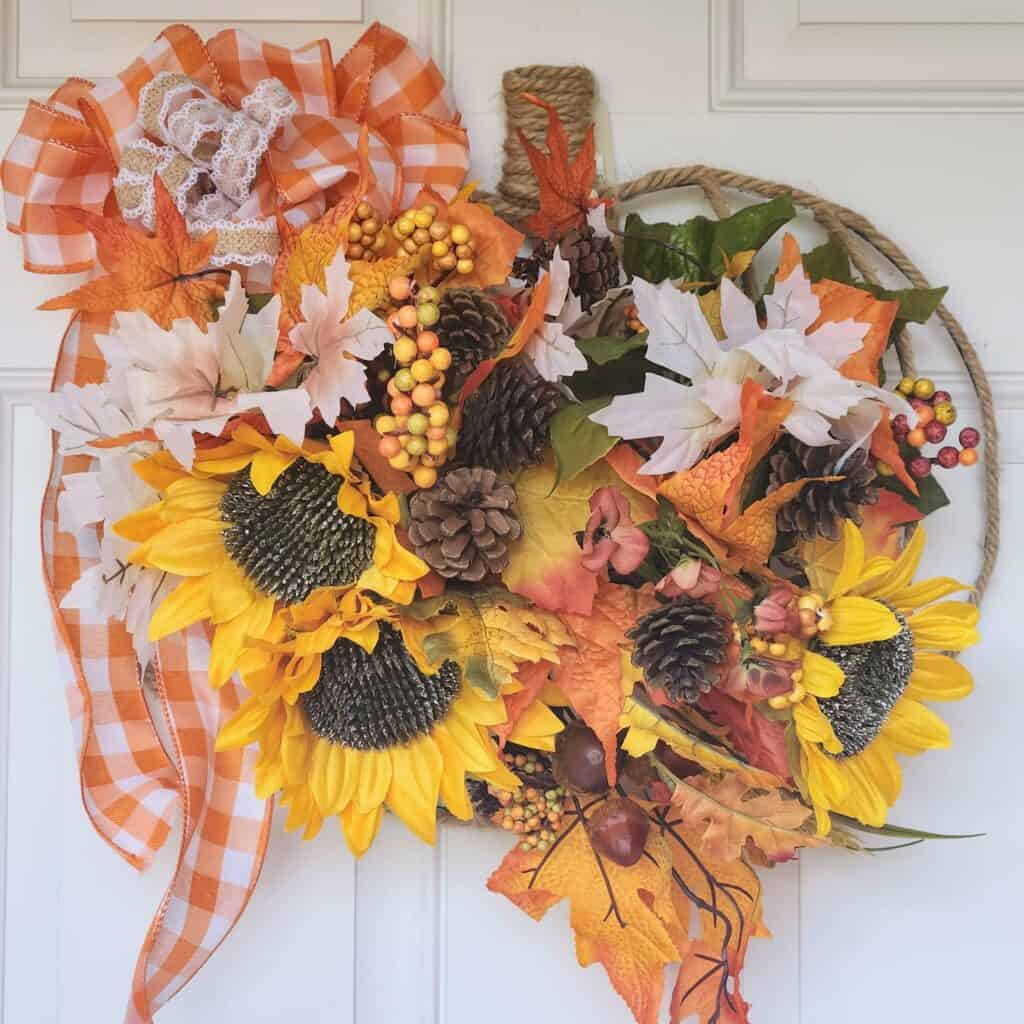
To see last month’s HS project, click on my post How To Make A Paper Bag Fall Wreath.
DIY Embroidery Hoop Pumpkins
I love embroidery hoop projects, and I’ve been looking forward to making hoop pumpkins for the longest time. I’m so excited to share my version, and how easy they are to make.
Before we jump in, I want to point out that I’m not painting or staining my embroidery hoops, deciding instead to leave them in their natural wood color. That way I have the option to change these up next year if I want a different color scheme.
Supplies And Shopping links
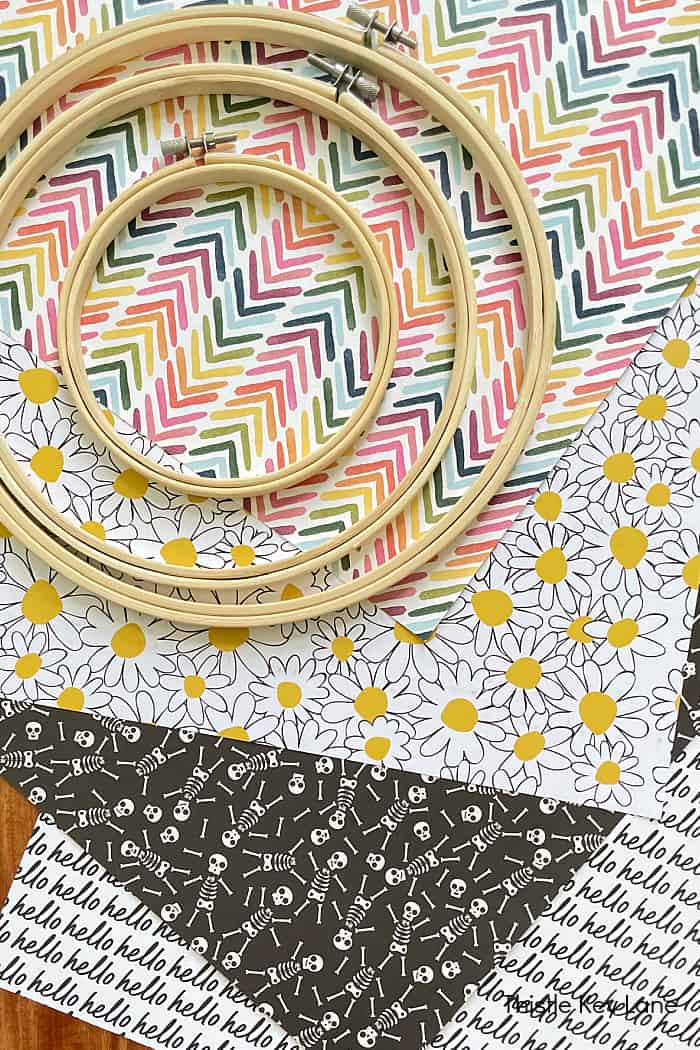
- embroidery hoops various sizes
- scrapbook or craft paper
- pencil
- scissors
- craft glue
- hot glue gun and glue sticks
- dowel or sticks for the stem
- raffia or ribbon
- felt for leaves (optional)
Instructions To Assemble Embroidery Hoop Pumpkins
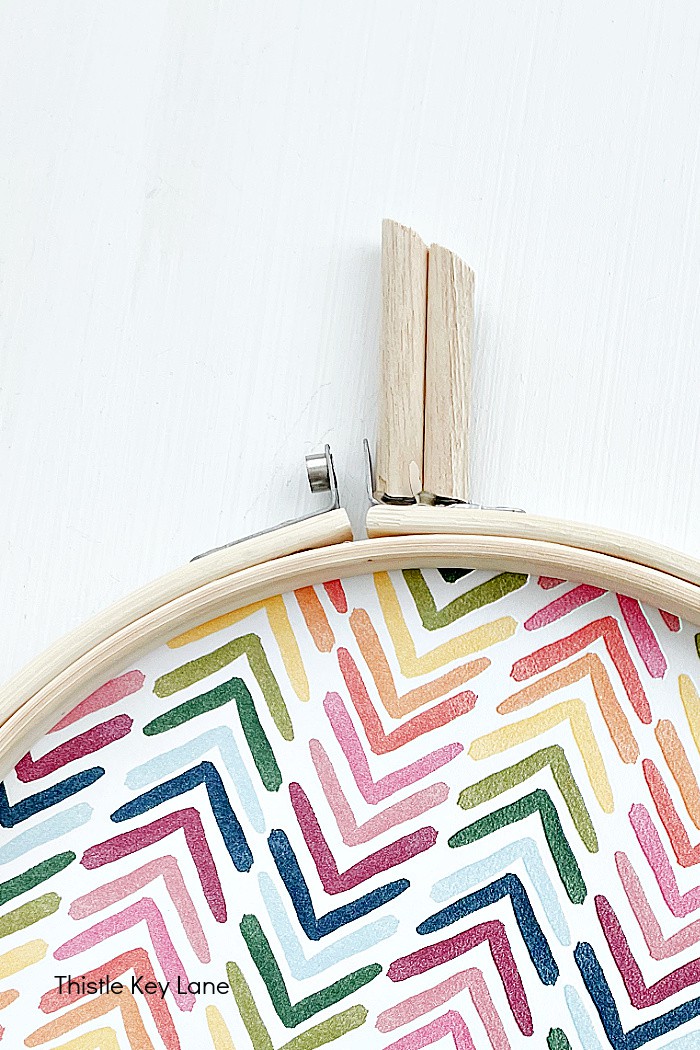
The first step is to glue the inner and out hoops together with craft glue. (I’m using basic Elmer’s Glue All.) When the glue is dry you can remove the tightening screw. Another option is to use a single hoop for your pumpkins.
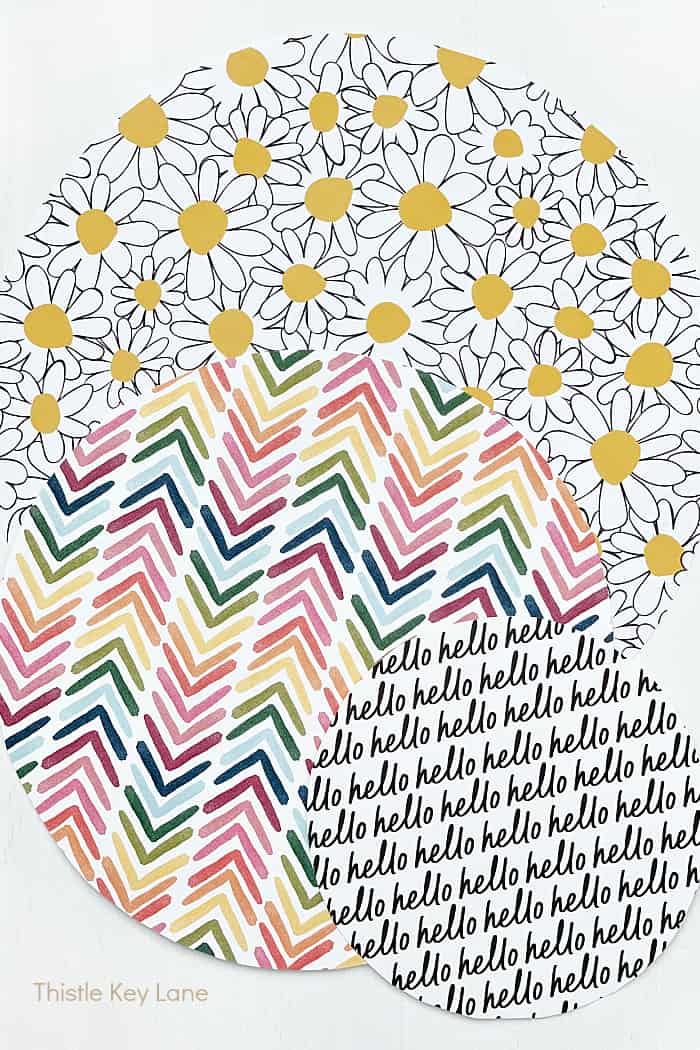

Now place your embroidery hoop on your craft paper and trace around the outer edge with a pencil. Depending on the color and design you may want to do this on the back so you can see your pencil line. Use scissors to cut just inside of your pencil line.
Then glue the paper circle on the back of the hoop so that when you turn it over you’ll see the paper design. I’m using Elmer’s again so the paper will be flush with the hoop when it drys.
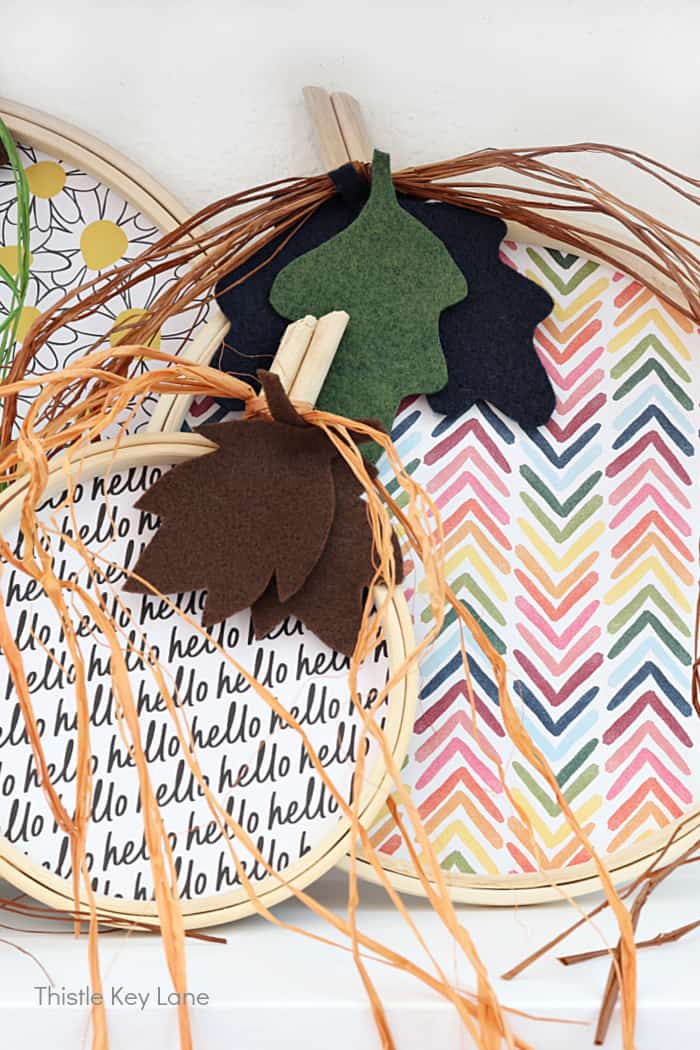
For the stem you can use a short stick or use a wood dowel. I’m using a scrap piece of dowel that I cut at an angle then glued two or three dowel pieces together. Attach the stick or dowel using your hot glue gun to the top of the hoop.
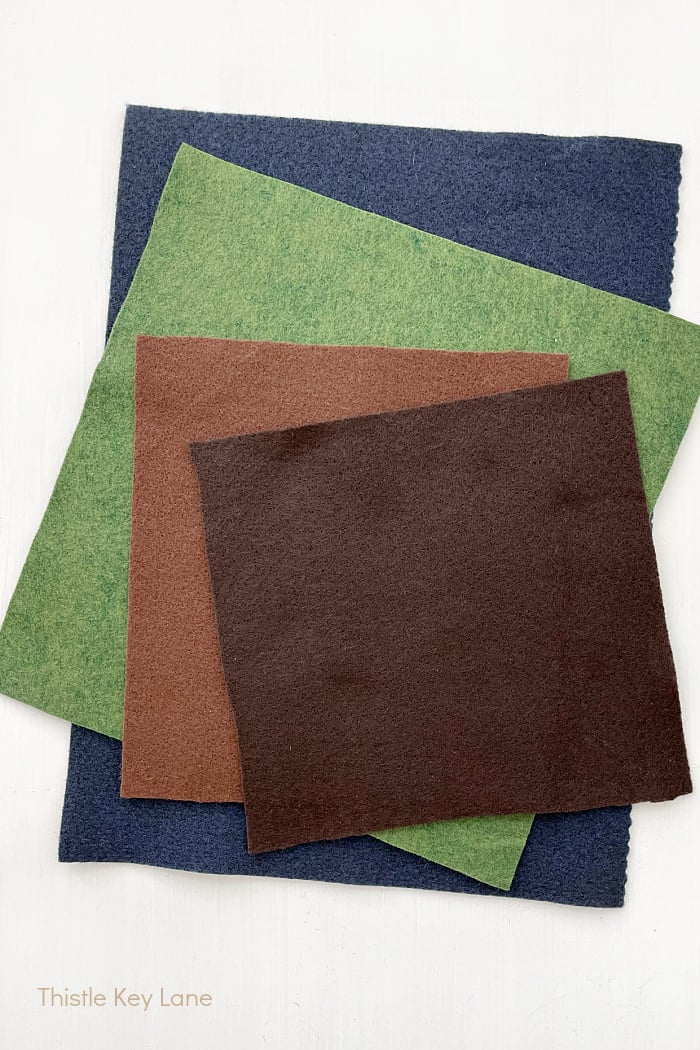
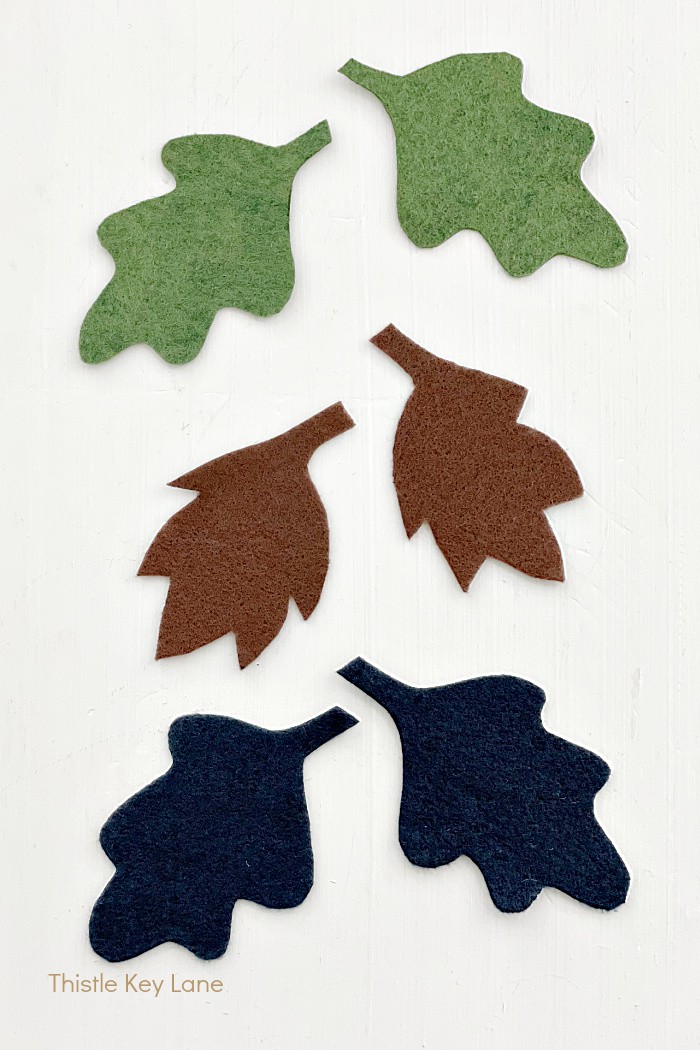
Next use your hot glue gun to attach felt leaves to the top of the hoop. These add dimension and camouflage the area where the stem attaches to the hoop. I’m listing felt as optional, because you can use craft paper in a coordinating colors or patterns instead.
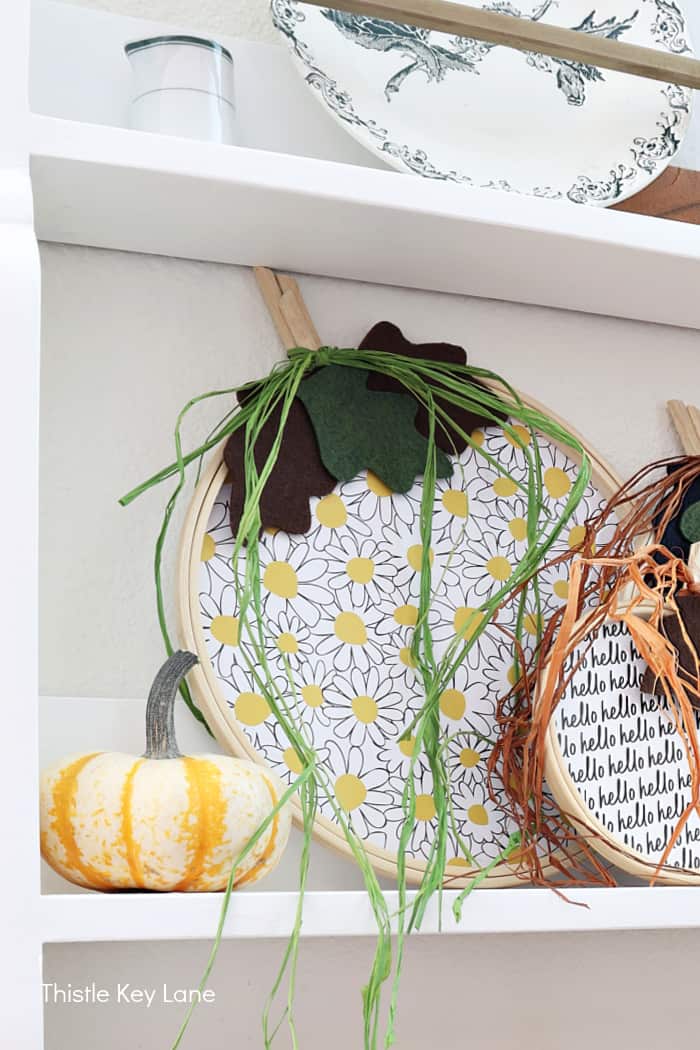
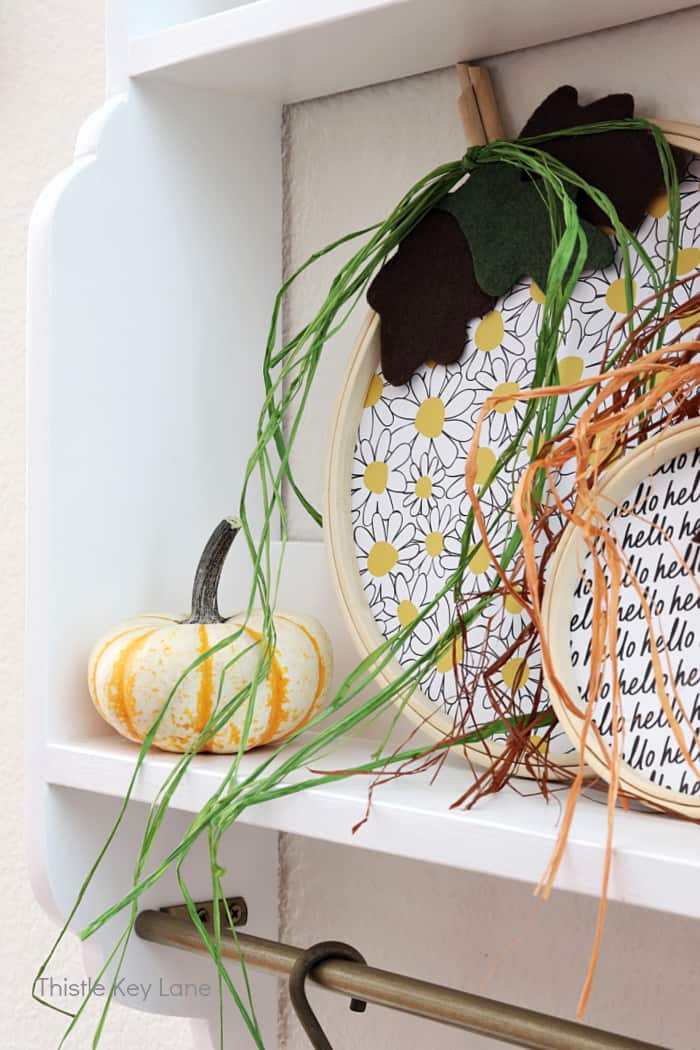
The last step is to tie raffia to each stem. I’m using three different colors of raffia in green, brown and orange, however natural colored raffia works too. If you don’t have raffia use jute string and/or ribbon.

Coordinating Colors And Patterns
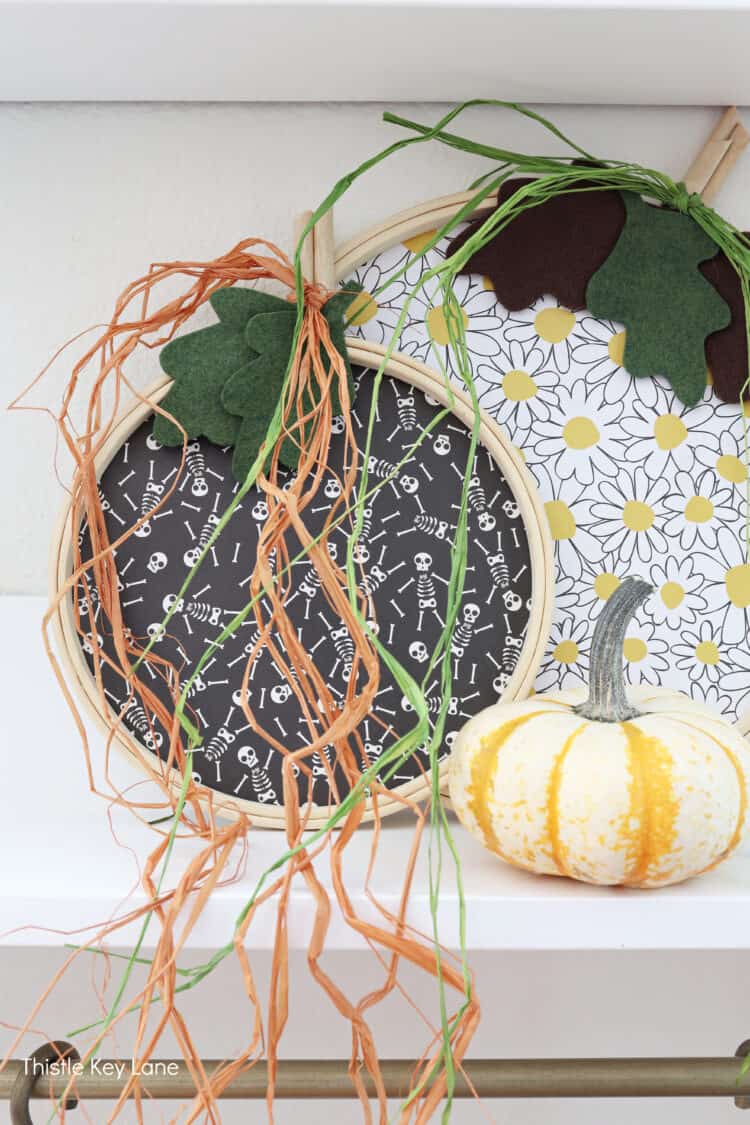
The craft paper I’m using is not necessarily intended for fall, and that’s alright. I’m going for happy patterns and colors to brighten up my kitchen. Here I’m mixing a floral daisy, with a large geometric chevron, and graphic hello paper which looks like a stripe.
Pick paper that that goes with your decor that makes you happy. You may want traditional fall colors or go with a neutral black and white theme. Anything goes here folks.
I’m also including a pumpkin with black and white skeletons for Halloween, as another example of mixing patterns. I think this one may be my favorite.
Displaying Embroidery Hoop Pumpkins
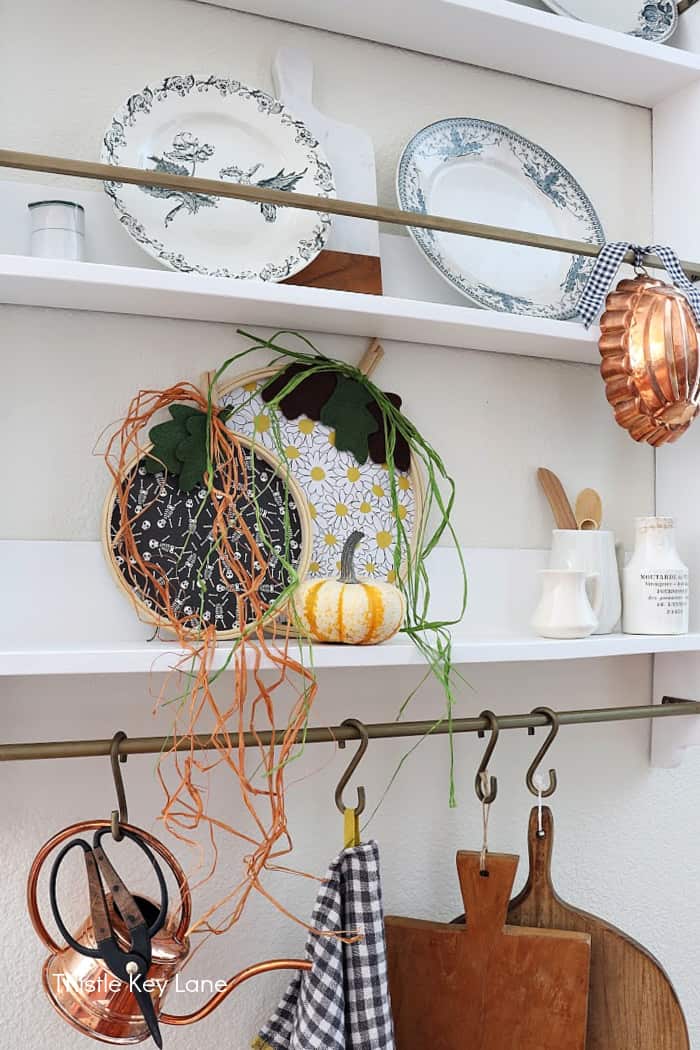
Because embroidery hoop pumpkins are so thin you can prop them up just about anywhere. I’m loving how they look on my wall plate rack, and they don’t take up much room at all.
Add them to your counter, open shelf or book shelf. To display or hang them on a wall or over the mantel glue a loop of string on the back.
Be sure to follow Thistle Key Lane on Pinterest, where the boards are up to date with ideas you can use right now!
Thank you for visiting today for my version of Embroidery Hoop Pumpkins. Don’t forget to explore all the pumpkin crafts from the Handcrafted Society below.
Cheers!
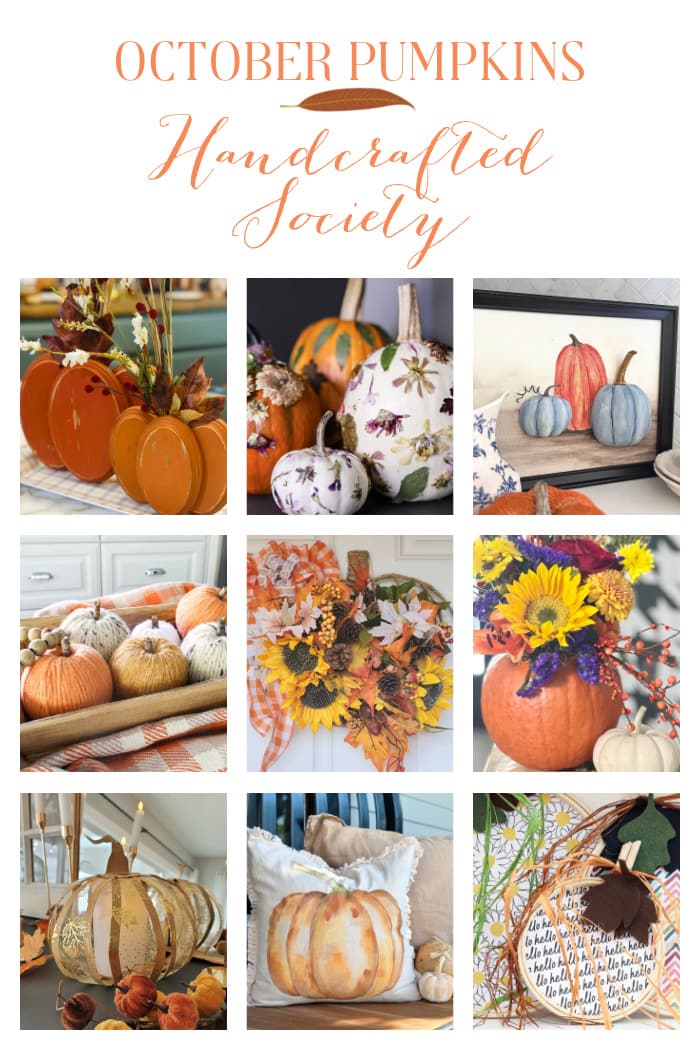
More Pumpkin Handcrafted Inspiration…


©2023 DIY Embroidery Hoop Pumpkins post first appeared on Thistle Key Lane.

What a wonderful project Michelle! Great idea to keep the hoops their original color so they can be reused so easily. I am definitely going to give this project a try!
Thank you Crystal! So happy you could join us this month!
These are SO cute… love the felt leaves! Always love your projects, and these embroidery hoop pumpkins are no exception!
Thank you so much sweet friend! Hugs!
What a fun embroidery hoop project!!! And of course, you’d come up with scrapbook paper that not all matchy-matchy, but somehow looks fabulous together. Way to go!
Thank you Diane! It’s been a while since I looked at scrapbook paper. The choices are mind boggling LOL!
So cute, Michelle! The possibilities are endless! You used such fun papers and the pumpkins look fantastic on your shelf!
Thank you Missy! Deciding on patterns is only hard part of the project. 😉
Michelle, such a creative take on pumpkins. I your combination of design and color. This project is great inspiration for other holidays.
Thanks Carol! Using these colors and patterns was so much fun!
That is a super cute idea, Michelle! Simple and so pretty!
Thank you Jennifer! I never get tired of pumpkins in any form!
SUCH A cute idea, Michelle!! I LOVE these!!! Super unique and clever for the Fall season. Thanks so much for sharing at Home Imagined this week!! Rachel @ The Antiqued Journey
Thank you Rachel! Hugs!
Those are so cute! Love the extra pop of color and fun for fall. pinned
Thank you Cindy! It was fun to try something new!
I loved this project Michelle. These are so cute and I love that you left the hoops their natural color. What a fun way to use embroidery hoops in a new way! Susan
Thank you Susan! I love trying out new projects!
These are so cute Michelle! And look like something simple enough even my craft-challenged self can do! Thanks for sharing 🙂
Thanks so much for stopping by Melanie! 😊
Featuring this tomorrow on Farmhouse Friday. They are just too cute to pass up! Thank you for linking up. pinned again!
Yay! Thank you so much Cindy! Any share is appreciated more than you know!
I love that you used bright and colorful papers to make these hoop pumpkins, Michelle! It makes them so unique!
Don’t forget to join us over at the Creative Crafts Linky Party every Wednesday through Sunday
https://creativelybeth.com/creative-crafts-linky-party/
Followed and Pinned!
Creatively, Beth
Thank you Beth for the invite, I linked up. 😊