DIY Antique Brass Resin Bunnies. See how to refine the appearance of small bunny figurines, giving them the look of antique brass. The secret is finding the right metallic wax for your project.
As an Amazon affiliate, I earn from qualifying purchases at no cost to you. My blog may contain affiliate links for your convenience. For more information please see my disclosure page.
Sometimes I pick a project just to prove to myself, that I can turn a plan into reality. Actually I do that a lot, and this time my goal is to create the look of brass with Rub ‘n Buff metallic wax.
Brass figurines seem to be having their moment in the spotlight. I remember back in the 80s when brass was super popular, and then no one wanted it anymore. Now with thrifting and antiquing becoming more widespread, we’re seeing cute vintage pieces popping up everywhere. That’s why I’ve been searching for brass bunny rabbits, but unfortunately not having any luck. So the next best thing is to create a convincing look-a-like that I’m happy with.
DIY Antique Brass Resin Bunnies
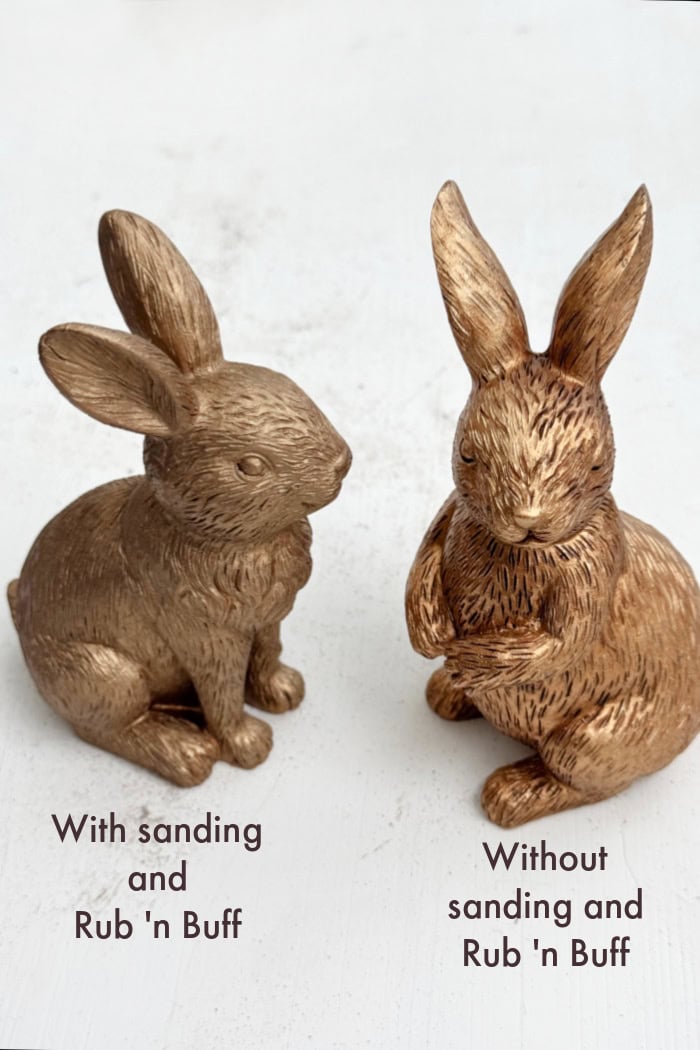
I bought some inexpensive gold resin bunnies, which are perfect to experiment with. They are pretty darn cute on their own, however right now I’m preferring the look of antique brass. I think you will find this is a very easy Rub ‘n Buff makeover, and the process goes so fast.
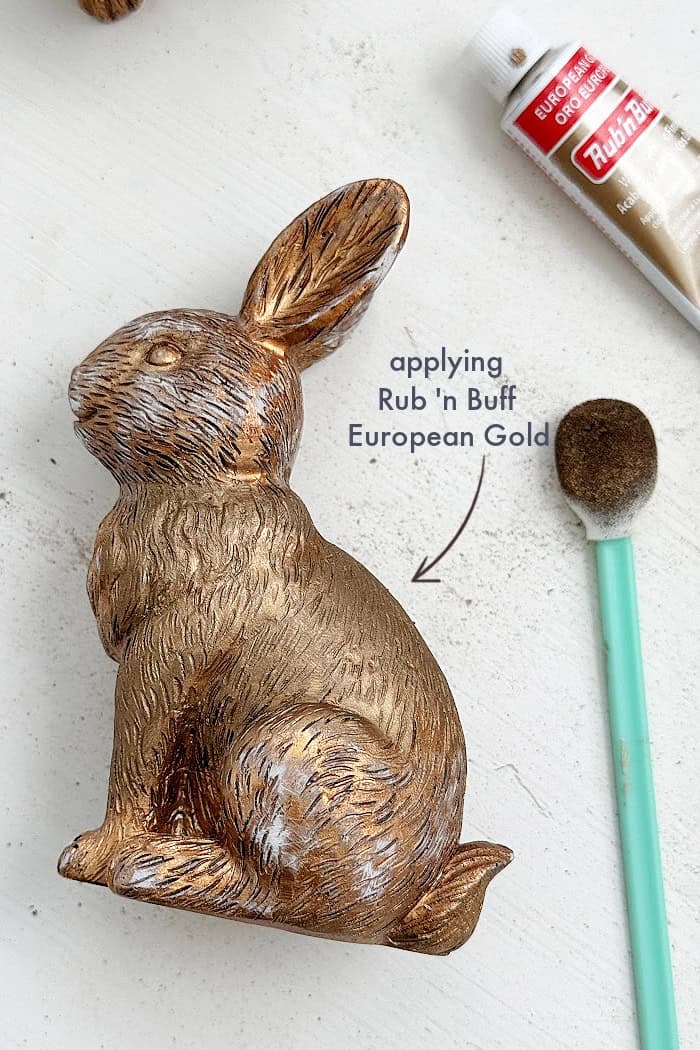
For this project you can use Rub ‘n Buff in Antique Gold, however I recommend the European Gold to achieve an antique brass finish.
Supplies And Shopping Links
- bunny figurines
- Rub “n Buff metallic wax European Gold
- sponge applicators
- sanding sponge
Step by Step Guide
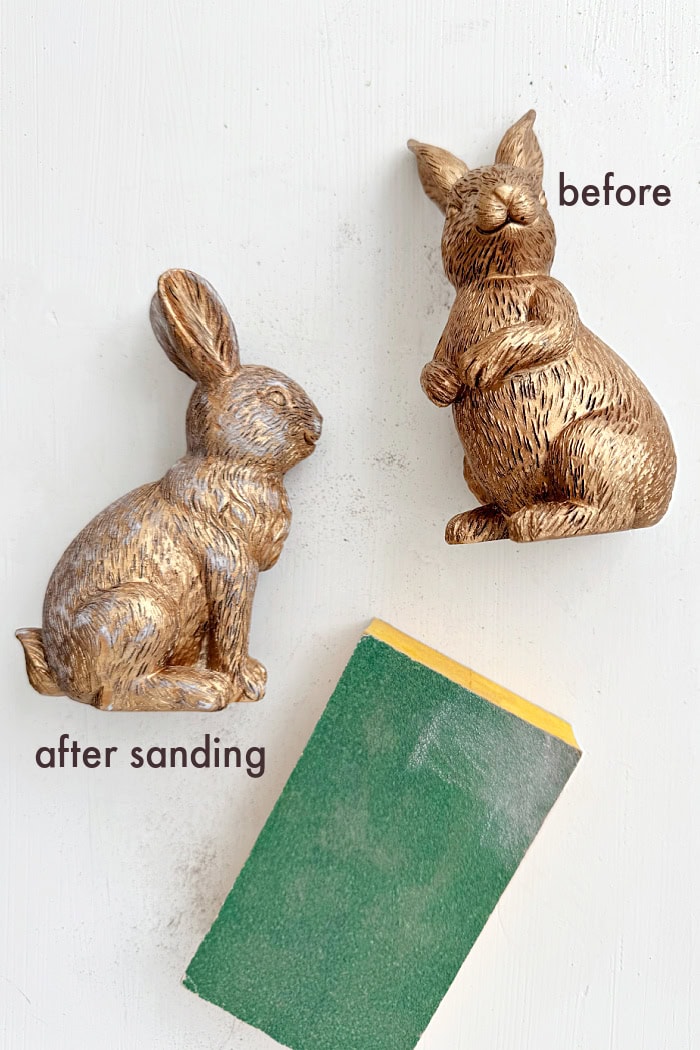
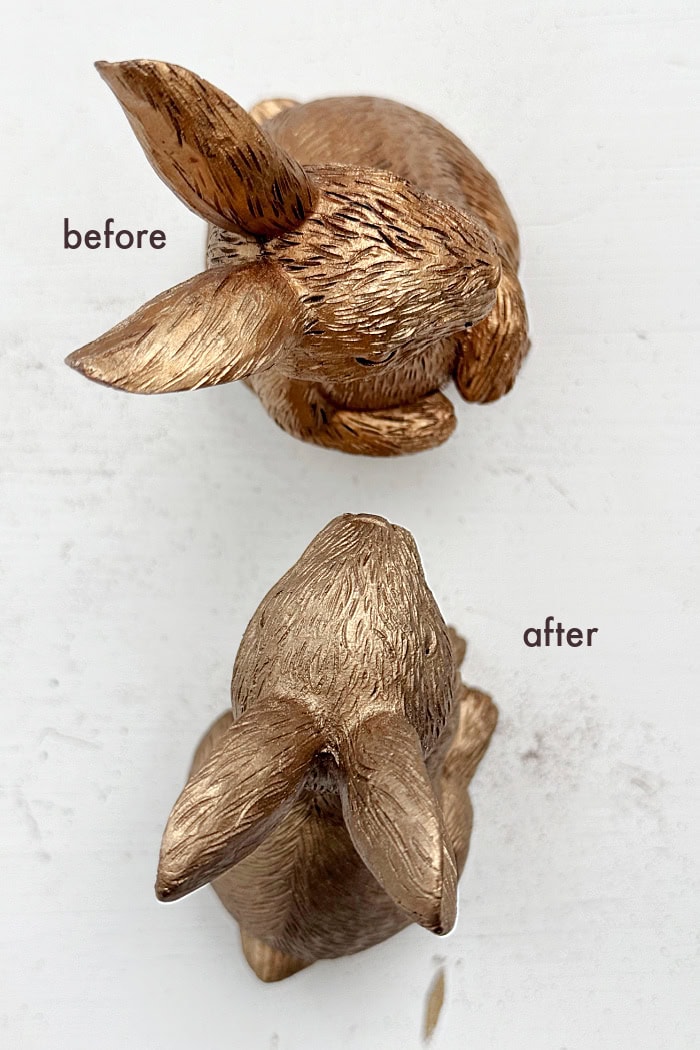
Due to the rough detailed texture on the figurines, I’m using a sanding sponge to smooth out some areas. (You can skip this step if your figurine does not require sanding.) Before starting this project I didn’t know that I could sand resin, did you? See what we can learn when we experiment with crafts?
Before using Rub ‘n Buff, make sure you have a clean dry surface. I’m using a handy small sponge applicator to apply the wax. You can also use a smaller applicator to get the wax into tight areas. One thing I love about working with this metallic wax is that a tiny bit goes a long way.
If you don’t have a sponge applicator you can use a small craft brush or your finger, but you may want to wear latex gloves. If you’re like me, I’m not crazy about getting metallic wax on my fingers. Sometimes I use a plastic bag to apply Rub ‘n Buff depending on the project. See my post here on using Rub ‘n Buff on wood finial ornaments.
Work in small sections to apply the metallic wax, and allow it to dry. In some cases if you want to add another coat of wax, wait until the first coat is dry. Easy peasy!
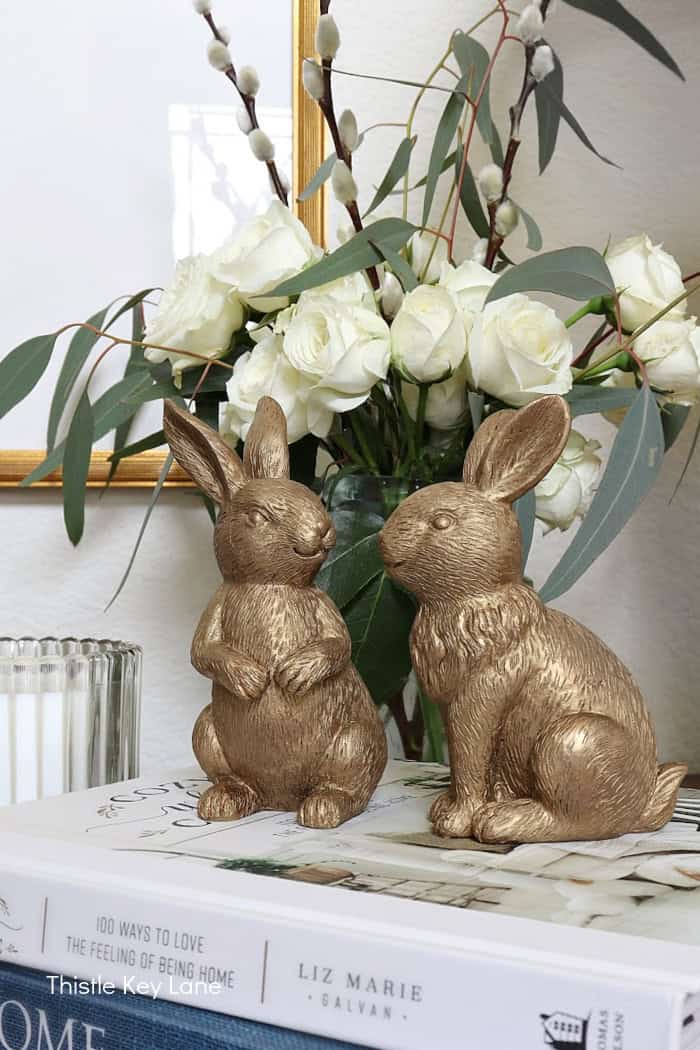
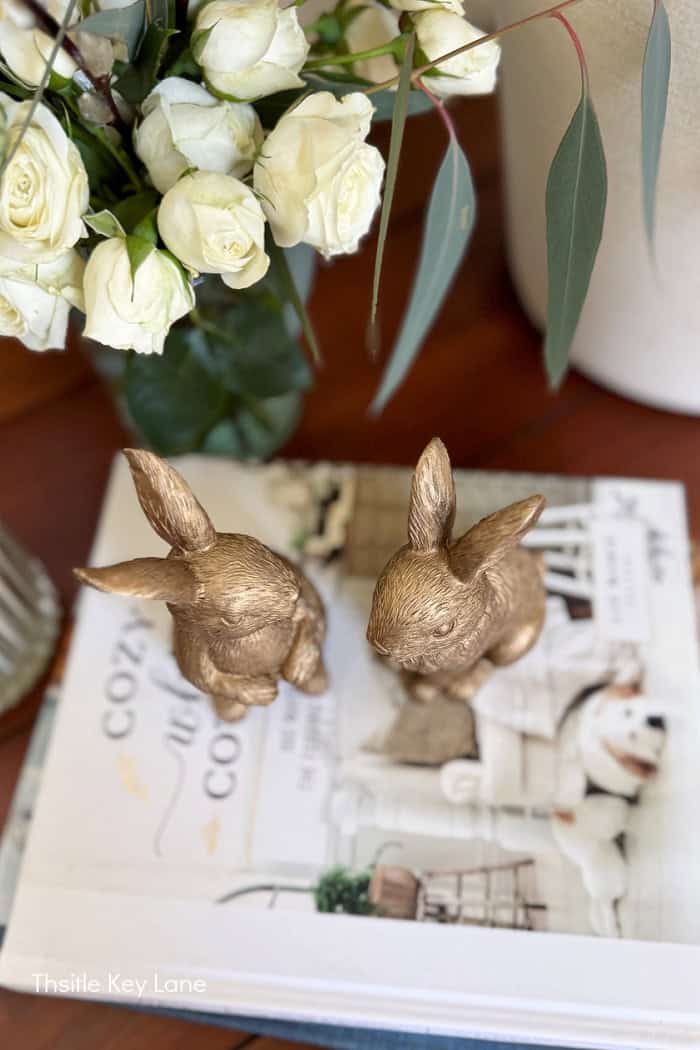
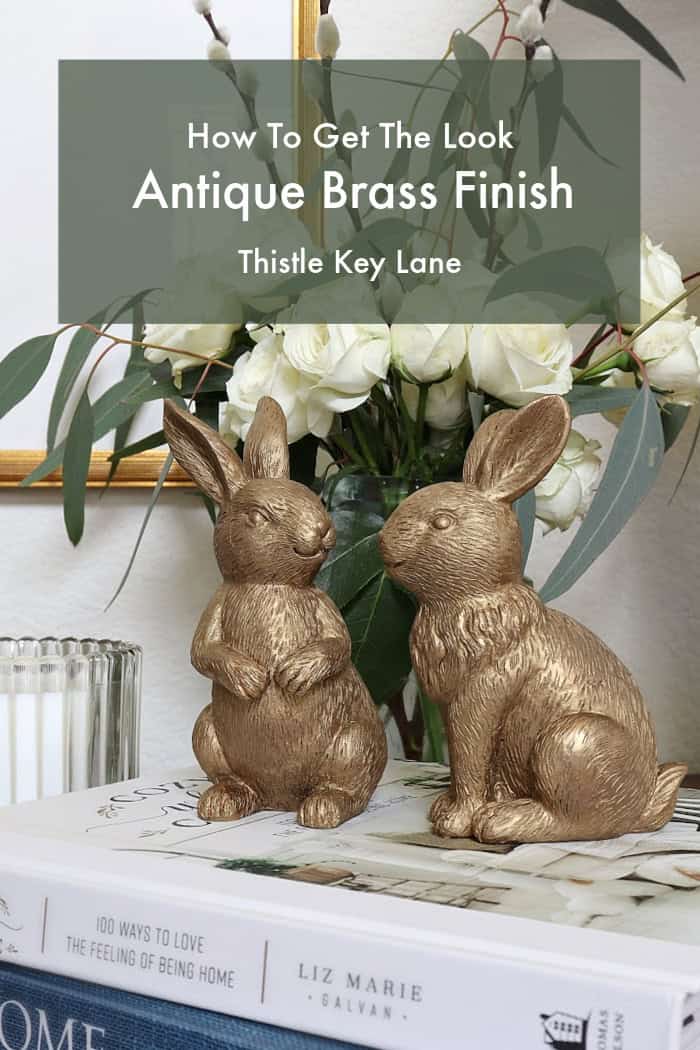
Look-a-Like Antique Brass Bunnies
I’m very happy with this little makeover, and feel like the figurines look like antique brass. Yes, I’m still looking for vintage brass bunnies, but for now these will make a cute addition to our spring decor.

I’m dying to know what you think, and I hope you will have fun experimenting too. See what you can transform, and let me know how it goes.
Be sure to follow Thistle Key Lane on Pinterest, where the boards are up to date with seasonal inspiration you can use right now!
Thank you so much for stopping by today. Spring is in full bloom here, and I hope it finds you soon as well.
Cheers!
© 2025 DIY Antique Brass Resin Bunnies post first appeared on Thistle Key Lane.


Leave a Reply